
In this tutorial I’m going to make an Audio Cassette in CorelDraw. We will be using Gradient, Blend, Pattern, Contour commands while making this tutorial. So you may get better idea about these commands. I’m going to use Corel X4 for making this tutorial. But you can use any version of CorelDraw.
Here is the Final result of Audio Cassette in CorelDraw Tutorial:
1. First of all take a new file of any size in CorelDraw. I’m going to use Letter size paper with Landscape.
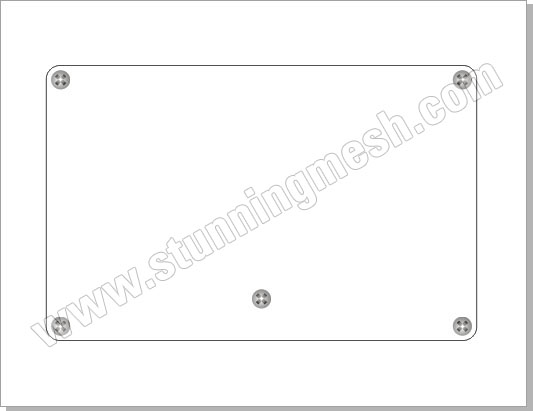
2. Pick Rectangle Tool ![]() and draw a rectangle of size 9″ x 5.75″ with 10 px rounded corners as:
and draw a rectangle of size 9″ x 5.75″ with 10 px rounded corners as:
3. We are going to make Screws first, pick Ellipse Tool ![]() and draw a circle of size 0.4″ x 0.4″ on top Left corner as:
and draw a circle of size 0.4″ x 0.4″ on top Left corner as:
4. We are going to apply Fountain Fill ![]() over it. Select the circle and press F11 Key to bring Fountain Fill box, give the following settings with 50% black color as:
over it. Select the circle and press F11 Key to bring Fountain Fill box, give the following settings with 50% black color as:
Remove the outline of the circle and you should have something like this:
5. Pick Rectangle Tool ![]() and draw a rectangle in the center of circle and apply Fountain Fill with Square style and rotate it to 45 degree angle and then duplicate it towards -45 degree as:
and draw a rectangle in the center of circle and apply Fountain Fill with Square style and rotate it to 45 degree angle and then duplicate it towards -45 degree as:
6. Select circle and these two rectangles and press Ctrl+G to group these and duplicate this Screw at the following locations:
7. Pick Bezier Tool ![]() and draw the following shape in the middle bottom of the rounded rectangle:
and draw the following shape in the middle bottom of the rounded rectangle:
8. Apply the following Fountain Fill ![]() over it:
over it:
and remove the outline, press Ctrl+Page Down key to send it back to Center Screw, so you will get:
9. Pick Drop Shadow tool ![]() and make the shadow of this shape as:
and make the shadow of this shape as:
this kind of result will come:
10. We have to Power clip this shape into the big Rounded Rectangle, First of all you have to check the Power Clip settings, run the command, Tools >> Options, open Workspace commands and click on Edit and Uncheck “Auto Center new Powerclip contents” and hit OK:
11. Now select the shape and run the command, Effect >> Powerclip >> Place inside Container, when Black arrow came then click on the large Rounded Rectangle, so shape will go into rounded rectangle shape.
12. Now pick Rectangle tool ![]() and Ellipse tool
and Ellipse tool ![]() and draw two rounded rectangles of size 0.45″ x 0.45 inch and two circles of size 0.45″x0.45″ at the following locations:
and draw two rounded rectangles of size 0.45″ x 0.45 inch and two circles of size 0.45″x0.45″ at the following locations:
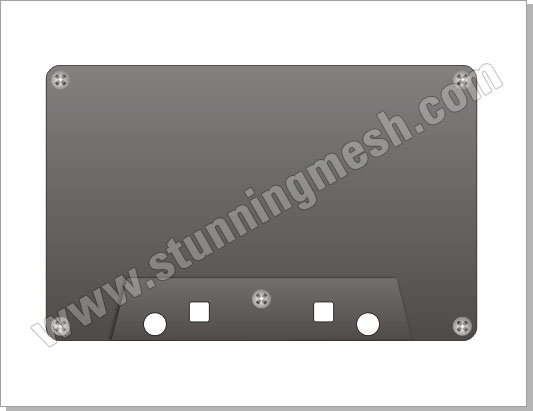
13. Select these 4 shapes alongwith big rounded rectangle and from top property panel click on Trim icon,
these shapes would be deleted from the large rectangle. Then delete these 4 shapes as these are now useless for us, you will get this:
14. Select large rounded rectangle and apply the following Fountain Fill:
this kind of result should come:
15. I’m going to make Sticker now, pick Bezier Tool ![]() and make the following shape:
and make the following shape:
16. Now by using Type Tool ![]() , Line Tool
, Line Tool ![]() , Rectangle tools
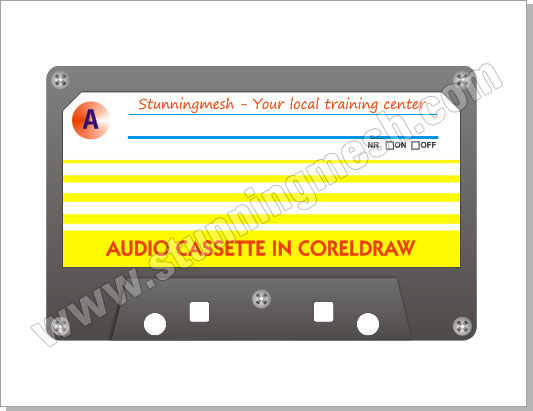
, Rectangle tools ![]() I’ve decorated the sticker as:
I’ve decorated the sticker as:
17. Pick Rectangle Tool ![]() and make a rectangle of size 5.75″ x 1.5″ with full rounded corners in the middle of the sticker and trim it from the sticker and then delete it so you will get:
and make a rectangle of size 5.75″ x 1.5″ with full rounded corners in the middle of the sticker and trim it from the sticker and then delete it so you will get:
18. Now draw a rectangle of size 2.25″ wide and 1.0″ height in the middle of this gap, then Trim it from the Large Rounded rectangle, don’t delete the small rectangle, while keep selecting it run the command Effect >> Contour and give the following settings:
press Ctrl+K to Break Contour Apart, keep selecting both rectangles press Ctrl+L to combine these two shapes, remove the outline and apply Fountain Fill from Black to 70% gray top to bottom so you may have this:
19. By using same steps I’ve made the circles as:
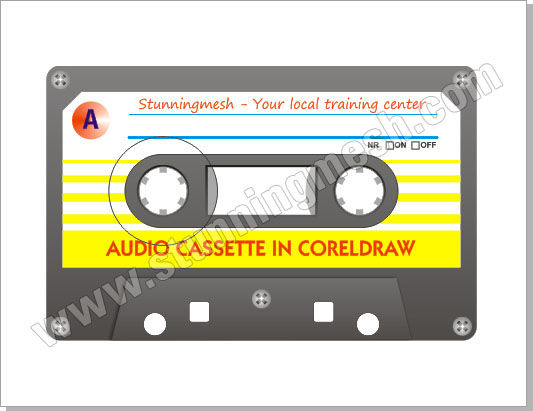
20. Make a small circle of size 1″ x 1″ in the middle of first hole, then pick Rectangle tool ![]() and draw a rectangle of zie 0.1″ width and 1″ height in the middle of the circle and rotate it by holding Ctrl key to 60 degree twice:
and draw a rectangle of zie 0.1″ width and 1″ height in the middle of the circle and rotate it by holding Ctrl key to 60 degree twice:
Select these rectangles and click on Weld tool ![]() from the top property panel, then make a small circle of size 0.7″ in the middle of this circle and trim it from these shapes, fill it with 30% black color, so you may have this:
from the top property panel, then make a small circle of size 0.7″ in the middle of this circle and trim it from these shapes, fill it with 30% black color, so you may have this:
Copy this shape towards right side as:
21. Now I’ve made two small curves behind every curves with 30% black color as:
22. Draw another circle of size 2.2″ width and 2.2″ height in the middle of the circle as:
23. Make another circle of size 4.2″ x 4.2″ in the middle of this circle as:
Select both these circles and run the command Effect >> Blend and give 50 in the number of steps, right click on the Dark Brown color in color palette, so you may have this:
press Shift+Page Down to send this Reel behind every layer as:
24. Make the same Reel towards right side but small in size as:
25. Now I’m going to make small cuts on both left and right side, so pick Bezier Tool ![]() and make the following shape and after giving some detailing in the middle part, we may have this final Audio Cassette in Corel Draw, hope you have learn a lot from this tutorial:
and make the following shape and after giving some detailing in the middle part, we may have this final Audio Cassette in Corel Draw, hope you have learn a lot from this tutorial:
Hope you enjoyed working on Audio Cassette in CorelDraw, don’t forget to give us y our precious comments regarding this tutorial. You may also enjoy Vectorial TFT in CorelDraw Tutorial.












very interesting.
i like this tutorial.
thanks
wow! thanx much it has improved my designing skills
pretty awesome
Looks pretty good! Thanks for this tutorial.
wow thank you i like it
Cassette tape? Coreldraw? What a relevant article….
Looks pretty good! Thanks for this tutorial.
Wow, excellent result.
It’s a great post, you really are a good writer! I’m so glad someone like you have the time, efforts and dedication writing, for this kind of article… Helpful, And Useful.. Very nice post!
Thanks Manisha about wonderful compliments, really honored…