In this Photoshop Tutorial we are going to make the front view of PC Casing Front View Design in Photoshop. We will be learning Pen Tool, Brush Tool, Rounded Rectangular Tool along with some other Tools. We will also be applying Layer Styles property on some of these objects. So PC Casing Front View Design in Photoshop will be having some new Techniques and Tools to work on, enjoy making it by your own. So you can also send us your work after following this tutorial, I’ll wait for your work!!!
Final Result:
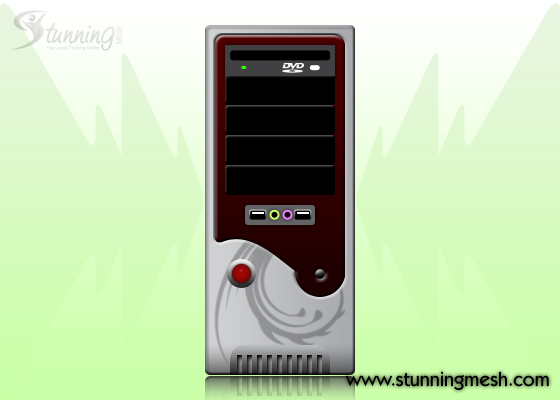
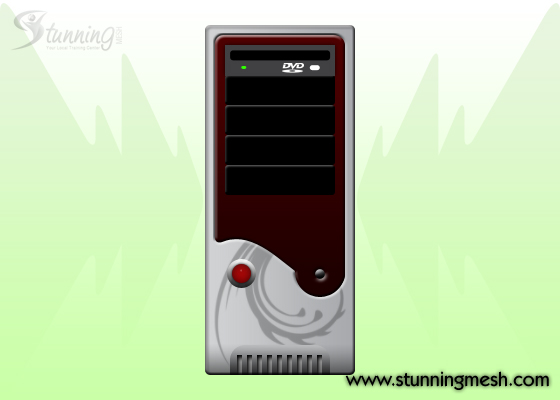
Here is what we are going to make in this tutorial this is the Final Image of PC Casing Front View Design in Photoshop Tutorial:
Step 1:
First of all take a new File in Photoshop, having the size 560×400, with 72DPI resolution.
Step 2:
Take any background, I’m going to use this one:

Step 3:
Pick Rounded Rectangular tool ![]() and draw a rectangle having Radius 5, with 150px width and 350px height, put it in the middle of the file, no matter what color it has, like:
and draw a rectangle having Radius 5, with 150px width and 350px height, put it in the middle of the file, no matter what color it has, like:

Step 4:
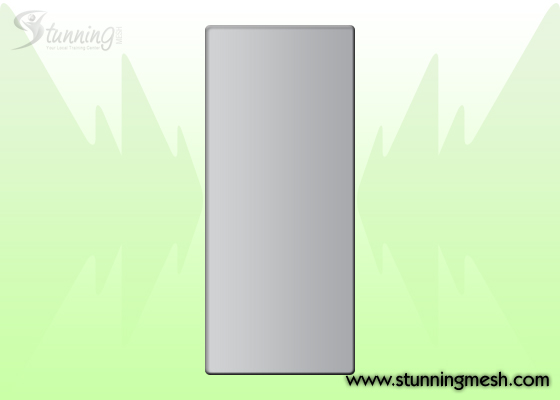
Apply the following Layer Styles over it (by using the command Layer >> Layer Styles >> Inner Shadow and then Bevel and Emboss one by one)


after hitting OK, you will get this:

Step 5:
Now press Ctrl+J to duplicate this layer. Remove the Layer Properties and apply Gradient Property over it (by running the command Layer >> Layer Styles >> Gradient Overlay) and give the following settings:

After hitting OK, you will get this:
Step 6:
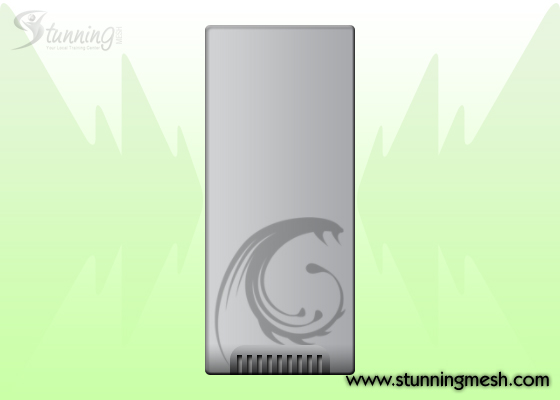
Now open Layer Panel and hold Alt key and click in between these two layers. Upper layer’s object will mask into the lower layer mask. Now I’m going to take new layer and adding a small Floral Shape by using Brush Tool ![]() . I used Black color and reduce the Layer Fill Opacity to 25%, you should have something like that:
. I used Black color and reduce the Layer Fill Opacity to 25%, you should have something like that:

(Remember it should also mask into the Rounded Beveled Rectangle)
Step 7:
Now pick Rounded Rectangle tool , give the Radius to 15px in Propert Panel. Draw a rectangle of size 100px height by 50px width, place it at the bottom of Rounded Rectangle and also mask it into it. No matter what color it has as we will be apply Gradient Effect over it.

Step 8:
Now apply the following Gradient over it. (By running the command Layer >> Layer Style >> Gradient Overlay) give the following Settings:

After hitting Ok, you will get this:

Step 9:
Now Draw a small rectangle of size 5px width and 20px height, fill it with White color and place it at the bottom of Rounded Rectangle shape and mask it over Rounded Rectangle Shape, like:

Apply Inner Shadow (by running the command Layer >> Layer Styles >> Inner Shadow) and give the following settings:

After hitting Ok, you will get this:

Step 10:
Press Ctrl+J to duplicate it, duplicated layer will come out of the mask, again mask it with Rounded Rectangle, move duplicated object to 10px right (by pressing Shift+Right Arrow key once). Do this process for 8 times so you will have this:

Step 11:
Create New layer, select the lower part of the Rounded Rectangle shape by using Rectangular Marquee Selection Tool ![]() ,
,

pick Gradient Tool ![]() and select Black to Transparent Gradient, like shown below:
and select Black to Transparent Gradient, like shown below:

Drag your Mouse from Bottom to top to make small Gradient like shown below:
Step 12:
Create new Layer again, Pick Pen Tool ![]() and draw a shape as shown below:
and draw a shape as shown below:

Fill it with any color and apply Gradient Overlay and Bevel & Emboss settings (by running the command Layer >> Layer Styles >> Gradient Overlay and then Bevel and Emboss), give the following settings one by one:


after hitting Ok, you will get this:

Step 13:
Now Pick Ellipse Tool ![]() and draw an Ellipse of size 10px width x 10px height and place it in the location shown below:
and draw an Ellipse of size 10px width x 10px height and place it in the location shown below:

Apply Bevel & Emboss and Gradient Overlay (by running the command Layer >> Layer Styles >> Bevel & Emboss and then Gradient Overlay), give the following settings:


after hitting OK, you should have something like this:

Step 14:
Again pick Ellipse Tool ![]() and draw and ellipse of size 30px x 30px and place it at the following location:
and draw and ellipse of size 30px x 30px and place it at the following location:

Apply the Gradient Overlay over it by giving the following settings:

After hitting OK, reduce the Fill Opacity of the layer to 85% and you will have something like this:

Step 15:
By using Ellipse tool again, draw another circle or size 20px by 20px. Apply some built-in Layer Styles (You can open Styles panel by running the command Window >> Styles) over it.

I’m applying Red Gel style over it, I got Power button as shown below:

Step 16:
Now pick Rounded Rectangle tool ![]() and give radius to 3, draw a Rounded Rectangle of size 110px width and 30px height. Give it to Black color and apply simple Bevel and Emboss command. Copy it 3 more times and move it below the first one, as shown below:
and give radius to 3, draw a Rounded Rectangle of size 110px width and 30px height. Give it to Black color and apply simple Bevel and Emboss command. Copy it 3 more times and move it below the first one, as shown below:

Step 17:
By using Rounded Rectangle tool ![]() , I’ve also made DVD Writer over it, I used existing DVD logo. Like:
, I’ve also made DVD Writer over it, I used existing DVD logo. Like:
Step 18:
Now we are going to make USB and Speaker and Microphone slots. Draw another Rounded Rectangle of size 70px width and 20px height, fill it with #636466 color, and give it Normal shadow around it:

Step 19:
For USB slot, I drew a small rounded rectangle of size 15px width and 8px height, give it to Black color and apply the following Stroke (Layer >> Layer Styles >> Stroke)over it:

You will get this:

Step 20:
Draw another rectangle having color White and having size 12px width and 2px height and place it over the previous shape as:

Step 21:
Duplicate these two shapes towards left as shown below:

Step 22:
Draw another circle of size 10px width and 10px height, having Black color and give it Stroke having Color #fd7aff and Size 2px inside it and give Drop Shadow, so you will have Microphone Slot as:

Step 23:
Duplicate this circle and move it towards left, only change the color of Stroke to #caff63, you will get this:

After giving some details, we got this final PC Front View in Photoshop:
So thats it, we have just completed our PC Casing Front View Design in Photoshop Tutorial, hope you like it, now you can also check our other Stylish Wooden Text Effect Tutorial in Photoshop.