It looks very common that somebody wants to make a Curvy line in Photoshop, but very few people know about that. Here is very simple way to draw curves or curvy line in Photoshop.
1. First of all take a Blank file. (Ctrl+N and take a file of any size please).

2. Now select the Brush tool ![]()
3. Pick the color of your own desire (mean select that color which you want to give to curve).
4. Select the width & style of Brush from Top Property Panel, ![]() you can also press ‘[‘ to reduce brush size or ‘]’ to enlarge brush size, or ‘.’ (point) or ‘,’ (coma) to change the shape of the brush.
you can also press ‘[‘ to reduce brush size or ‘]’ to enlarge brush size, or ‘.’ (point) or ‘,’ (coma) to change the shape of the brush.
5. Now pick the Pen tool ![]() and Draw any path of your desired shape, like
and Draw any path of your desired shape, like

6. Now right-click anywhere and select the Stroke Path option.

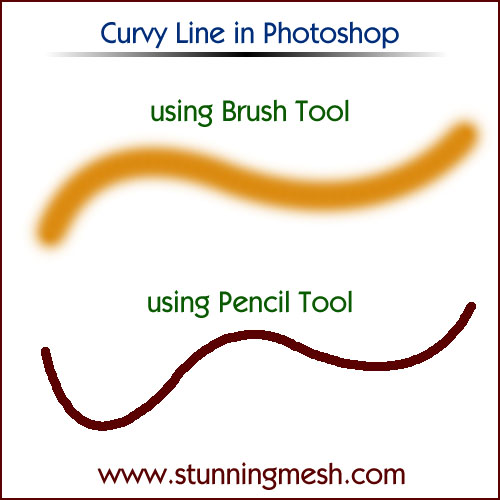
7. Select the Brush option from the list box. If you Check Simulate Pressure the line would be feather from the edges and if you Uncheck Simulate Pressure line would be solid from both ends. Now hit Ok.

8. Again right-click anywhere and now select the Delete Path option.

9. Here you will get the curvy line,

NOTES:
1. You can use Pencil Tool, Eraser Tool, Blur Tool, Smudge Tool, etc. instead of Brush Tool.
2. Don’t pick any other tool unless you delete the Path.

Stunning Mesh is offering More Informative Tutorials and on most trending topics