Here is another Photoshop Tutorial, this tutorial will teach you how to make Brick Wall in Photoshop. You may have seen tutorials like this, but this one is a bit Different. Very interesting tutorials to learn, hopefully you will be enjoying making it by your own. Lets start without wasting time.
1. Take a new file of size 50px x 50px with 72 resolution and white background.
2. Press Ctrl+A and run the command Edit >> Stroke and give the following value and color to line:
3. While using the Rectangular Marquee selection tool draw horizontally 4 px height rectangle and fill it with Black like:
4. Now draw another rectangle, this time vertically but half part of the above white area and fill it with black like:
5. Now select top right white area but including left & right black border and fill it with white, like:
6. Now press Ctrl+A and run the command Edit >> Define Pattern and give it any name and hit OK and close this file without saving it.
7. Now take new file of the following size and values:
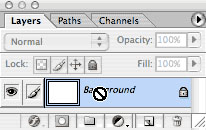
8. Goto Channel panel (you will find it by running the command Window >> Channels), click on the Create New Layer icon at the bottom of that Panel. A new layer would come with having name of Alpha1. Press Ctrl+A to select all and run Edit >> Fill command and select Pattern from Use list box and select your pattern which you just saved (probably you will find in the last of the list). Hit Ok.
10. Chose Filter >> Blur >> Gaussian Blur command and give the following values:
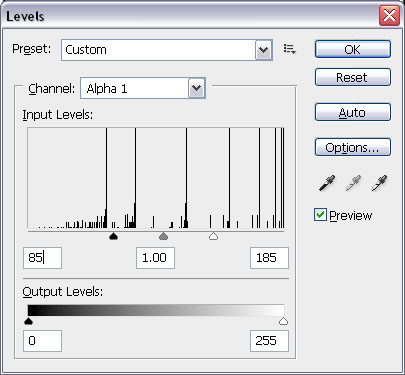
11. Now run the command Image >> Adjustments >> Levels command and give the following values:
12. Again run the command Filter >> Blur >> Gaussian Blur command and give the value:
13. Now run the command Edit >> Fade and give the following value:
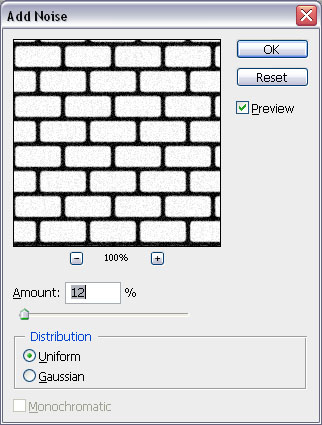
14. Now run the command Filter >> Noise >> Add Noise and give the following values:
you will get this:
15. Now in Channel Panel click on RGB and come back to Layer Panel again.
16. Press D to bring Black and White colors in Color Palette and pick Gradient Tool . Pick the first gradient (i.e. Black and White) and its opacity to 50% and drag mouse from top to bottom, here are the command and its result:
17. Now run the command Filter >> Render >> Lighting Effect and select the following options, don’t forgot to bring Alpha 1 in Texture Channel. Color number which I’ve given is #ac3d22 and make the shape like this in Preview box:
Hit ok and you will get the following result:
18. Again goto Channel Panel (don’t select Alpha 1) just hold Ctrl and click on Alpha1 layer. It will select all the boxes:
19. Press Ctrl+J (to copy it) and come back to Layer Panel again.
20. Select Background layer and Press Ctrl+U or run the command, Image>> Adjustments>> Hue/Saturation. Give the following value:
Hit ok and you will get the following result:
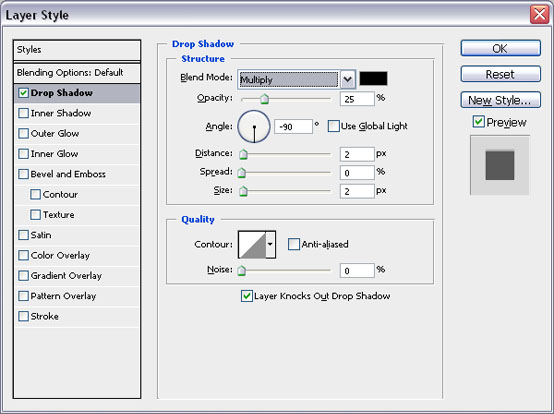
21. Now select Layer 1 and run the command Layer >> Layer Style >> Drop Shadow and give the following value:
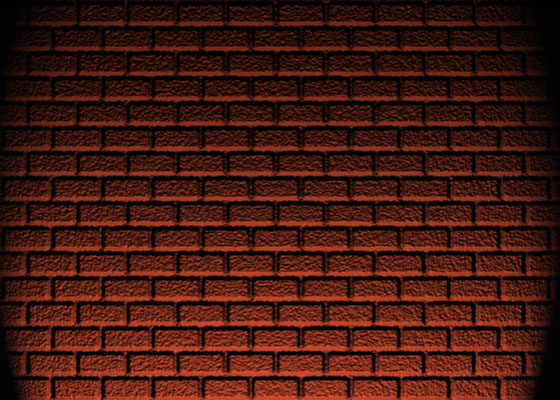
Here you go, this is the final result of Brick Wall in Photoshop you will get:
Hope you will also like our Ice Wall Design in Adobe Photoshop Tutorial.


