It is very interesting technique to make Curtain in Photoshop. Photoshop CS is required to make curtains, because WARP command required to do so. So I’m going to tell you step by step.
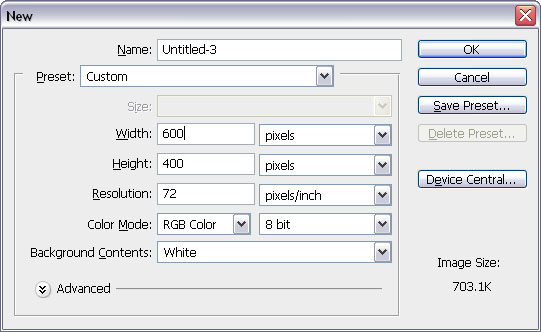
1. First of all take new file of any size, but Resolution to 72 and Color mode RGB, I’m going to take 600px x 400px size.
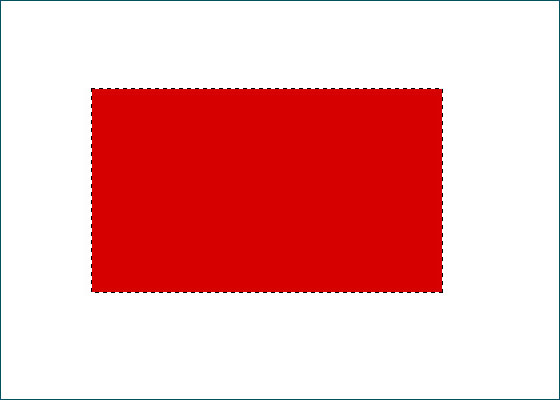
2. Now press F7 key to show Layer panel and click on Create New Layer and take new layer. Take Rectangular Marquee Selection Tool , draw a rectangle and fill it with any color, here I’m filling it with Red color.
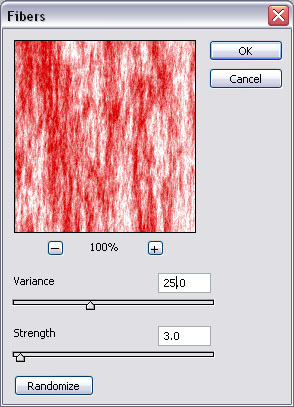
3. Now run the command Filter >> Render >> Fibers and give the following values in relevant boxes.
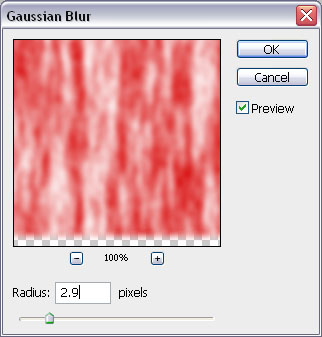
4. Now run the command Filter >> Blur >> Gaussian Blur and adjust the blur setting, here I’m giving 2.9.
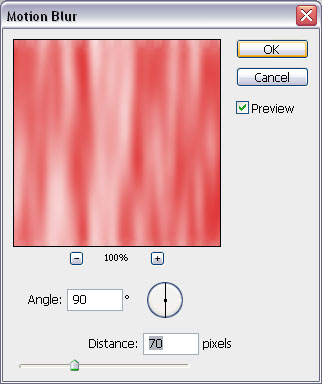
5. Now run the command Filter >> Blur >> Motion Blur and give the following value (you can give according to your desire).
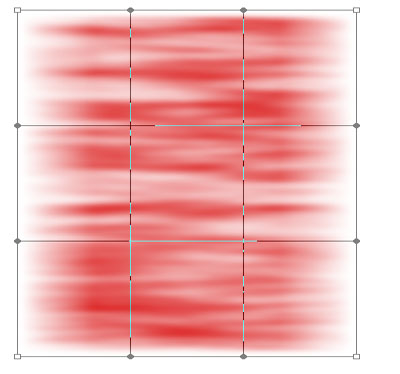
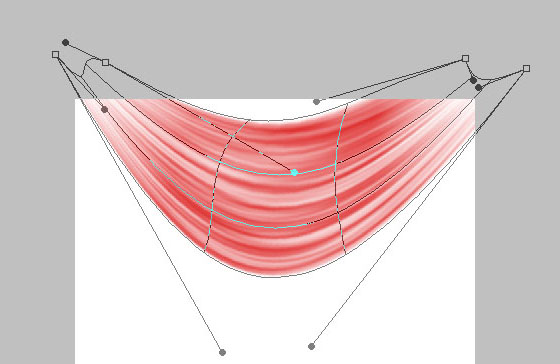
6. Now run the command Edit >> Transform >> Warp command. Some kind of Grid will come,
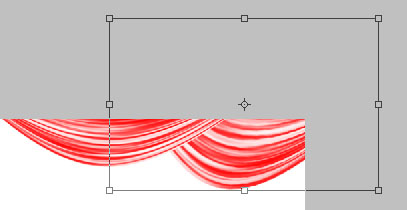
use top 2 and bottom 2 center nodes first and move them down and then by using other nodes make the following shape and then press <Enter> key.
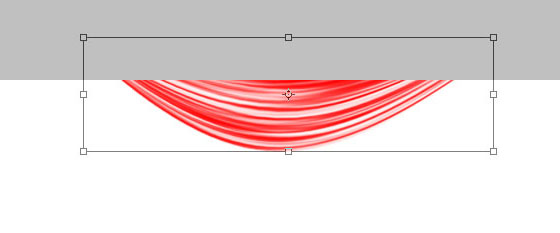
then move it above so you will see only bottom some part, like:
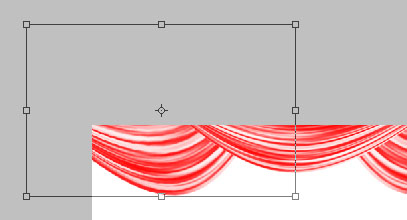
7. Now press Ctrl+J to copy this layer and press Ctrl+T (Transform) and enlarge its size and reduce its width and move it toward right side, you will get this:
8. Now press Ctrl+J to copy this layer again and then press Ctrl+T (Transform), right click on it and select Flip Horizontal and move this layer toward left side of the file and press <Enter>, you will get this:
9. Now take another new layer at the bottom of all layers, draw rectangle by using Rectangular Marquee Selection tool and fill it with same Red, then use Fiber command and Motion Blur and blur it vertically. You will get this finally Curtain in Photoshop:
You may also like our same kind of tutorial in Illustrator, here is the link of How to Create Realistic Curtains in Illustrator Tutorial


