You will really enjoy this Tutorial, in this Tutorial I’ll show you how to create an easy Liquid Text Effect while working in Adobe Photoshop. Very customizable style, hope you’ll enjoy making it. Lets Start.
1. Create new file of following size:
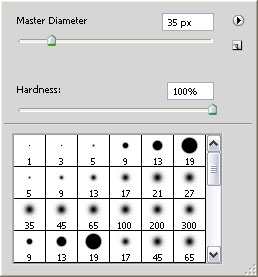
2. Now pick Brush Tool and give it the following setting:
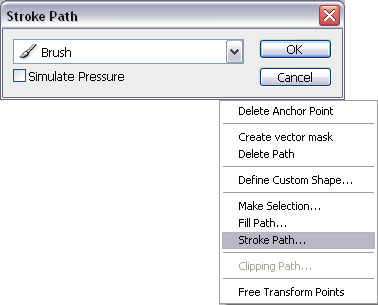
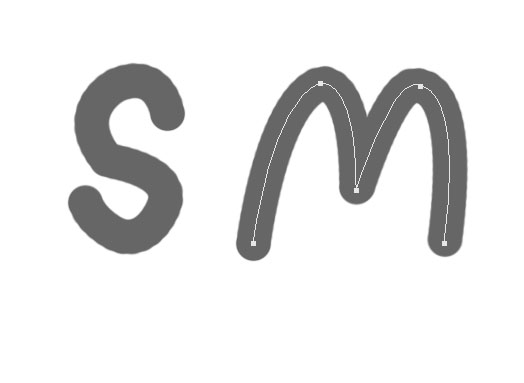
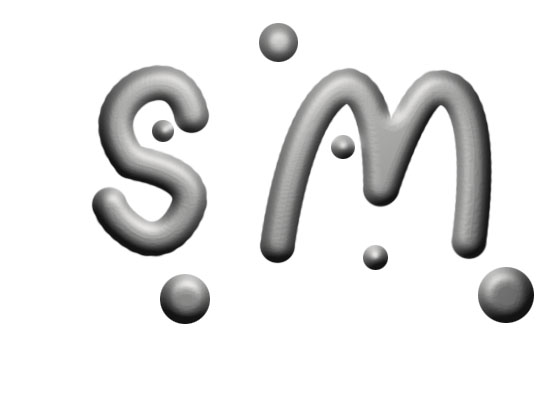
3. Now pick Pen Tool and draw any letter, i’m here going to draw S and M, right click on it and select Stroke Path,
select Brush from list and hit ok, you will get this:
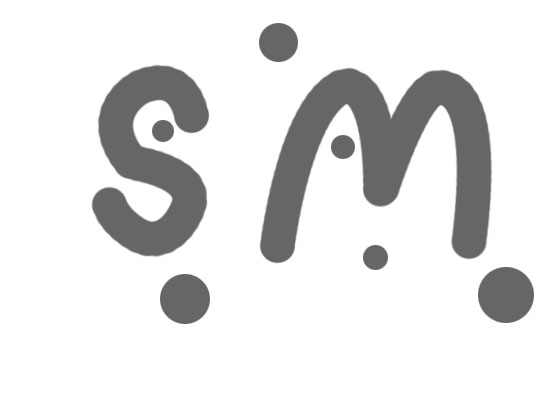
4. Don’t create a new layer, Chose Elliptical Marquee Tool & create circles like this.
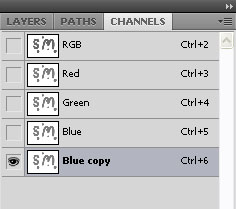
5. Goto the Channel Panel & select Blue Layer & press Right Click select Duplicate Channel.
6. Goto Image>> Adjustment>> Invert (or only press Ctrl+I)
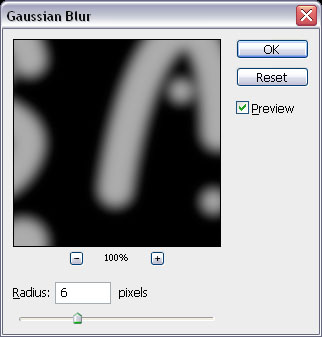
7. Goto Filter>> Blur>> Gaussian Blur and give the following settings:
8. Again run the command Filter>> Blur>> Gaussian Blur and this time give the following settings:
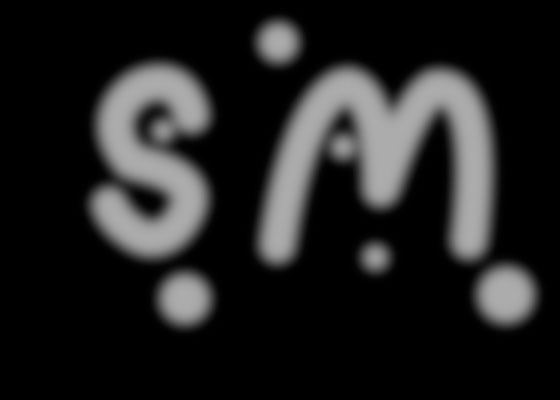
This result will occur:
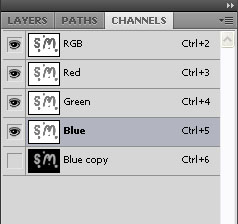
9. Turn off Blue copy layer, but don’t delete it:
10. Click on RGB and go back to Layer panel.
11. Filter >> Render >> Lighting Effects, give the following settings:
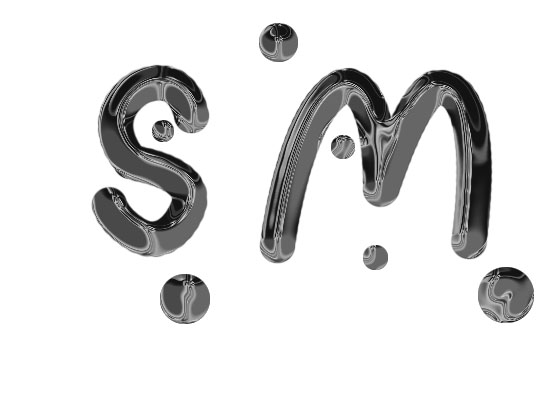
12. Duplicate the text layer and go to Filter >> Sketch >> Chrome:
you will get this:
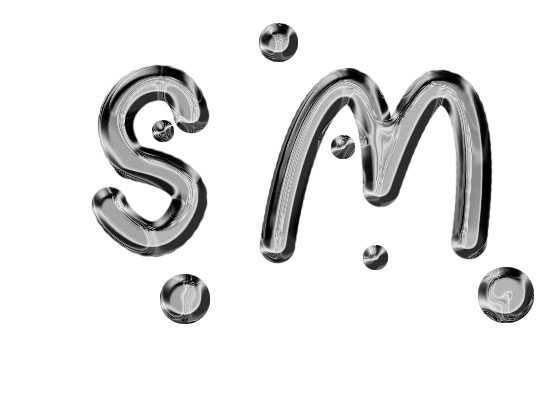
13. Now run the command Layer >> Layer Style >> Bevel and Emboss, give the following settings: (don’t forget to change the color to #666666 not black)
this result will occur:
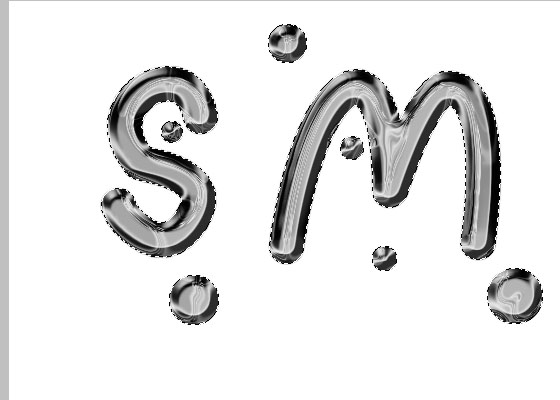
14. Ctrl+Click on the thumbnail of the layer in layer panel to generate its selection, like this:
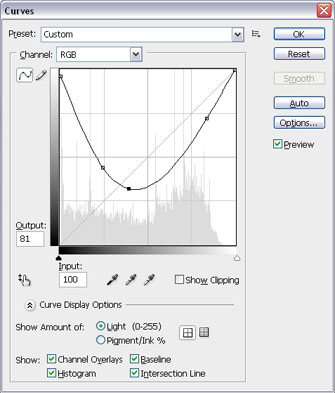
15. Goto Image >> Adjustments >> Curves and give the following settings:
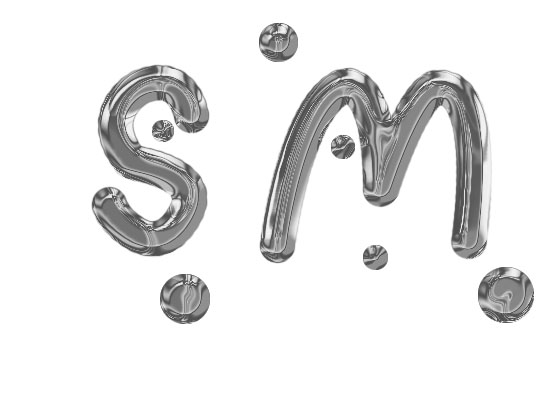
This result will occur:
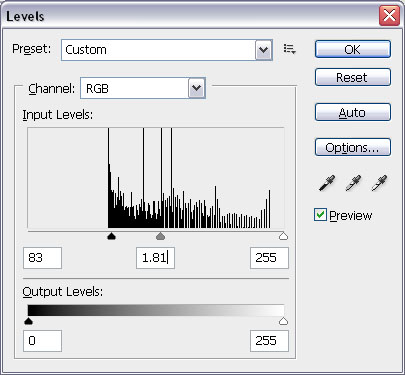
16. Goto Image >> Adjustments >> Levels, give the following settings:
this result will occur:
17. Against a black background the shine really comes out. So change the background color to black.
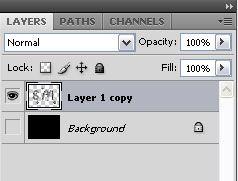
18. Turn off the background layer:
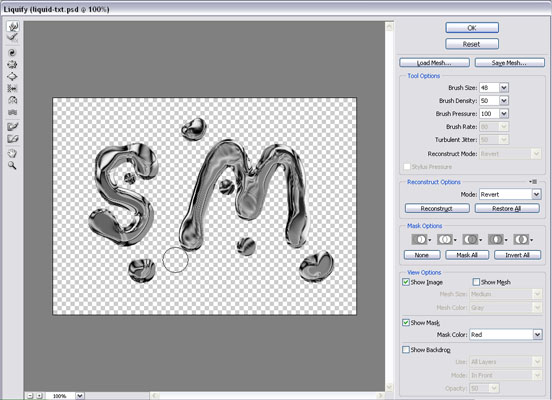
19. To give the type an enhanced liquid quality, go to Filter >> Liquify. Use the Bloat tool to expand or otherwise warp areas of the text as seen here.
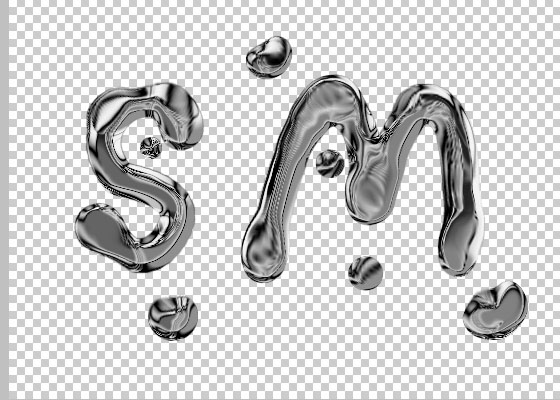
hit ok and this result will occur:
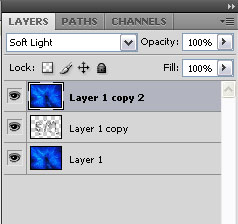
20. You can use any kind of background, and copy that background over the text and set the Blending mode to Soft Light
This is the final result of Liquid Text Effect:











Sir ji U r Great …………..kia baat hia
Good tips, thanks a lot.