In this Tutorial Picture will look like Abstract in Polaroid shapes. You will need any picture for this tutorial. I’ll try to write this tutorial in short. You must have known that I use very short Sentences in my all Tutorials. Because I don’t want everybody feel bore while working on these, so I try to convey my messages through Thumbnails. So lets start Polaroid Picture Masking technique in Photoshop. So enjoy!!!
1. First of all take any picture file and create new layer over it and fill it with Black color.
2. Now create another new layer and draw a rectangle using Rectangular Marquee tool . Fill it with White color.
3. Press Ctrl+J and copy this layer, hold Ctrl key and click on the newly created layer (it will bring marquee around the box), chose any other color and fill thisbox.
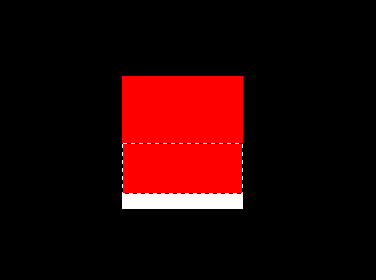
4. Now using Rectangular Marquee tool select the bottom part of the box, pick Move tool
and hold shift and press Up Arrow twice.
5. Using Rectangular Marquee tool and Move tool reduce the areas from Right, Top and Left too like:
(remember Bottom part should be reduced more than the other sides.)
6. Now select picture layer and press Ctrl+J to copy it, press Ctrl+] as many times that newly picture layer would come over all other layers:
7. Hold Alt key and move mouse pointer in between newly picture layer and red box layer in Layer panel, you will see Mouse pointer would be converted to small Chain, just click there.
Picture will be masked into Red Box layer like:
8. Now you have to put these three layer in a Set. First click on the Create New Group icon at the bottom of Layer Panel . Select Newly Created Picture layer, hold shift key and click on Red and White boxes layer and put these three layers on Group 1 folder (just created).
9. Right click on Group 1 and select Duplicate Group. Hit ok, no need to give any name:
10. Select Layer 1 and Layer 2 in Group 1, leave picture as it is,
press Ctrl+T (Transform) and rotate it a little bit:
11. Again right click on Group 0 and Duplicate this group. Select 2 boxes layers and leave Picture layer as it is and Press Ctrl+T and rotate this another side. So you have to duplicate Group 0 as many time as you like and rotate each Groups Layer 1 and Layer 2 (while skipping the picture) and rotate these groups Randomly. You will get this:
Here is the Final result of Polaroid Picture Masking:


