Here is another technique to make Dynamic Backgrounds in Photoshop. We are going to create Abstract Rays and Light Effects in Photoshop. Lets Start!
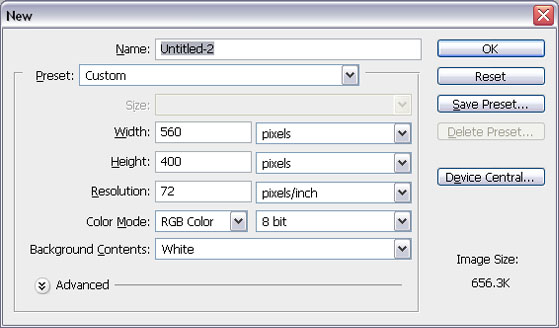
1. Create a new file with following settings:
2. Fill the layer with #213242 color.
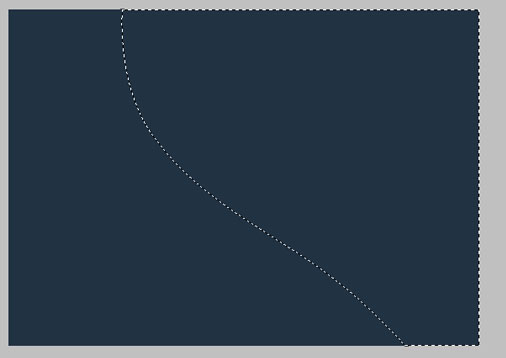
3. While using Pen Tool, draw the shape like following:
4. Right click on it and select Make Selection, give 0 in Feather and hit ok:
5. Create new layer and by using Gradient Tool, draw the gradient from White to Transparent like shown below:
6. Select Background layer and create a new layer, now pick Gradient Tool again and draw a Radial Gradient like shown below:
7. Set the Blending mode of this layer to Overlay and set the Opacity to 50%.
8. Select the layer on which you just made Curved Gradient, press Ctrl+J to duplicate the layer and rotate this layer and change the size, so repeat this action as many time as you like to make the shape something like shown below:
9. Chose Brush tool and sets its brush settings to as follows:
10. Create new layer and now pick Pen Tool and draw the shape like shown below (don’t join the first and last points):
11. Right click on it and select Stroke Path and give the following settings:
12. Now press Ctrl+J to copy this layer and by pressing Ctrl+T adjust it with the previous shapes, now repeat this action until you have at least one line on each of the previous Gradients layer, like:
13. Merge all these lines and while using Eraser Tool and selecting its Blending Mode to Color Dodge from Layer panel and reducing the opacity a little bit, use this brush to make the following shape
14. Pick Brush Tool and bring White color in Foreground in Color palette and brush over the lines to face them down, change the blending option to Overlay in layer panel:
15. Now merge all the layers and run the command Layer >> Layer Styles >> Inner Shadow and give the following settings:
Here is the final result of Abstract Rays in Photoshop:


