Very simple and short technique to make Metallic background, you can use it as Background of your websites. We are going to make Metallic Background while using Adobe Photoshop.
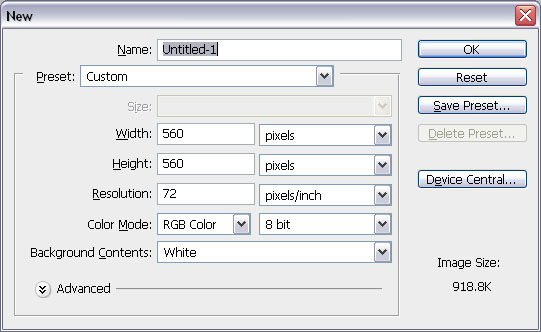
1. Create new file with following settings:
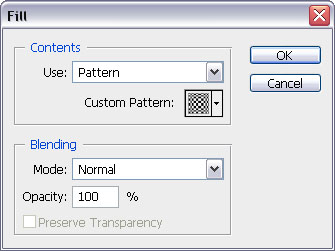
2. Run the command, Edit >> Fill and select Pattern from Use list, then click on Custom Pattern Down arrow, then click on More button and select Pattern from list, then select Optical Checker box pattern, like shown below:
you will get something like this:
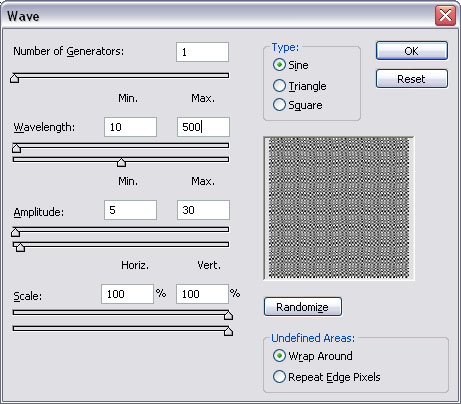
3. Goto Filter >> Distort >> Wave and give the following settings:
you will get this:
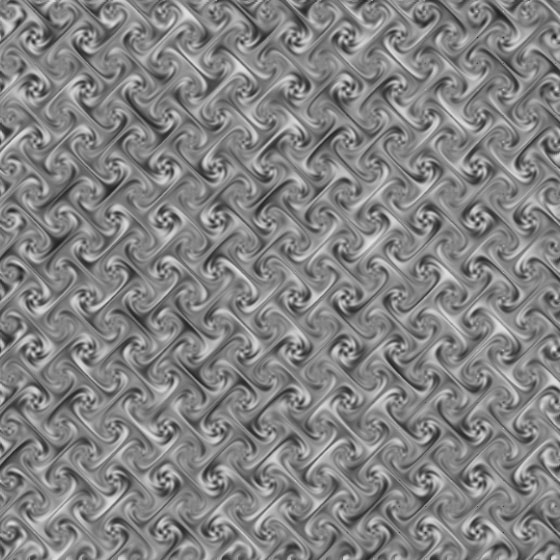
4. Press Ctrl+F (to repeat this command) almost 20 or 25 times, you will get this:
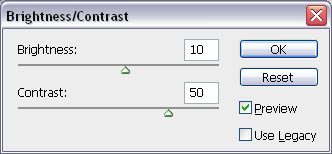
5. Now run the command Image >> Adjustments >> Brightness/Contrast and give the following settings:
Here you will get:
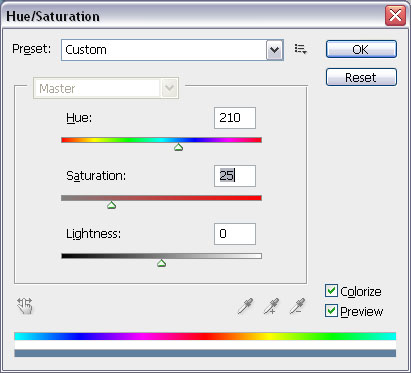
6. Now run the command Image >> Adjustments >> Hue/Saturation and give the following settings:
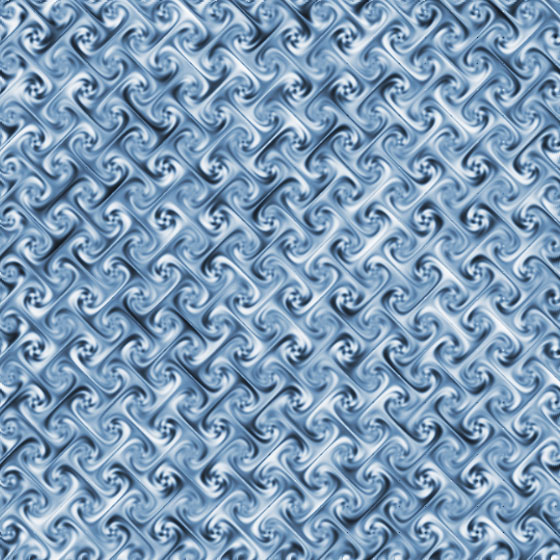
Here is the final shape you will get:
So this was another simple and shortest Adobe Photoshop tutorial to make Metallic Background. You may have got some knowledge about some Basic Adobe Photoshop commands, like Pattern, Wave, Brightness and Contrast, Hue and Saturation commands. So those designers who are new in this field can work on this Tutorial quite easily. Enjoy surfing our other Awesome Tutorials about Vector and Raster based software. Don’t forget to tell us about this tutorial by putting your Precious comments in the box given below.


