In this Beautiful Photoshop Tutorial, you will learn how to make Glassy Ball in Photoshop. You can create by your own choice, lets start making Glassy Ball in Photoshop.
1. Create a new file of any size, I’m creating 560x400px with 72 resolution and RGB color-scheme. Fill it with any color, I’m filling with white (#ffffff) color.
2. Press D to bring default black and white colors in Color palette. Now pick Elliptical Marquee tool and draw a circle while holding Shift key.
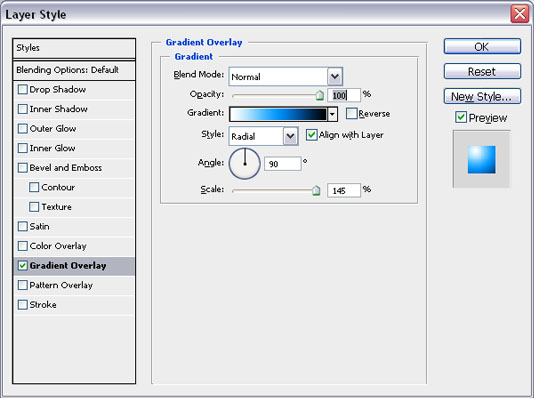
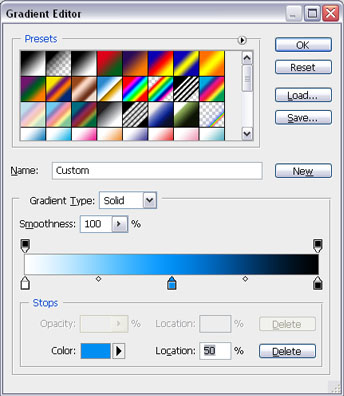
3. Now run the command Layer >> Layer Styles >> Gradient Overlay. Create the gradient like shown below:
this is the gradient which I made:
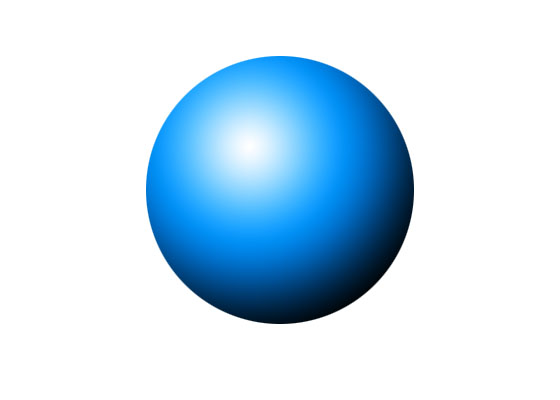
After pressing ok, you will get the following result:
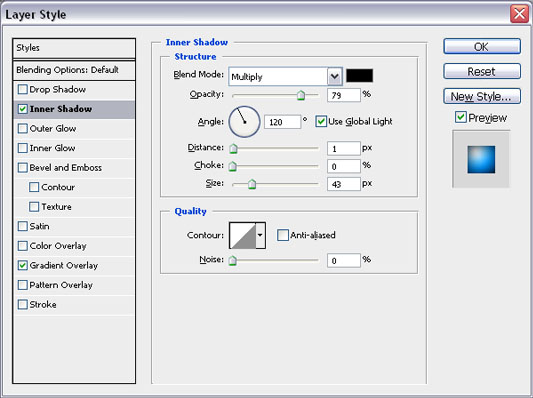
4. Now run the command, Layer >> Layer Styles >> Inner Shadow and give the following settings:
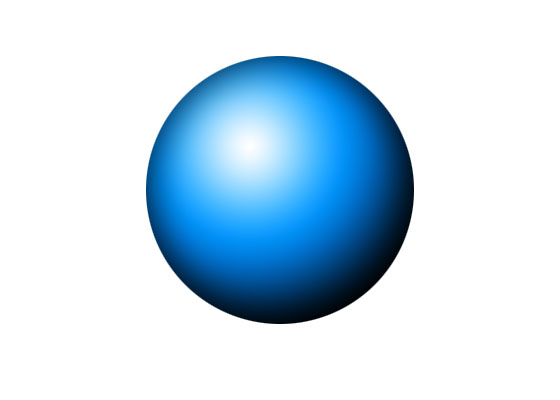
you will get some kind of this result:
5. Now press X to exchange the black and white colors in color palette, again pick Elliptical marquee tool and draw an ellipse like shown below (you will get white ellipse):
6. Now pick Eraser Tool and with 150 px feathered brush, erase the bottom part of this ellipse like shown below:
7. Again press D to bring default black and white colors in color palette and again pick Elliptical Marquee tool and draw an ellipse at the bottom of this circle like shown below:
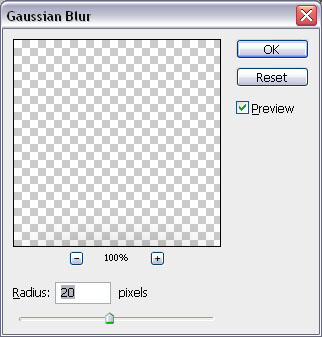
8. Run the command Filter >> Blur >> Gaussian Blur and give the following settings:
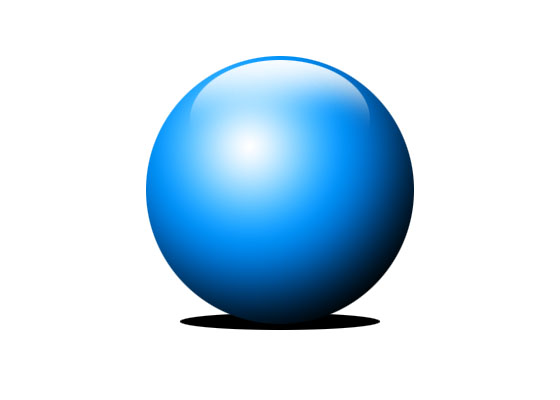
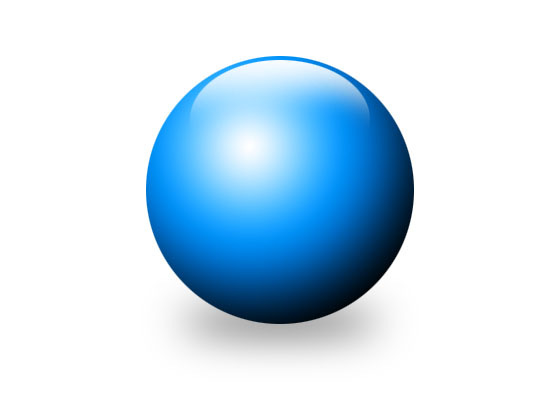
this effect should come:
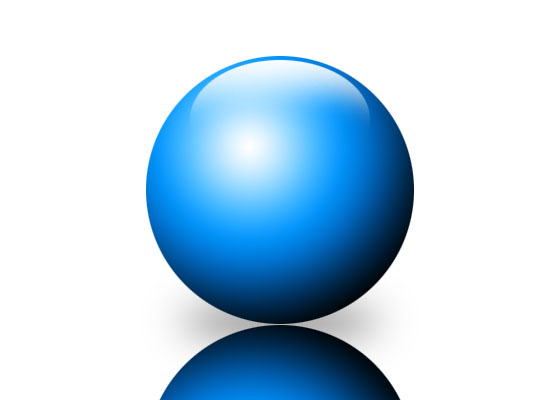
9. Now select blue circle layer and press Ctrl+J to copy it, create new layer and by select this new layer and the copied layer press Ctrl+E to merge these two layer. Now pick Move Tool and press Ctrl+T (Transform), pick the center node while holding Alt key and move that node on the bottom center node, now right click on it and select Flip Vertical then press <Enter> key, you will get some thing like this:
10. Again using Eraser tool erase the bottom part of this copied circle like shown below:
You may also find our this Tutorial about Hot & Glossy Icon in Photoshop. Must try it.






ELLIPSE?????