This Photoshop Tutorial will teach you how to make Milky Way Look. Some new Tools and Techniques to learn from this tutorial, hopefully you will enjoy it.
1. Create a new file of size 560x400px with 72 resolution and RGB color mode. Fill the layer with Black color.
2. Take new layer and fill it with Black too. Now run the command, Filter >> Render >> Lens Flare and give the following settings.

you will be having something like this:

3. Now press Ctrl+T and reduce the height to make the shape like this:

4. Press Ctrl+J to copy this layer and then rotate it to 90 degree (by holding shift key):

5. From Layer panel change the blending mode of this layer to Lighten:

6. Now press Ctrl+J few times and rotate the layers to make the flower like shape, shown below:

7. Merge all these layers with but leave background layer (by selecting all layers (except background) and pressing Ctrl+E). Now run the command, Filter >>Distort >>Wave and give the following settings:

you will be having something like this:

8. Press Ctrl+J to copy it and then run the command Filter >> Distort >> Twirl, give the following settings:

you will get something like this:
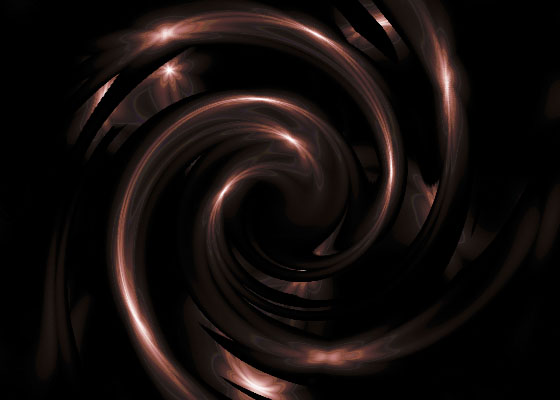
9. Change the Blending Mode of this layer to Screen:

10. Press Ctrl+J and then press Ctrl+T to rotate the layer like shown below:

11. Again press Ctrl+J and then rotate it like shown below:

12. Merge all layers, including background and Now press Ctrl+U (or run the command Image >> Adjustment >> Hue/Saturation), give the following settings:
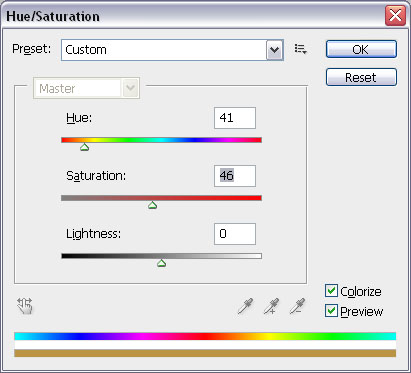
Its time to put some stars. Pick Brush tool and select stars like shape from its gallery, take new layer and click on different points, while using ‘[‘ and ‘]‘ to change the size of stars.
Here is the Final Milky Way Look in Photoshop:


