Very nice way to make real ribbon. This is very informative and best Photoshop Tutorial which will teach you how to make MultiColor Ribbon in Photoshop.
1. Create a new file of 560x400px size with RGB Color mode and 72 Resolution.
2. Fill the layer with any color of your choice, I’ve filled with #eac381 color.
3. Create new layer and fill it with any Pattern, I’ve filled with the following pattern.
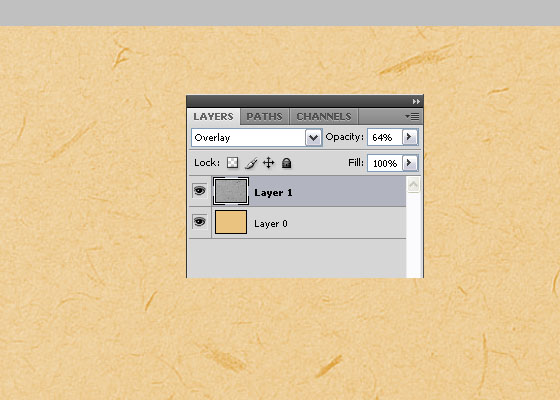
4. From the layer panel select Overlay instead of Normal in blending mode and change the opacity to 64%.
5. Create new layer and pick Rectangular Marquee tool and draw a long horizontal rectangle like shown below and fill it with any color, I’ve filled with #db10b2 color:
6. Add two more lines under this line with same way and fill these with (#cadb10) and (#db4510) relatively:
7. If you have made these strips in separate layers, then select all these three layers and press Ctrl+E to merge these. Now press Ctrl+ J duplicate it and the press Ctrl+T and rotate and move it like shown below:
8. Select original layer and then press Ctrl+T to rotate it like shown below:
9. Create new layer and go to Layer panel and by holding Ctrl key hit the icon of this layer, now pick Gradient Tool (with black to transparent gradient) draw a small gradient at the bottom left corner like shown below:
10. Merge these two layers by selecting these and pressing Ctrl+E, now by using Polygonal Lasso tool select the bottom part of the other ribbon and delete it, like:
11. We have just finished working on Multicolor Ribbon, now pick Horizontal Type tool and write your own text, I’ve written Stunning Mesh, with #efe6e0 color, copy this text as many times. Some text will be flipped like shown below:
12. Now merge all these layers with Ribbon layers (leave background textured layer) and run the command Layer >> Layer Style >> Outer Glow with the following settings:
this result should come:
13. Run the command Filter >> Texture >> Texturizer with the following settings:
This result should come:
14. Now pick the Dodge tool with brush settings as, Brush: 125 px, Range: Highlights, Exposure: 20%, use this brush on some part of ribbon to make the following look:
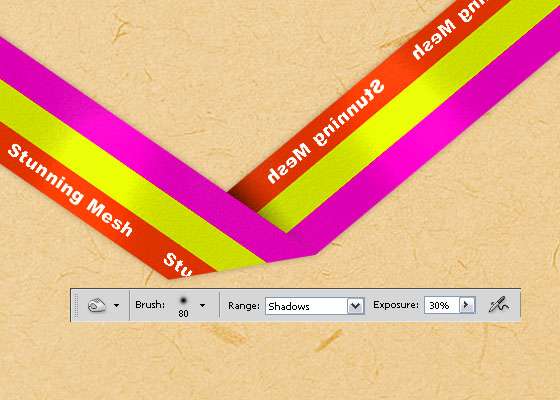
15. Select Burn tool with brush settings as, Brush: 80 px, Range: Shadows, Exposure: 30% and use it on different parts of ribbon to make the ribbon look at:
16. Now take a new File with 3 x 3 px size with transparent background, now using rectangular marquee selection tool draw small boxes like these and fill it with white color, as shown below:
press Ctrl+A to select all and then run the command Edit >> Define Pattern and write any name (i.e. StunningMesh-Boxes) and click OK to save it then close this file without saving it.
17. Now create new layer and then hit on the icon of Ribbon Layer to select it then run the command Edit >> Fill and select the pattern which you just made.
18. Now from Layer panel change its blending mode to Overlay and opacity to 40%, you will get this look:
19. Create a new layer under the Ribbon Layer and by using Polygonal Lasso tool , make the selection as shown below and fill it with Gradient from Black to Transparent like shown below:
20. Blur this selection by running the command Filter >> Blur >> Gaussian Blur.
21. Make shadows like this on some other places to give look that Ribbon is a bit away from the background:
22. Here is the final look of our MultiColor Ribbon Tutorial:


thanks.. like your tutorial..