This tutorial is really awesome, by working on this tutorial you will create Patch on Cloth effect in Photoshop. It is quiet interesting tutorial, you will really enjoy it. This will create Patch on Cloth and you will find many things to learn from this tutorial.
1. Take a new file with 560 x 400 px size, RGB color mode and 72 resolution.
2. Fill the layer with #95730b color, like:
2. Press D to bring Black and white color back, then press X to exchange their positions, now run the command Filter > Distort > Diffuse Glow and give the following settings:
you will get this result:
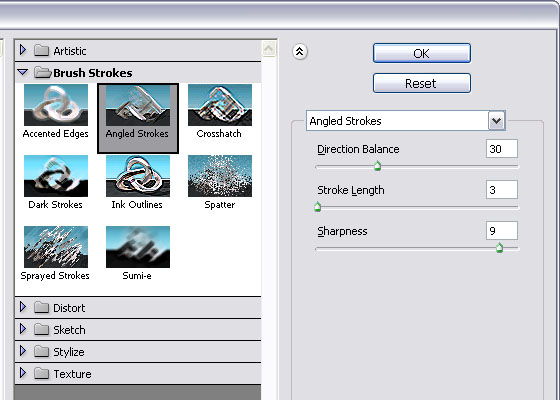
3. Again press D to bring Default Black and white colors in Foreground and background color palette. Press Ctrl+J to duplicate this layer and run the command, Filter >> Brush Strokes >> Ink Outlines, give the following settings:
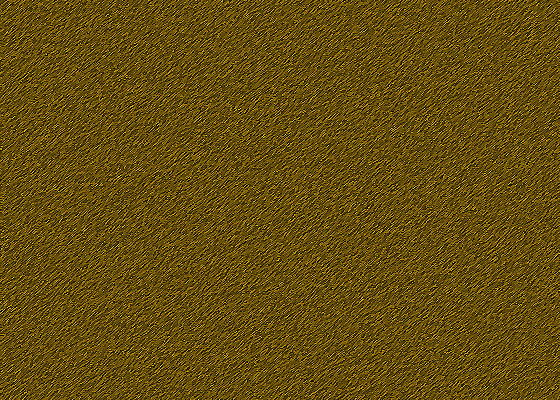
you will get something like this:
4. Goto Layer Panel and Change layer mode to Darken and set opacity to 40% up.
5. Create a new layer, after that pick Gradient Tool and a Black to Transparent gradient, fill in the work area as on picture below:
6. Pick Horizontal Type tool and write your desire text having any color, I’m here using white, and I’m writing S-M (StunningMesh):
7. While still keeping Horizontal Type tool on, click on Warped Text icon on the top Property panel, give the following settings:
Text should look like this:
8. Now run the command, Layer >> Layer Style >> Pattern Overlay and give the following settings:
9. In layer panel, right click on Text layer and chose Rasterize layer, then press Ctrl+U, or run the command Image >> Adjustment >> Hue/Saturation, give the following settings:
Text will look like this:
10. Pick Eraser tool and chose the following brush:
and erase some parts of S-M like show below:
11. Now run the command Layer >> Layer Style >> Drop Shadow and give the following settings:
you will get this look:
12. Now run the command Layer >> Layer Style >> Outer Glow and give the following settings:
you will get this look:
13. Create new layer, Pick Brush tool with 2 px size, chose any color and draw Stitches like shown below:
14. Now run the command Layer >> Layer Style >> Drop Shadow and give the following settings:
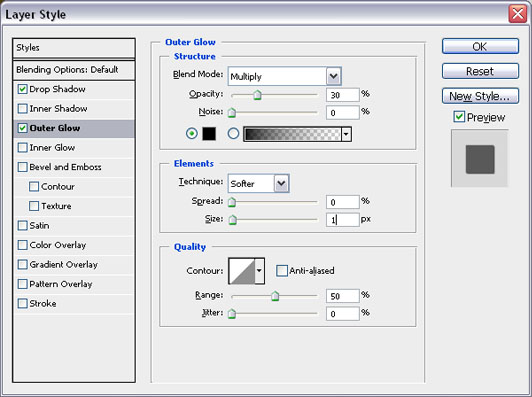
15. Don’t hit Ok, just click on Outer Glow and give the following settings:
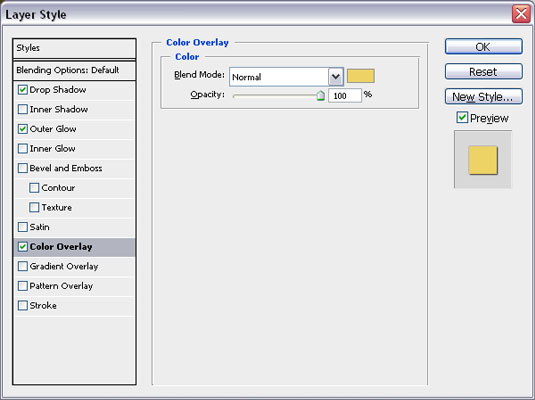
16. Again don’t click on Ok, just click on Color Overlay and give the following settings: (I’ve used color #edd365)
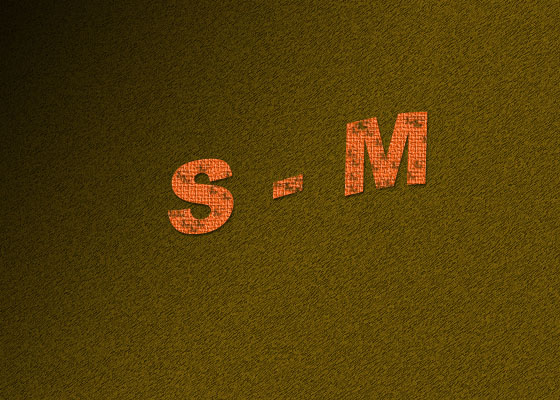
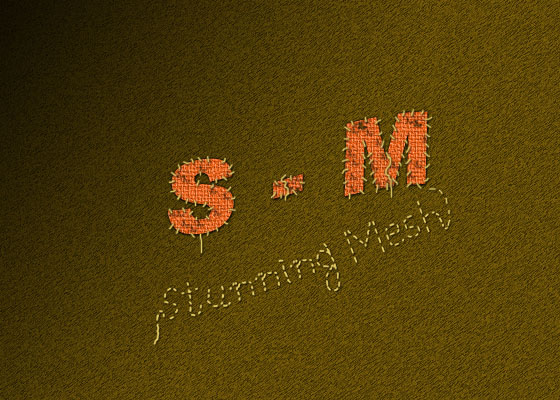
Here is the final result of Patch on Cloth Effect Tutorial:


