
This will be very nice Chilled Text Effect in Photoshop Tutorial. Not a very lengthy tutorial, very short tutorial and you will learn some techniques in it, hopefully you will enjoy it as I enjoyed making it.
1. Lets start with a new File of size 560×400 px.
2.Press D to bring foreground color black and background white in the Color Palette.
3.Now go to Filter >> Render >> Clouds. Then type any text, I’ve typed ‘Stunning Mesh’ in black color.

4. Go to Layer panel and hold Ctrl key and then click on Thumbnail of Text layer, it will bring Marquee around the text like:

5. Now go to Select >> Feather, and enter 3. Then hide the text layer like this.

6. Set your foreground color to white and background color to this Gray color #7E7E7E. Now create a new layer and go to Filter >> Render >> Clouds, your text will look like this.

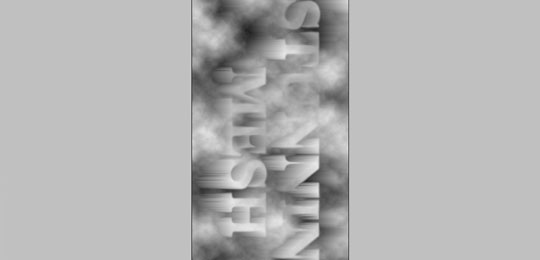
7.Now go to Layer >> Flatten Image. When prompt box appear then press ok button. Doing this Process will merge all the layers. Then go to Image >> Rotate Canvas >> 90CW.

8. Go to Filter >> Stylize >> Wind and apply this details.
Method: Wind
Direction: From the Right
Press Ctr l+F five times ‘For repeating this effect’
you will get something like this:
9.Now again go to Image >> Rotate Canvas >> 90CCW (this time) to turn the image back to normal viewing and Give these steps:
Sharpen >> Unsharp Mask.
Amount: 500%.
Radius: 2.
Threshold: 0.

10. Now create a new layer and set the Foreground color #00AFE1 and Background color #00309E. Select the Gradient tool in the options
select Radial Gradient and give the gradient like this:

11.Now change the Blending Mode of your new Layer to Hard Light. Here will be the final result of Chilled Text Effect in Adobe Photoshop, hope you enjoyed working on it:


This is the most amazing effect….
I think you have extra ordinary skills in photo shop, great things I discover about Photoshop here