Today I’m going to tell you some tools and techniques. Today we will work on creating your Own Realistic Box in Photoshop, may tools and commands to learn from this Tutorial, not a very Long Tutorial, but an Important One, Lets Start!
1. Lets start with a new document of any size. Draw the following shape by using either Pen Tool or Polygonal Lasso Tool
. Fill it with any color, but before doing so, don’t forget to take new layer.
2. Run the command, Layer >> Layer Style >> Gradient Overlay and give the following setting:
3. Hit Ok and then create new layer and download any old or Rusty paper and past it over the existing Shape layer. Then from Layer panel change the blending mode from Normal to Color Burn:
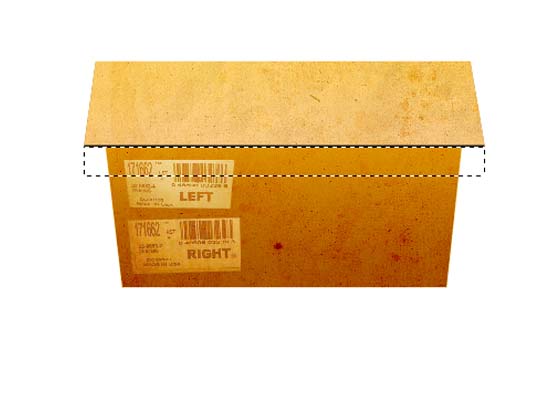
4. Keep selecting this layer and pick Move Tool and click on the thumbnail of the previous layer by holding Ctrl key, it will give Marquee around the previous shape. Press Ctrl+Shift+I to inverse selection and then hit Del key to erase the extra paper. It will give the following look:
5. To give the box Realistic look, download any kind of stickers from any website and paste it over here and change the blending mode from Normal to Screen from Layer Panel:
6. Now I’m going to make its Cover (to show the Open Box), Draw the following shape after taking new layer. You can make this shape again by using Pen Tool or Polygonal Lasso tool, fill it with any color:
7. Run the command, Layer >> Layer Style >> Gradient Overlay and give the following Settings:
This result should come:
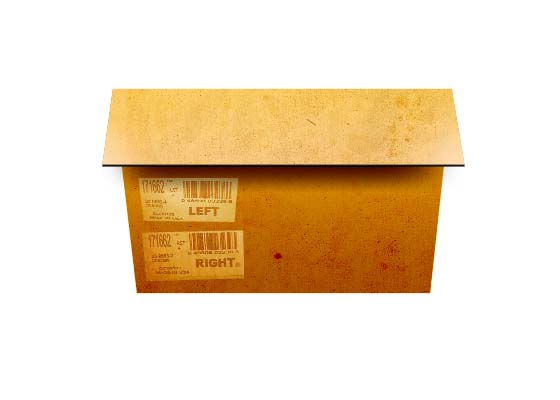
8. Press Ctrl+J to duplicate this layer, move it down a little bit and press Ctrl+[ to push it behind the original shape and fill it with Gray color (so it will give thickness of the box):
9. Again paste the old paper over it and then change the blending mode to Color Burn (to hide the extra paper you can either mask it with Cover just made or you can cut the extra paper, like I discussed in step 4 above:
10. Take new layer and draw a rectangle as shown below:
11. By using Feathered brush make the shadow like shown below:
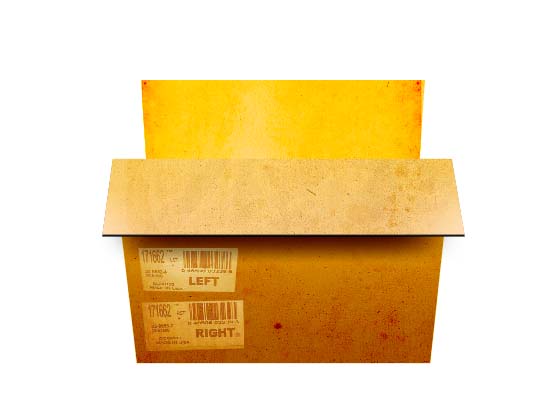
12. Now I’m going to make the behind box, simply create the shape like shown below and then call your Paper and change its blending mode to Color Burn:
13. Try to bring some Rust, by moving the paper a bit:
14. Now I’m going to make its Cover (folding area), create the shape like shown below after taking new layer:
15. Again Call your paper and Color Burn it:
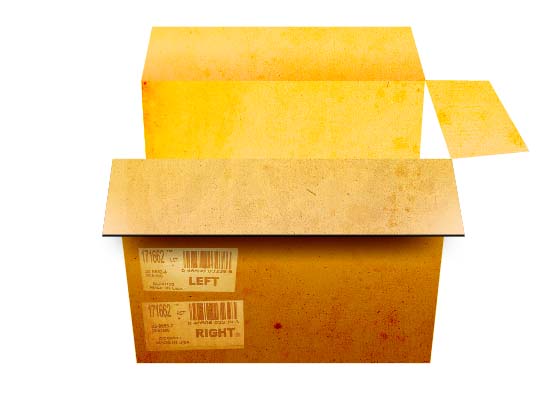
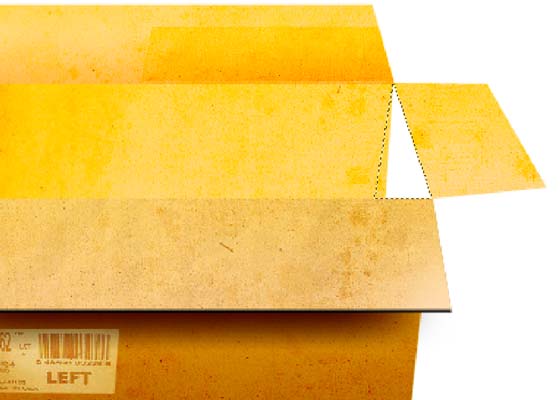
16. Now I’m going to make the Right side flap, create the shape like shown below:
17. Again call your paper and color burn it:
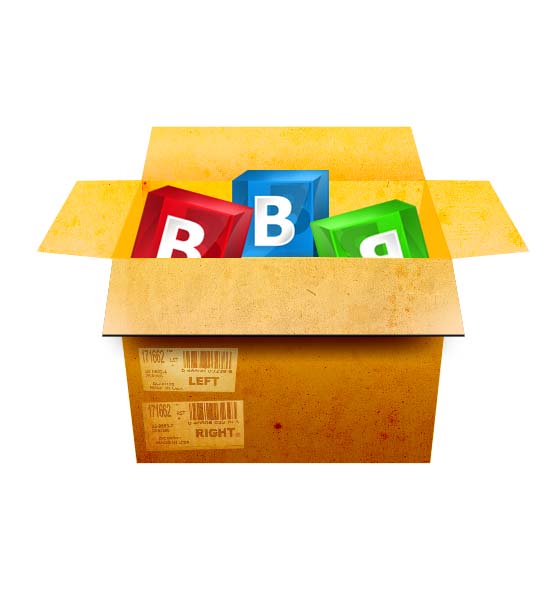
18. To fill the white area, take new layer at the bottom of these layer and fill this area with some darker color:
19. By using these steps make the left side area:
20. Now you can put any object in it to give it reality, like I’ve put some boxes inside it, so here is the final look of Realistic Box in Photoshop:


