I personally enjoy making this tutorial, hopefully you will also. In this tutorial we will be making a Web Cam in Photoshop and I’ll try to give it Realistic look. A lot of Tools involved along with Layer Styles, So lets start.
1. Lets start with new document (any size), just draw a circle by using Elliptical Tool ![]() , having any color:
, having any color:

2. Run the command Layer >> Layer Style >> Gradient Overlay and give the following settings:

3. By using Brush Tool ![]() (with feathered edges and white color 30% opacity) spot the upper part of the circle, like shown below:
(with feathered edges and white color 30% opacity) spot the upper part of the circle, like shown below:

4. Again create another Circle like shown below:

5. Run the command, Layer >> layer Style >> Bevel and Emboss and give the following settings:

This effect will come:

6. Press Ctrl+J and duplicate the layer, press Ctrl+T and reduce the size, then again press Ctrl+J to copy it and press Ctrl+T and reduce the size and fill the last copied circle with Dark Gray color, like shown below:

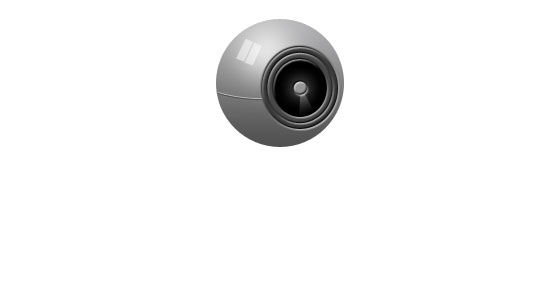
7. Its time to create its lens, draw a small circle like shown below having light Gray color:

8. Run the command Layer >> Layer Style >> Outer Glow and give the following setting, then click Bevel and Emboss and give the following setting and then Color Overlay in the last and select white color:

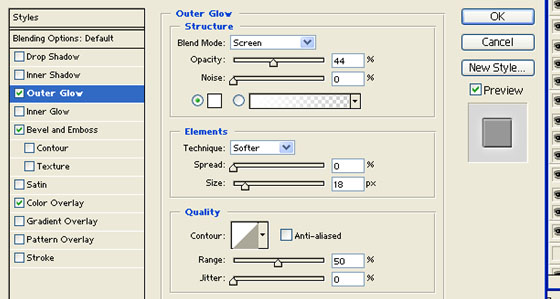
You will get something like this:

9. Now pick Polygonal Lasso ![]() toll and draw a small shape (don’t forget to take new layer before doing that), fill it with Gradient by using Gradient Tool, light gray to Transparent:
toll and draw a small shape (don’t forget to take new layer before doing that), fill it with Gradient by using Gradient Tool, light gray to Transparent:

10. Now select Rectangular Tool ![]() and create the shapes like shown below, it will give Glossy look:
and create the shapes like shown below, it will give Glossy look:

11. From Layer panel reduce the Opacity to 30%. Now pick Brush Tool ![]() , select 1 px size and color light, then pick Pen Tool
, select 1 px size and color light, then pick Pen Tool ![]() and draw a small curve, after drawing it, right click on the path and then select Stroke Path and then select brush. Then right click on path and select Delete Path, you will get this:
and draw a small curve, after drawing it, right click on the path and then select Stroke Path and then select brush. Then right click on path and select Delete Path, you will get this:

12. Press Ctrl+J to duplicate this curve and then fill it with darker color and move it little down by using arrow keys:
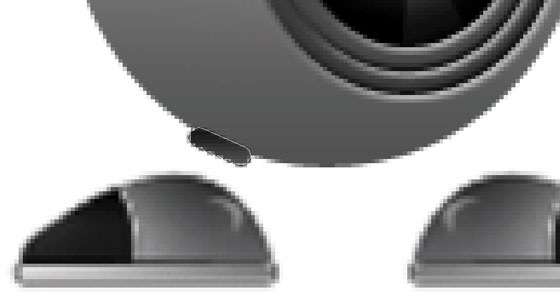
13. Camera is ready, but now you can give some Detailing, like making its Foot, so I’ve created the foot, by using Pen Tool ![]() and filling the shapes with Gradient Tools
and filling the shapes with Gradient Tools ![]() , so here is the Foot which I’ve created:
, so here is the Foot which I’ve created:

14. I’ve duplicated the foot and then Flip it Horizontally:

15. Now creating the legs by using Rounded Rectangular tool ![]() , like shown below: (then copy this shape to make leg):
, like shown below: (then copy this shape to make leg):
After copy the shape, I’ve created the leg:

16. Now I’m going to duplicate this leg and putt it towards right side, like:

So here is the final shape of our Web Cam in Photoshop, hopefully you like it: