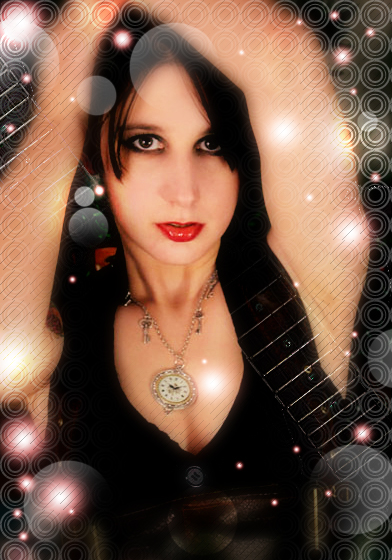
Sometime we need to give stylish effects to our Photo, so I’m trying to tell you a nice and attractive way to give your Photo a Glamorous look using Adobe Photoshop. Though it is a long tutorial, but in this tutorial you will learn many new things, especially how to create patterns. So I think it will be a different tutorial for you.
Final Result of our Glamorous look to your Picture Using Adobe Photoshop:
1. Lets start with your photo, I’m going to use a Model picture. Take new file in Photoshop and paste your Picture in it:
2. Now I’m going to create a new Pattern, I’ll use it around the picture. So take new file of 30×30 px size, with transparent background. Draw different sizes circles with different border width, I’m making 4px, then 2 px inside and then 4 px inside it with white color, like shown below, press Ctrl+A to select all then run the command Edit >> Define Pattern, give it any name like ‘stunningmesh-circles’ and hit ok, this pattern is saved in our Patterns Gallery:
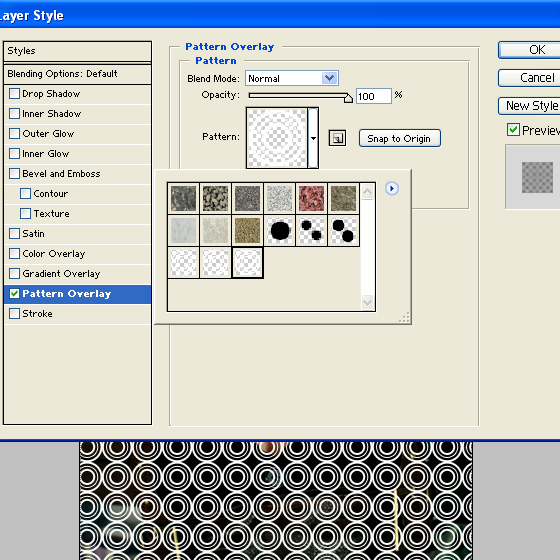
3. Now close Pattern file and come back to your Picture file again. Take new Layer and go to Layer >> Layer Style >> Patterns Overlay, select your Pattern from Pattern list and hit ok:
This result will come:
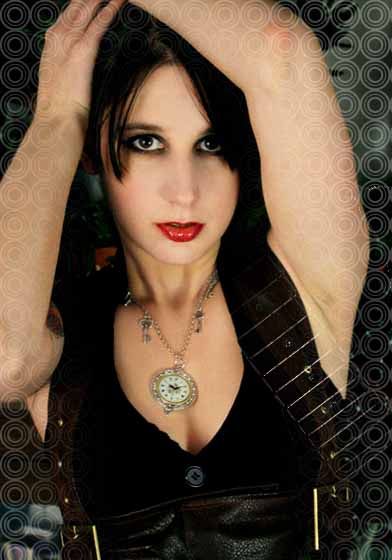
4. Now Change the opacity to 30% from Layer Panel and pick Eraser tool with soft edges and with large brush, erase the middle part of the pattern over Face and body like:
5. I’m now putting some objects over it as I’ve a Guitar and going to put over it:
6. Erase this Guitar as shown below:
7. Change the blending mode of this layer from Normal to Overlay from Layer Panel:
8. Press Ctrl+J to duplicate this Guitar and place it on left top side:
9. Create new layer and Pick Brush Tool with soft edges and white color, click on different places and by changing the size of brush using ‘[‘ or ‘]’. Spots must look like this:
10. Go to Layer >> Layer Style >> Outer Glow and give the following setting:
Spots will convert like shown below:
11. Now I need to add another Pattern, for this purpose take new File of size 30 x 30 px and create the pattern as shown below: (you can use Brush tool or Pencil tool
with different colors but size not more than 1 px. Press Ctrl+A and then run the command Edit >> Define Pattern, give it name like ‘stunningmesh-lines’ and hit ok, then close this file:
12. Come back again to your file and create new layer and run the command Layer >> Layer Style >> Patterns Overlay, select your last created pattern and hit ok:
13. Reduce the opacity of this layer to 30% and erase the center part of Pattern with Eraser tool with soft edges.
14. Create new layer and pick Brush tool with Hard edges and with white color, click on different places and with different sizes. Then reduce the opacity of this layer to 30%
15. Pick Eraser tool with soft edges, erase some parts of these circles like shown below:
16. Again create new layer and make some spots like we did in previous step, but this time change the blending mode of this layer to Color Dodge from Layer panel:
17. Select your Picture layer and go to Edit >> Adjustment >> Selective Color and apply these setting:
18. Run the command Image >> Adjustments >> Curves or just Press CTRL+M and give these setting:
This kind of effect should come:
19. Now Press CTRL+J to duplicate the picture and go to Filter >> Blur >> Gaussian Blur and give Radius according to the size of picture, here I’m using 6.7:
picture will convert into this:
20. Pick Eraser tool with soft edges and erase the face and some part of body, (remember we are erasing that layer which we have given Guassian Blur.
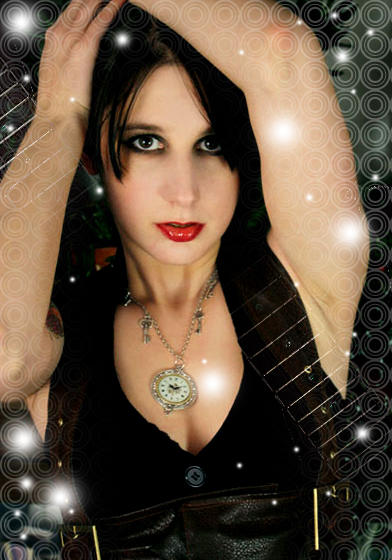
Here is the final look of our Glamorous look to your Picture while Using Adobe Photoshop:


fat? that’s a deltoid muscle and it’s the bottom portion of the model’s arm. I’m a size 0 and it’s normal to have a crease in the armpit when making that move/pose. And btw, guys and girls dig other girls that have toned body parts.
Pfft. who says stick skinny or heroin skinny is glamerous. That is usually associated w/goth or music types. bleh. Nice to see an average or real looking model that looks like a girl in my town.
Who cares about what patterns the person used. It’s the method of instruction and how to use photoshop that matters. You are welcome to change and use whatever you like. It’s just a quick demo.
the armpit and the uppe arm look fat, that doesn’t seem to be glamorous. also this awkward bias lines and guitar parts don’t fit in here.