
Here is a bit long tutorial in Photoshop. I’m going to make MP3/MP4 player in Photoshop, the purpose is to tell you some Tools and Filters, so you may be familiar with these tools and techniques. Hopefully you will like to make it by your own.
1. Lets start with new file and draw Rounded Rectangle ![]() on it:
on it:

2. Run the command Layer >> Layer Style >> Inner Glow and then Gradient Overlay, give the following settings:

3. Though this effect will not be having Clear effect but later it will give great look:

4. Pick Ellipse tool ![]() and draw an ellipse and fill it with color #0B0B0B:
and draw an ellipse and fill it with color #0B0B0B:

5. Now draw a smaller Circle inside it and give 1 px black stroke to it and fill it with color #191919 like shown below:

6. Press D to bring Black and white colors in Color Palette. Create new layer and run the command Filter >> Noise >> Add Noise and press OK:

7. While keep selecting this layer, click on the thumbnail of the big Circle, it will bring Marquee around the circle, like:

8. Press Ctrl+J to copy this part (delete the noise layer) and send newly created circle back but over the Circle Layer and from Blending Option select Overlay instead of Normal from Layer Panel:

9. Now put 4 Arrows towards different Directions, like shown below:

10. Now draw a rectangle smaller in size like shown below and fill it with #131313 color:

11. Run the command Layer >> Layer Style >> Stroke and make the stroke like show below:

Here result will come:

12. Now draw another Rectangle, smaller in size, over the previous Rectangle and fill it with Black:

13. By using Rectangular Marquee tool ![]() , select 40% of this rectangle from left side and by taking new layer apply gradient from Gray (top) to Black (bottom) like shown below:
, select 40% of this rectangle from left side and by taking new layer apply gradient from Gray (top) to Black (bottom) like shown below:

14. Now make the thin right border, by using Rectangular Tool and apply red (middle) to Black (top and bottom), as:

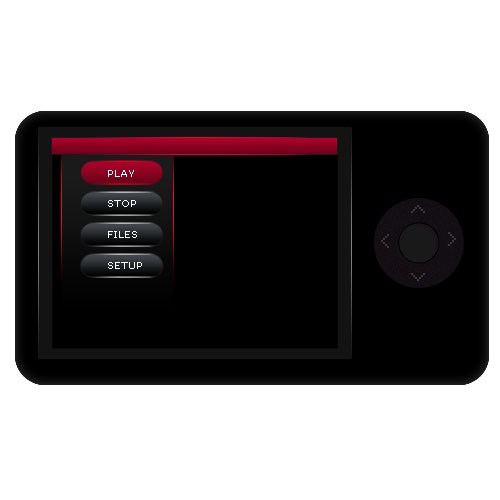
15. Now copy this border towards left side and draw 4 different buttons and apply gradient. You can make 1 button different to give Active Look:

16. Type the names of buttons over each button:

17. Now draw white rectangle over the Black rectangle, like shown below:

18. Run the command Layer >> Layer Style >> Gradient Overlay and then Stroke and give the following setting:


The result must be like this: (I’ve hidden the buttons for your convenience)

19. After switching on the Buttons, you will get this look:
20. Now you can write company name or Logo, like I’ve used BENQ:

21. Draw small dots, to give Speakers look, like showing below:

22. Now create new layer and from Layer Panel, click on the thumbnail of the First Rounded Rectangle, it will bring Marquee around it, fill it with White color, as shown below:

23. Cut the lower part of this in slightly angled, like shown below:

24. Reduce the opacity of the layer to 15%:

25. Now take new layer behind all layers and apply Radial Gradient (of your own choice) like shown below:

26. Now I’m going to make Shadow of this MP3/MP4 player, for this purpose draw a black ellipse under the player, like:

27. Run the command, Filter >> Blur >> Gaussian Blur and adjust the blur so Final Result of our MP3/Mp4 Player in Photoshop will look like this:

