I personally love this tutorial very much, this is Luxury Car front view in Photoshop Tutorial. This tutorial will really help you to polish your skills. You will learn Pen Tool, Dodge Tool, Burn Tool, Gradient Tool in this tutorial. So lets start making Car Front View in Photoshop.
Final Result of Luxury Car Front View in Photoshop Tutorial:
1. Lets start with a new file of size 560 x 400 px, with RGB color mode and 72 Pixels/inch resolution.
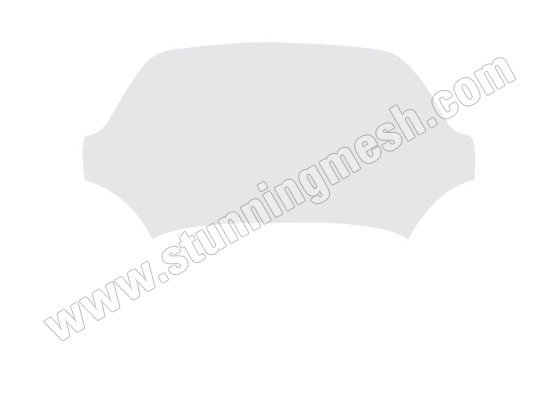
2. We are going to make the Roof part along with Bonnet, so create new layer and pick Pen Tool and draw the following shape:
right click anywhere over this shape and select Make Selection, give 0 in Feather Radius and hit Ok:
Fill the selection with #e5e6e8 color, press Ctrl+D to unselect, so you will get this:
3. Again take a new layer and pick Pen Tool and draw the following shape:
Convert it into selection and fill it with #29272a color, so you should have this:
4. Press Ctrl+J to duplicate this shape and hide this layer. Come back to the original layer and again by using Pen Tool draw the following shape:
Convert it into selection but this time give 1 in Feather Radius box and then hit Del key to delete the dark gray shape as:
Also delete the following part:
5. By using Pen Tool again, draw the following shapes for Seats and fill it with #181619 color:
6. By using Custom Shape Tool draw a half circle as:
Fill it with #181619 color and then goto Layer >> Layer Style >> Bevel and Emboss and apply the following settings:
7. Take new layer above all other layers, hold Ctrl key and click on the thumbnail of the layer which we hide (dark gray shape) so it will bring marquee around it, bring #5a5650 color in Foreground color palette, pick Gradient Tool and click on Gradient Picker box on top property panel and select Foreground to Transparent,
Now drag mouse pointer from top to bottom so you should have this effect over it:
8. Now we are going to start Headlight, first of all Create a new Group by clicking on its icon in Layer panel, , rename it as Headlight. Create new layer in it and by using Pen Tool
make the following shape:
and convert in into selection and fill it with #6b6a72 color:
Step 9:
Now by using Brush Tool , Dodge Tool
, Burn Tool
I’ve given some detailing over it to give Light look as:
10. Right click on the name of group (i.e. Headlight) select Duplicate Group and hit <Enter> key. Press Ctrl+T and right click over it and select Flip Horizontal and move it towards right side as:
11. Create new layer on top of all other layers, but below both Lights groups and draw the following shape by using Pen Tool and fill it wityh #d5d5d5 color as:
12. Goto Layer >> Layer Style >> Bevel and Emboss and apply the following settings:
Click on the Inner Shadow and give the following settings:
Afer hitting OK, this kind of result should come:
13. By using Pen Tool again, take new layer and draw the following shape and fill it with #25242a color as:
Goto Layer >> Layer Style >> Bevel and Emboss and apply the following settings:
This kind of result should come:
14. Here is another shape made by using Pen Tool and after taking new layer, filling it with #a6a7a8 color:
Apply the following Bevel and Emboss settings over it:
15. Goto Layer Panel and hold Alt key and click in between of this shape and previously made dark shape, so this shape will mask into previous shape so you will get this:
16. To avoid making this tutorial bore, I’ve given following details in this part by using Pen Tool , Dodge Tool
, Burn Tool
as:
17. I’ve also completed the indicators by using same tools and techniques as:
18. After completing Back View Mirrors and Tyre here the the look of our Car:
19. Here is the final and tough part of the tutorial, here I’m going to give some Details by using Dodge , Burn Tool
so you should have this final Luaxy Car Front, hope you enjoyed it:


Nike air max 2011 have the cushion fuction,
so you can wear the shoes at your’s option.
I Think agar ap iss ka front pr thori si mehnat or krtay to ap ki luxury car zeada
good looking lagti.
Don’t mind .
what a good performance…..