Today we are going to learn some Photoshop commands and techniques. In today’s Tutorial we will be designing 3D Food Box in Photoshop. The box would be having 3D look. We will be designing 3 sides of the box and then adjusting these to make 3D look. So you will have some techniques to learn from this tutorial, without wasting more time we are going to start our Food Box in Photoshop Tutorial.
Final Result of Food Box in Photoshop Tutorial:
1. First of all Take a new file in Photoshop. I’m going to take the file having the following parameters:
2. We will be designing 3 sides of the box. So first of all we are going to design the Front side of the box. We will be working by taking different Groups Layers in Layer panel. So it will be easy for us to manage all the things. First of all take a new Group by clicking on “Create a new group” icon in Layer Panel. Then by taking Rectangle Tool , draw a rectangle having the size 400 px width and 530 px height. No matter what color it is having.
After making the rectangle place in the middle of the file just for your convenience. Now goto Layer Panel and give it Fill opacity to 0% so black box would be vanished, no worries, this would be only for Background. Now again draw another Rectangle of having size 150px width and 530px height, align it with left side of the previously made Black box and now fill it with #00005a color, as shown below:
3. As we are making Bunny’s Food box so I’m going to put a Bunny picture over it. I’ve taken Bunny icon through net, you can get some icons from IconFinder, IconsPedia, IconSeeker, SoftIcons and a lot other icons providing sites. So I’ve placed this:
4. Lets design a logo for the company. So we will also learn some basic Logo Designing in this tutorial. Pick Custom Shape tool and draw a shape having Yellow Color i.e. #fff200 as shown below:
5. Again by using Custom Shape tool draw a shape as shown below having the color #5d0000:
Apply the following layer styles over it:
so you will have this:
6. You can also put a Bunny picture over it as:
7. Write any text over it:
8. Pick Horizontal Type tool and write the following text using any font you like and also the color, I’ve written the following (remember text should be within the boundary of the First Large rectangle we made):
9. By using Windows >> Styles panel apply any styles you like over it, I’ve pasted the following:
10. Pick Rounded Rectangle tool and draw a rectangle of size 200px width and 40px height with 25px rounded corners. Some parts of it should be outside of the First Large rectangle, as shown below (no worries about color as we will be applying Styles over it):
11. By using Windows >> Styles panel apply any style you like over it, I’ve pasted the following:
12. Create new layer over this rounded rectangle shape and select newly created layer and this rounded rectangle layer. Press Ctrl+E to merge these two layers, now pick Rectangular Marquee selection tool and delete the part which is outside the First Large rectangle as shown below (select this layer, goto Layer Panel and hold down Ctrl key and click on the First Rectangle layer’s icon, it will bring marquee around it, press Ctrl+Shift+I to inverse the selection and then hit Del key):
13. Write the word “Tasty” over it and use any Layer style over it, like:
14. Create new layer and pick Pen Tool , draw the following shape and fill it with #ba131d color:
15. Write any text over it with having White color and apply simple drop shadow over it, with 50% opacity:
16. Pick Custom shape tool and draw the following shape having Yellow color:
17. Write any text over it and apply your desire Layer Styles as:
18. After applying some patterns, I’ve made this final Box Front side:
19. To avoid making this tutorial boring, I’ve made the left and top part of the box by using these same commands, so I’ve made these two parts in separate Group Layers (Left part is having the size 100 px width & 530px height and Top part is having the size 400px width & 100px height):
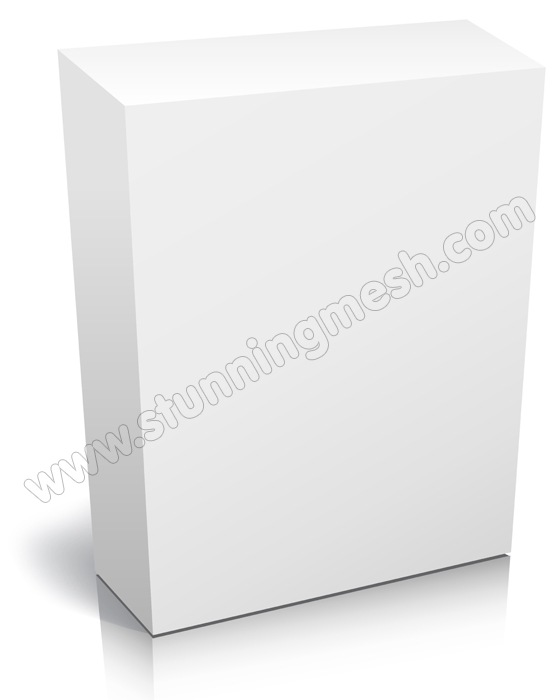
20. Now we have all the three parts and we are going to adjust these three in 3D shape. You can do this without having any previously made box. So I’ve purchased an empty box picture from Fotolia and we will be adjusting these three parts over this box:
21. Before adjusting three sides over it, make sure that you have taken backups of these three Group layer, simply Duplicate these three Group layers by right clicking on each Group layer and selecting “Duplicate Group“. So after creating duplicate, select each duplicated groups one by one and press Ctrl+E to merge every objects in it into single object. Hide all the original Group Layers and also Left and Top Part. Switch on only Front side. Press Ctrl+T for transform. Right click over it and select Distrot, now move every corner of the selection on the every corner of the Fotolia box front side, as shown below:
After hitting Ok, you will get this:
22. Switch on Left Side duplicated layer and press Ctrl+T then right click over it and then select Distort. Again use corners to adjust these on the corners of left side of Fotolia box as:
23. By using same technique I’ve adjusted top part as:
24. Now as we are having Empty box shadow below the box, as Fotolia box was empty. Now we need to make the shadow of our box. First select the Front side duplicated layer and then press Ctrl+J to duplicate it. Press Ctrl+T and right click over it and select Flip Vertical. Now press Ctrl+T again and now right click over it and select Skew. Move the box below and then move the right middle Node of selection towards up, so that you should have like this:
25. You must be watching the Yellow Tasty text strip is not showing correctly, no worries pick Pen tool and select the right extra area and delete it as:
26. Pick Erase tool with Feathered edges and large size, delete the lower area, so that you may have this:
27. I’ve also adjusted the left part Shadow, so we will have finally our 3D Food Box in Photoshop, as:


nice rabbit food box, thanks for the tut.