Today we are going to design Wide Screen Laptop in Photoshop. This Photoshop tutorial will teach you the use of some tools like Rounded Rectangle Tool, Rectangular Marquee Tool, Pen Tool etc. along with some Layer Properties like Drop Shadow, Inner Shadow, Satin, Gradient Overlay, Inner Glow, Outer Glow, Stroke etc. So you will learn a lot from this tutorial and hopefully you will also enjoy working on it. So lets start.
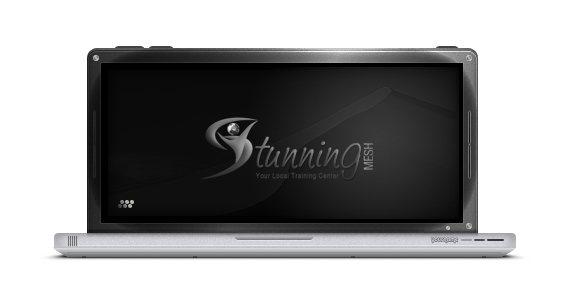
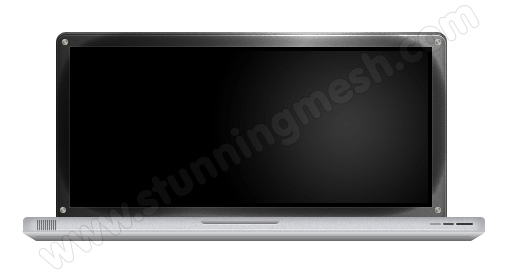
Here is the Final Result of our Wide Screen Laptop in Photoshop, we are going to work on it:
Step 1:
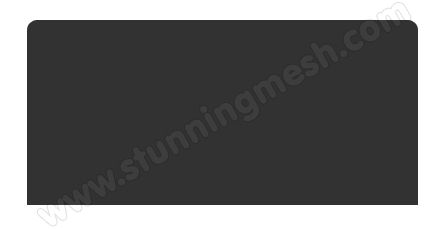
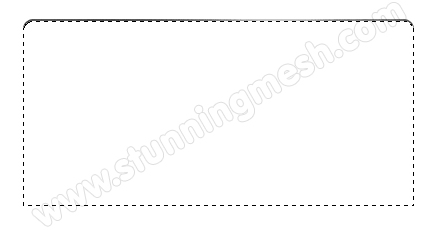
Let’s start out by creating a new file. I used a 700×500 pixels canvas set at 72dpi, and I filled my background with White. Now select the Rounded Rectangle Tool and set the radius setting to 10 px on the Options bar. In a new layer draw a large gray Rounded Rectangle with #323232 color shade and 391×200 px dimensions. Then cut the bottom corners of the rounded rectangle so it’s straight.
Step 2:
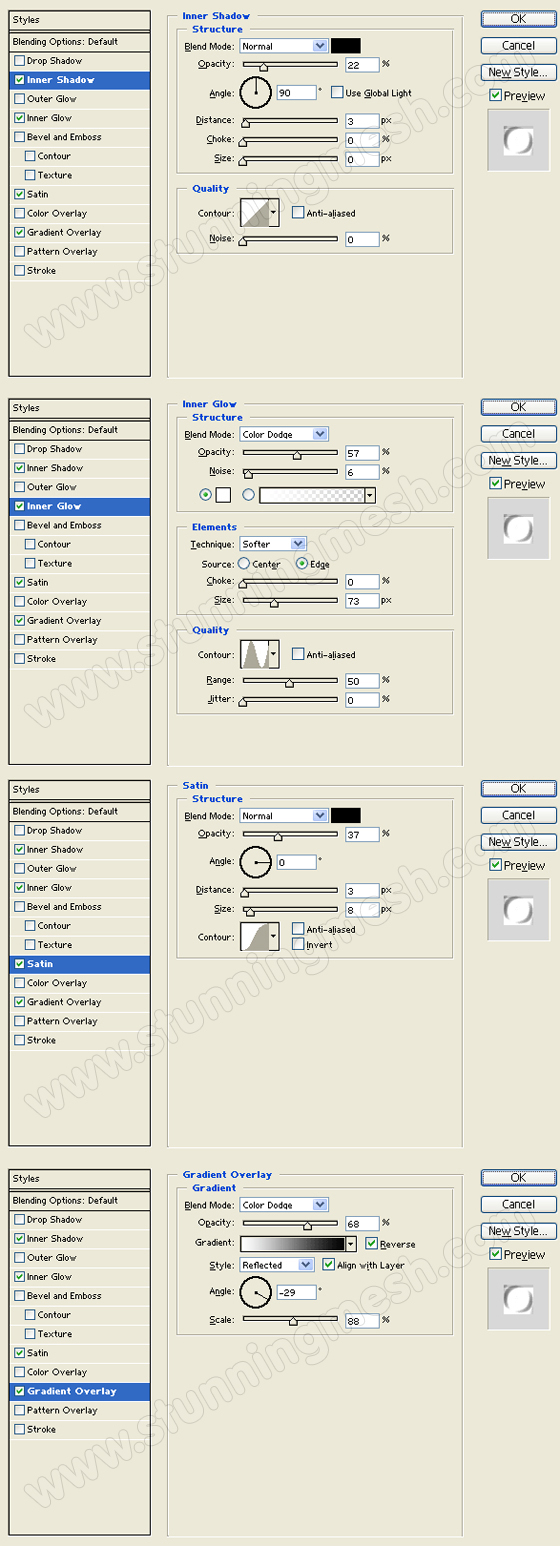
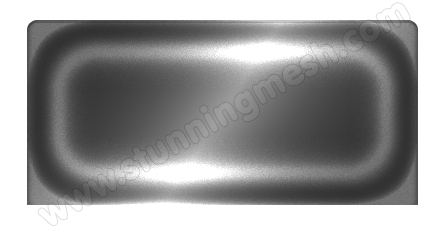
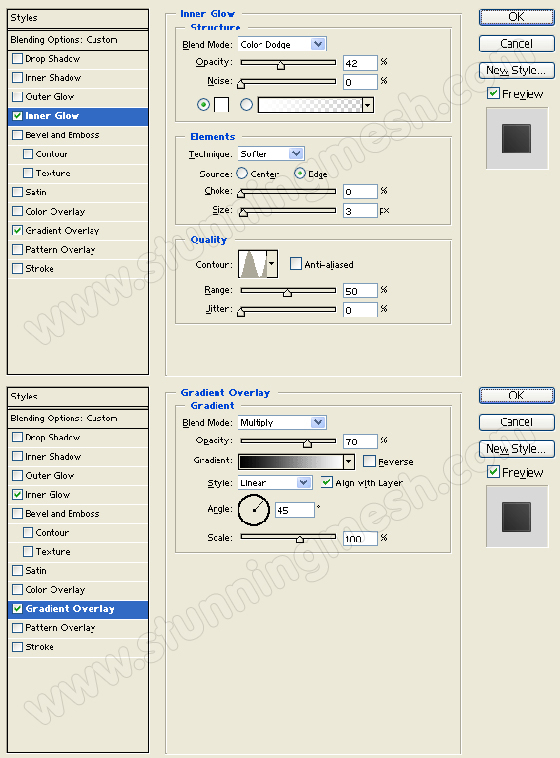
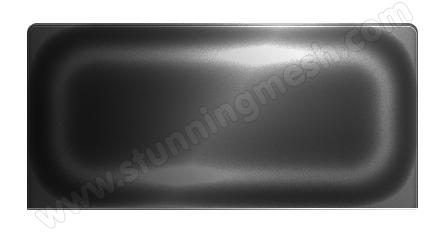
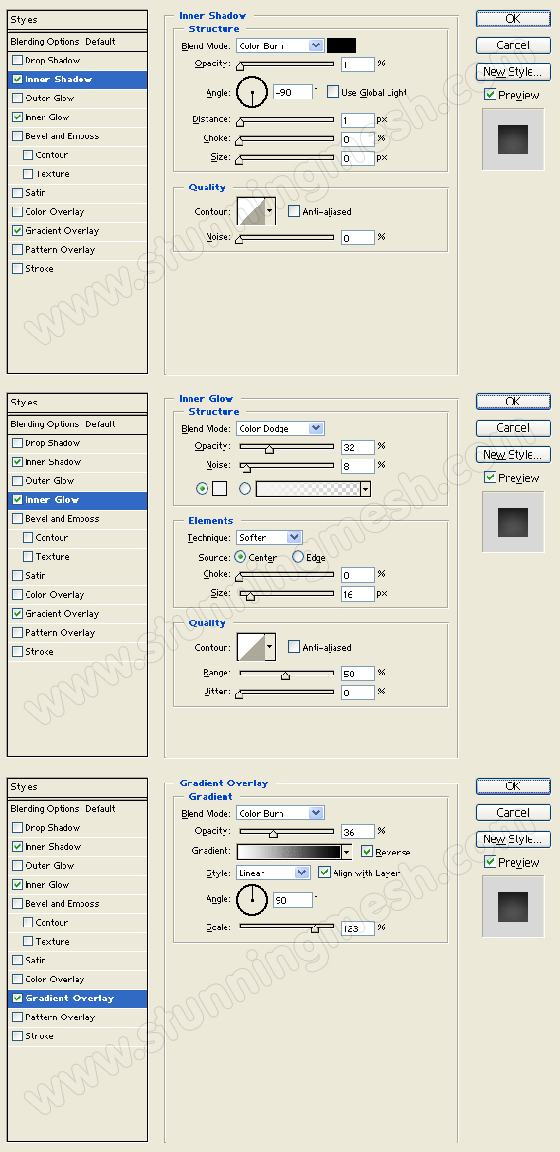
Under Layer Style (Layer > Layer Style) add an Inner Shadow, Inner Glow, Satin, and Gradient Overlay blending options to the large rounded rectangle layer.
Result:
Step 3:
Create a new layer, then add a Marquee Selection around the large gray rounded rectangle design. Fill the selection with white.
Step 4:
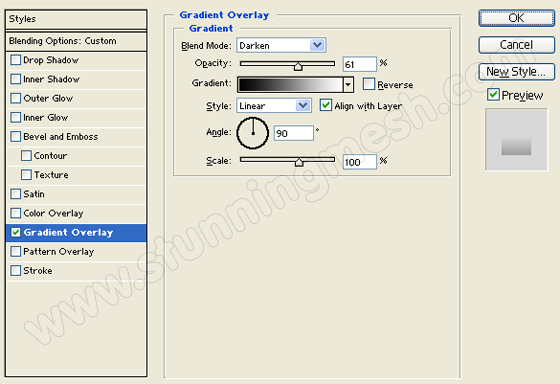
Under Layer Style (Layer > Layer Style) add an Inner Glow, and Gradient Overlay blending options to your white rounded rectangle layer. Then set the layer’s blending mode to Darken.
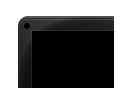
Result:
Step 5:
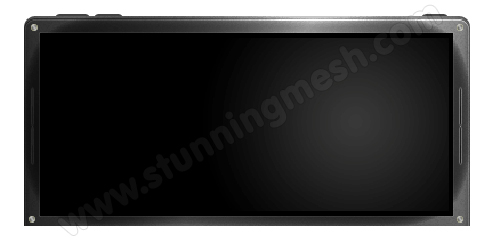
In a new layer draw a large black rectangle with 362 x 160 px dimensions.
Step 6:
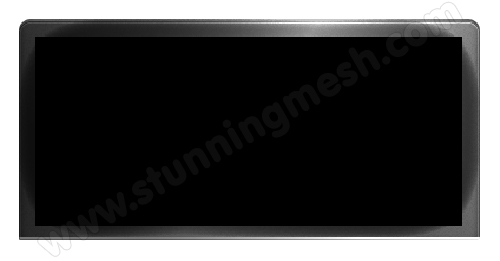
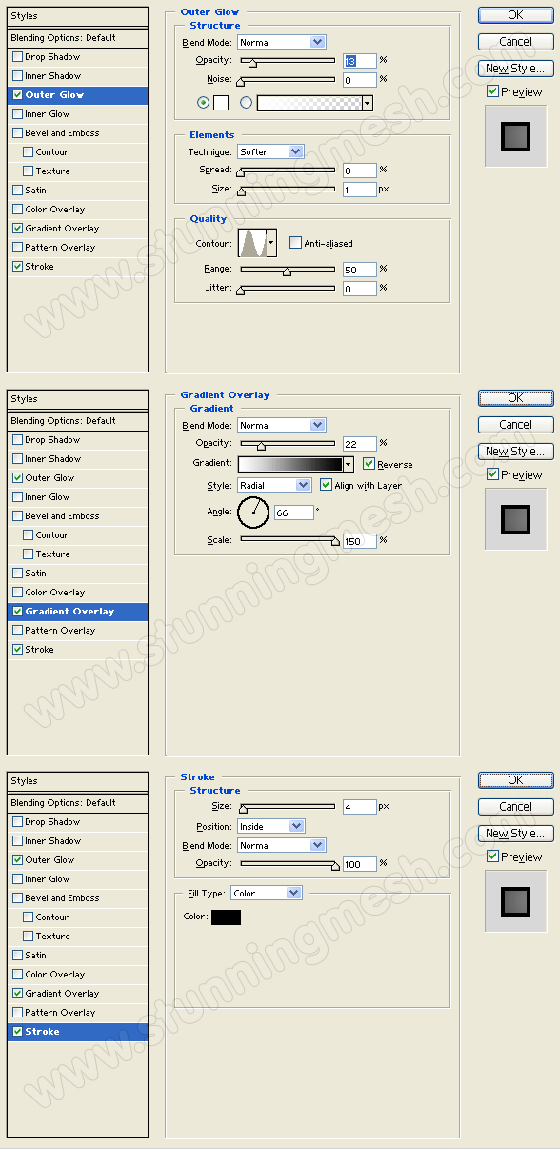
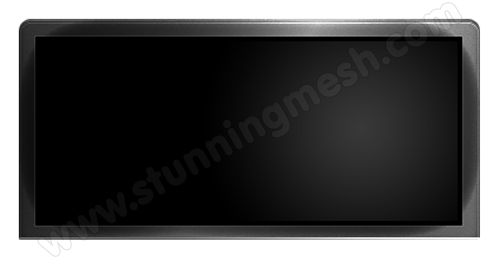
Under Layer Style (Layer > Layer Style) add an Outer Glow, Gradient Overlay, and Stroke blending options to the large black rectangle layer.
Result:
Step 7:
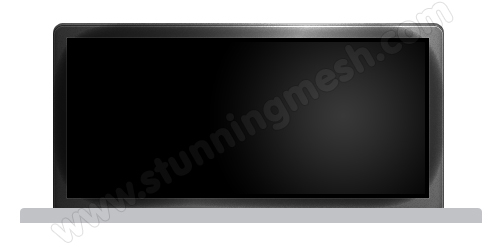
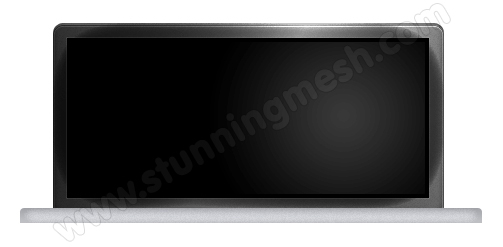
Create a new layer. Then draw a long, thin Rounded Rectangle with #C1C2C6 color shade, 462 x 24 px dimensions and 4 px corner radius. Cut the bottom corners of the long rounded rectangle so its straight like the large rounded rectangle from step one.
Step 8:
Under Layer Style (Layer > Layer Style) add an Inner Shadow, Inner Glow, and Gradient Overlay blending options to the long, thin rounded rectangle layer.
Result:
Step 9:
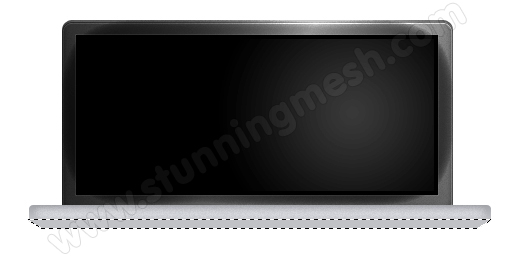
Create a new layer, using the Pen Tool, draw a long, thin rectangle with slanted sides as shown below.
Step 10:
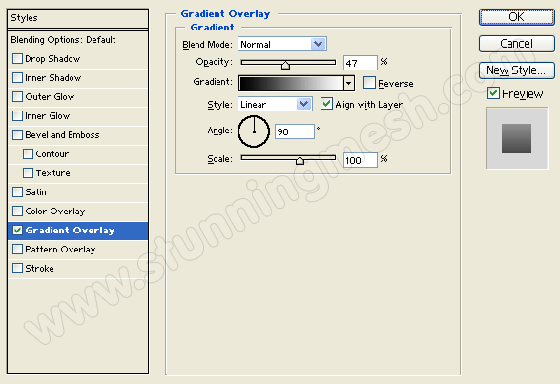
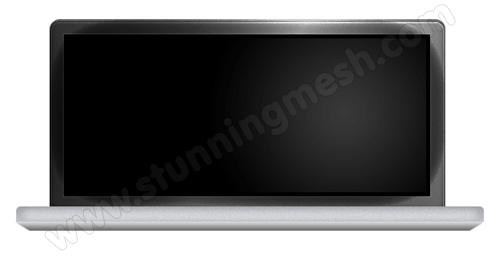
Under Layer Style (Layer > Layer Style) add a Gradient Overlay blending option to the long slanted rectangle layer.
Result:
Step 11:
In a new layer, draw a black rounded rectangle with 80 x 9 px dimensions.
Step 12:
Under Layer Style (Layer > Layer Style) add a Gradient Overlay blending option to the black rounded rectangle layer. Then set the layer’s blending mode to Lighten.
Result:
Step 13:
In a new layer, draw a small black circle with 6 x 6 px dimensions.
Step 14:
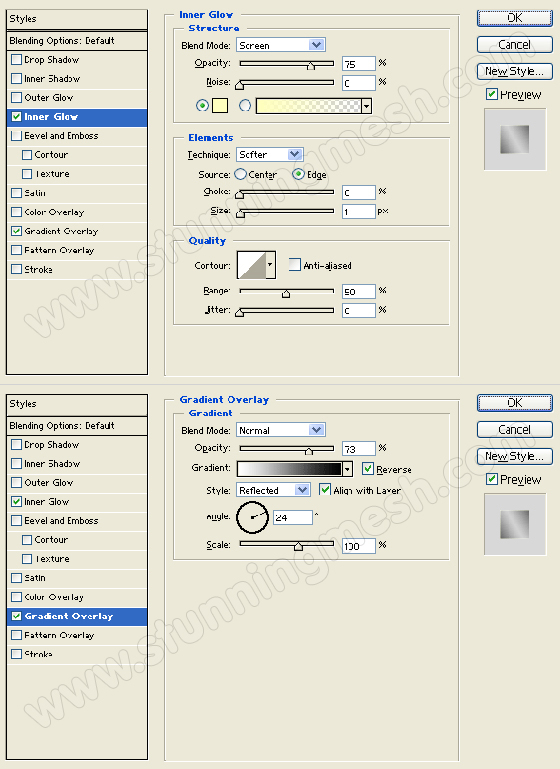
Under Layer Style (Layer > Layer Style) add an Inner Glow, and Gradient Overlay blending options to your small black circle layer.
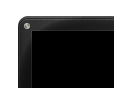
Result:
Step 15:
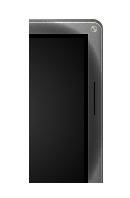
Duplicate the small black circle design layer and place one on each corner of the screen. Then in a new layer, draw 3 small, thin rectangles with different opacity levels on the right end side of the laptop. In a separate layer, add black lines on the left end side for details.
Step 16:
In a new layer, draw a 1px black line on the right end side of the screen.
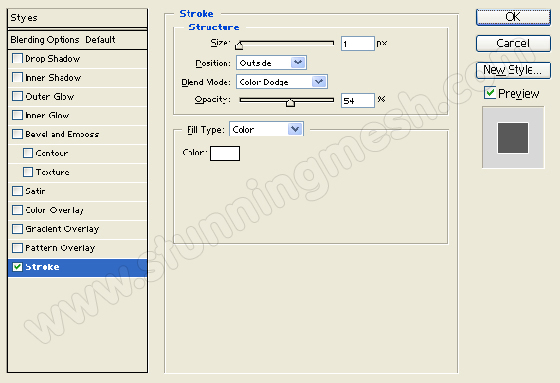
Step 17:
Under Layer Style (Layer > Layer Style) add a Stroke blending option to the 1px black line layer.
Result:
Step 18:
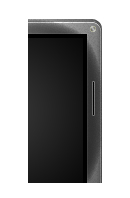
Add the same 1px black line design on the other end of the screen as shown below. Then in separate layers add small gray rounded rectangle on the top end of the screen.
Results:
So after giving some details, here we got our Wide Screen Laptop in Photoshop, hopefully you got some new techniques and learn something by following this tutorial, must try and you can send us your work.
Lets checkout our next Photoshop tutorial about How to make Navigation Menu in Photoshop.






Experience the thrill of parasailing in Dubai, where you’ll soar high above the stunning coastline and take in breathtaking views of the city’s iconic skyline, pristine beaches, and crystal-clear waters. Whether solo or tandem, this adrenaline-pumping adventure offers a unique perspective of Dubai’s beauty from the sky. Perfect for adventure seekers and first-timers alike!
Nice tutorials and very useful vectors, i am very thanks such an beautiful vectors collections.i hope in future also u will add some more collections, i am really thanks your contribution towards world designers community.
Sandy
Great tutorial bud.
A tut that I was looking for.
Thanks for sharing.
You have a great tutorials. This will help so much! Thanks for the share.
This tutorial is very useful to me.Its help a lot in many different ways.Thanks