This Tutorial will teach you How to make Beach Background Wallpaper Design in Photoshop. By following this tutorial you will learn how to design Wallpapers in Photoshop. This can be assume as the Basic Photoshop Tutorial in which you will learn some basic Tools like Pen Tool, Ellipse Tool, Marquee Selection Tool, Gradient Tool, Polygon Tool, etc. You will also learn some Layer Styles like Inner Shadow, Inner Glow, Gradient Overlay etc. So it will be very useful Tutorial for Beginners who wanted to learn Photoshop Techniques.
Final Preview:
This is the final Preview of what we are going to make in Photoshop. This is Beach Background Wallpaper Design’s Final Preview, your Final Result may be different from this one, as you should also apply some more commands to give Final Touching.
Step 1:
Start out by creating a new file. Set the size of the canvas to liking and fill the background with #DDD5BE color shade. Now set the foreground color to #569BB2 color shade on the Tools Window and #DDD5BE color shade for the Background. Select the Gradient Tool and select Linear Gradient on the Options Window. In a New Layer, add a Gradient effect on the top end of your canvas.
Step 2:
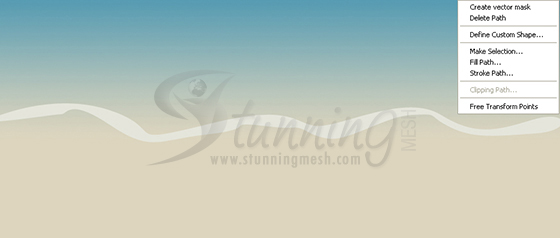
Select the Pen Tool and set the Paths on the Options Window. In a new layer draw a random wave shape with #E5E5DB color shade as shown below. To do this, make a wave shape using Paths points. When you connect your Path points, right click on the canvas and select Fill Path.
Step 3:
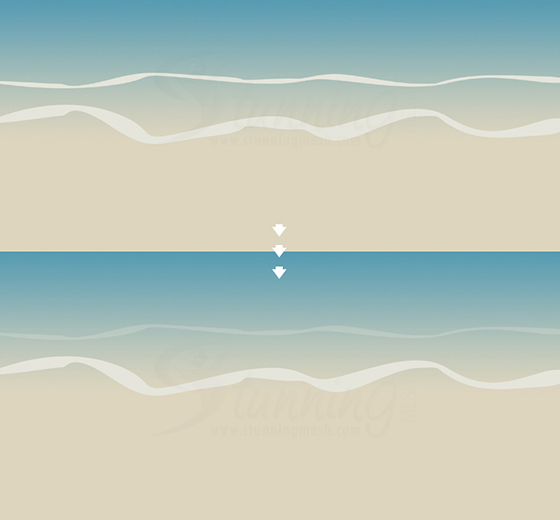
Create a New Layer. Make a thinner wave shape design with #E5E5DB color shade just above the first. Set the Layer’s Opacity level to 26%.
Step 4:
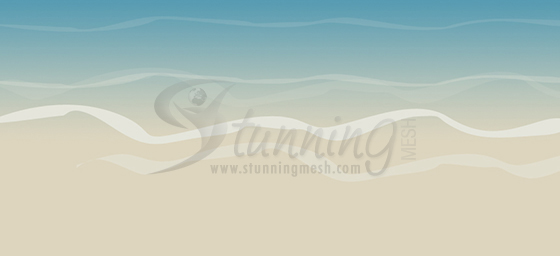
Add more waves.
Step 5:
In a New Layer, create a wave shape with #D7CBB0 color shade below the first wave design. This will blend the beach with the water.
Step 6:
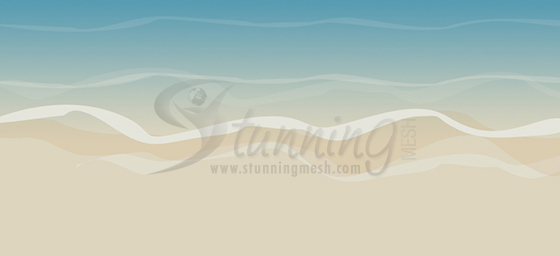
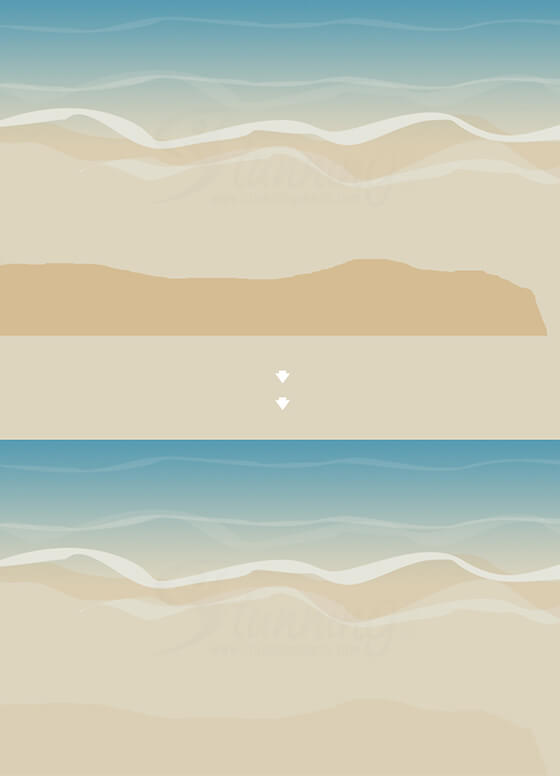
Create a new layer. Using the Pen Tool , draw the large light brown (i.e. #D5BC93) shape shown below on the bottom of your canvas. Then set the Layer’s Opacity level to 21%.
Step 7:
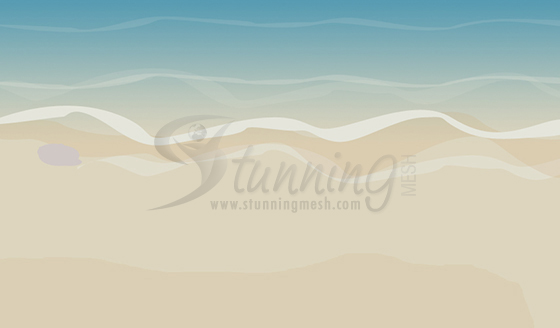
Create a new layer. Using the Ellipse Tool , draw a rock like shape with #D0C8C5 color shade.
Step 8:
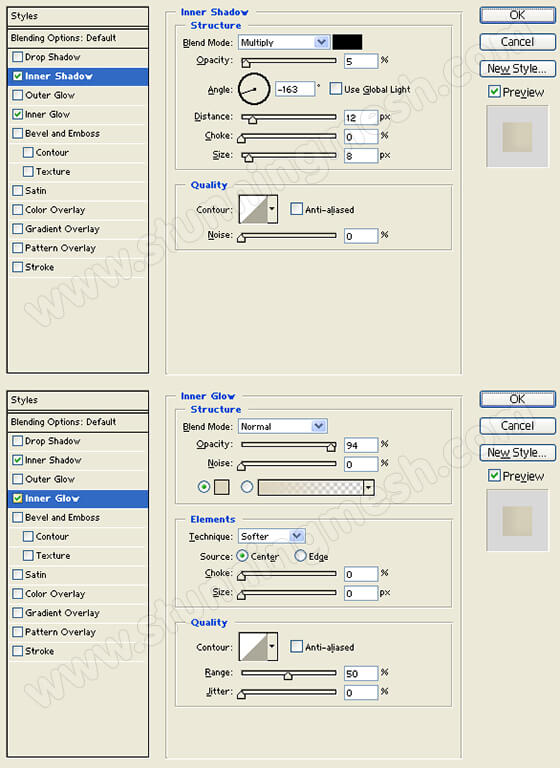
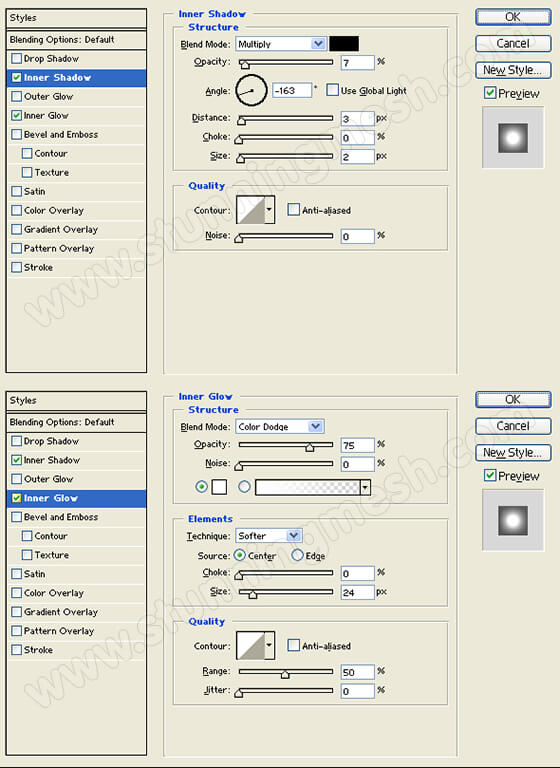
Under Layer Style (Layer > Layer Style) add an Inner Shadow and Inner Glow blending options to the rock like shape layer.
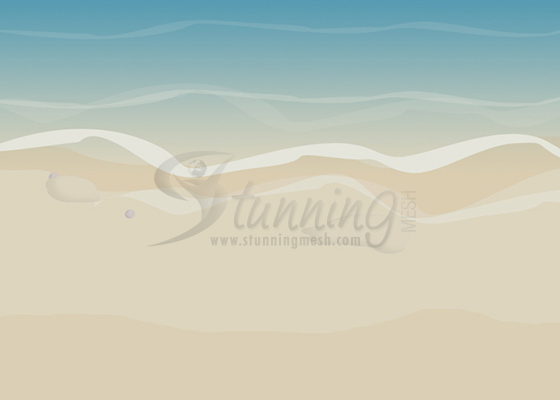
After hitting OK you will get something like this:
Step 9:
In a new layer, make another rock like shape on your beach background. Then add the same layer style settings from the first rock like shape layer.
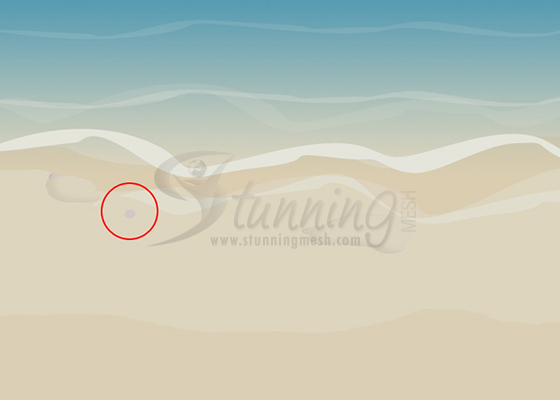
Step 10:
In a new layer, draw a small gray Ellipse with #D0C8C5 color shade and 15 x 13 px dimensions on your beach design.
Step 11:
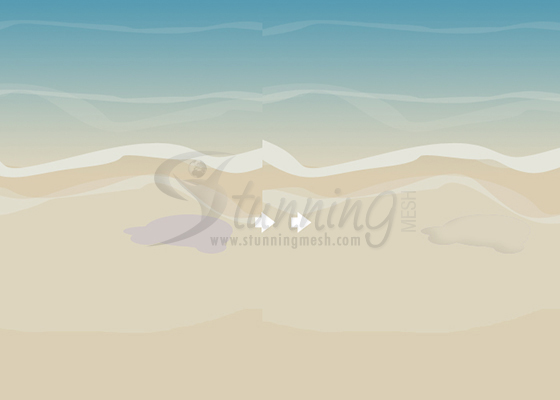
Under Layer Style (Layer > Layer Style) add Inner Shadow and Inner Glow Blending Options to the text layers.
After hitting OK you will get something like this:
Step 12:
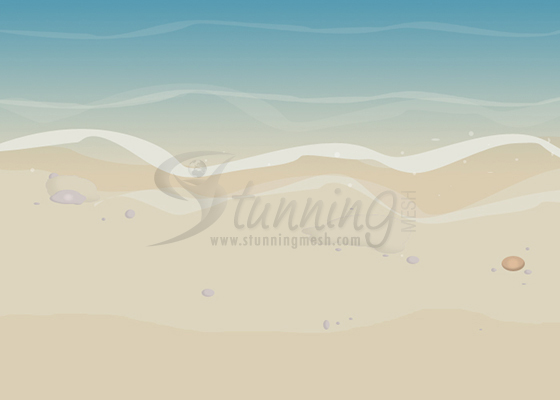
In separate layers, add more small rocks with different shapes on your beach design.
Step 13:
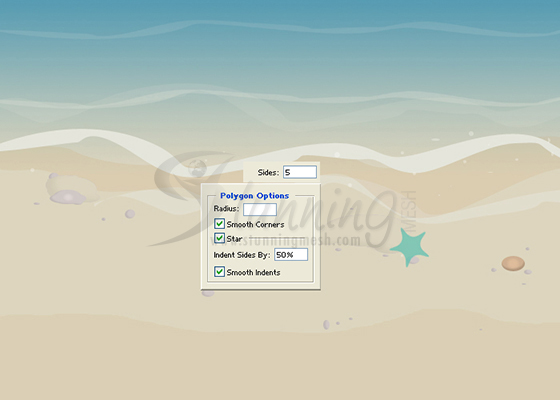
Select the Polygon Tool . On the Options Window, set the sides setting to 5. Then open the Polygon Options and use the settings below. Now create a new layer and make a starfish shape with #83C6B5 color shade on your beach design.
Step 14:
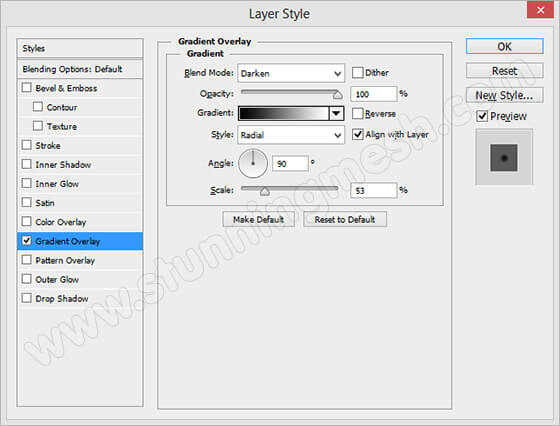
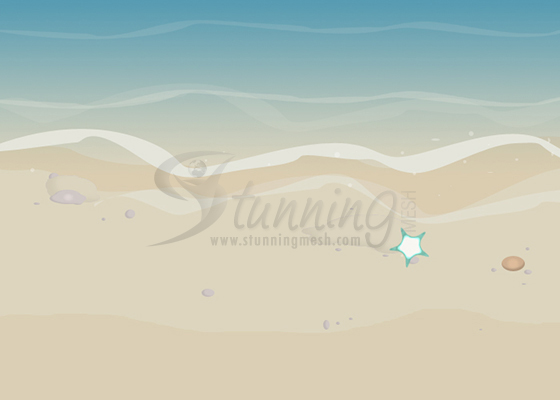
Under Layer Style (Layer > Layer Style) add a Gradient Overlay blending option to the white bucket shape layer. Then set the layer’s blending mode to Darken.
After hitting OK you will get something like this:
Final Results:
So this is the Final Result of what we did in above Tutorial. This is the Final Beach Background Wallpaper Design in Photoshop. Hope you have learn a lot from this tutorial.





Thanks for sharing…
I Really love this site…
Thank you for this tutorial,
I am learning as much as I can as I am new to digital graphics and this was very helpful.
cheers
Paul