Sometimes you want to put your picture on any object and that object would be in any shape and direction. So I’m going to tell you how you can wrap image around any object and it will give realistic look. We would be using Adobe Photoshop CS version as we need Warp command in it.
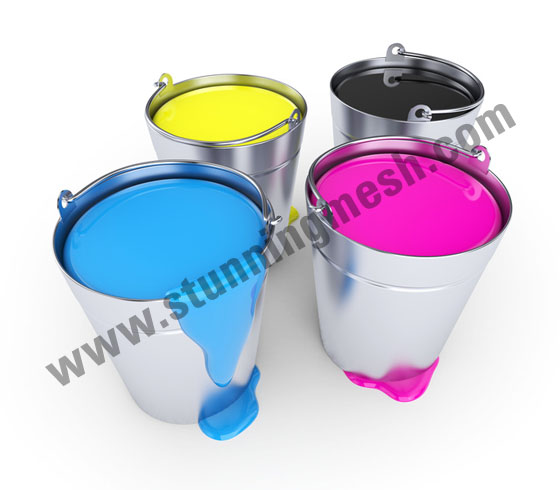
1. First of all you need some pictures, the main picture around which you want to put your picture, so I’m using this picture as main picture:
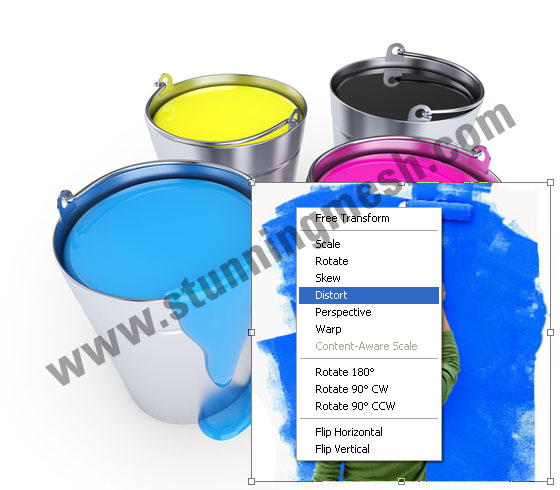
2. Now we would be needing 4 pictures to wrap around these buckets. Insert one of those pictures here and then press Ctrl+T and then right click over it and choose Distort:


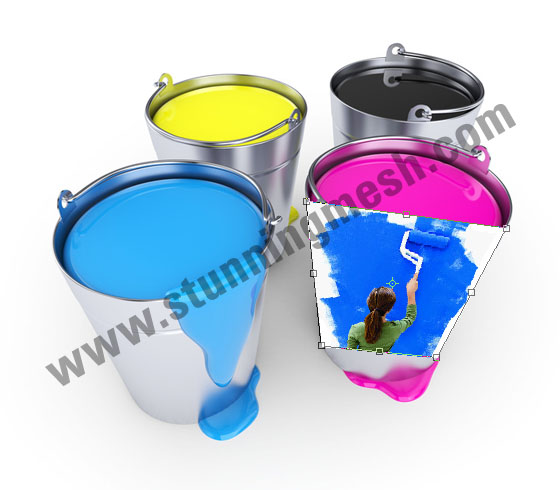
3. Now put the 4 corners of the picture around the edges of one bucket as shown below:

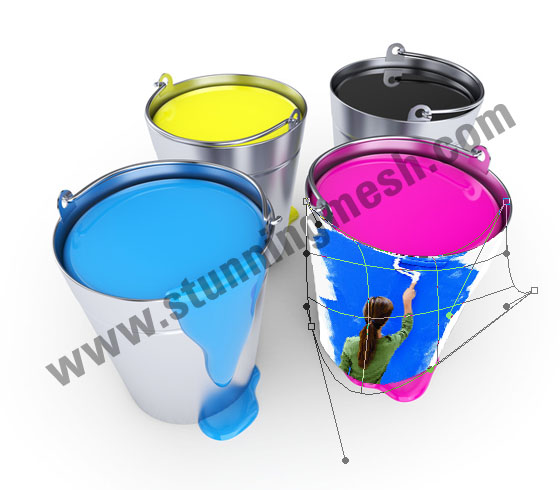
4. Hit Enter key to finalize this shape. Now run the command Edit >> Transform >> Warp (only in Adobe CS version) and by using the shape handles adjust your picture according to the shape of Bucket as shown below, then hit Enter key:
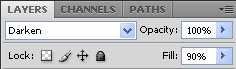
5. From Layer Panel change the blending mode from Normal to Darken and reduce the opacity of the layer to 90%, you will find this:
6. Now by using same technique adjust the second picture on second bucket:
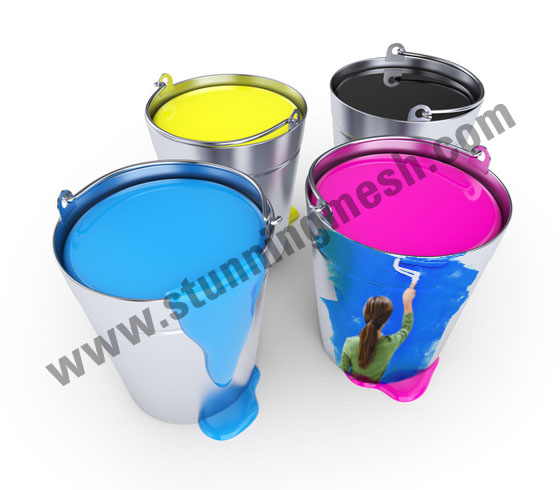
7. Same technique would be used for the third and fourth buckets, but we have to cut these pictures. Like we have the third picture as:
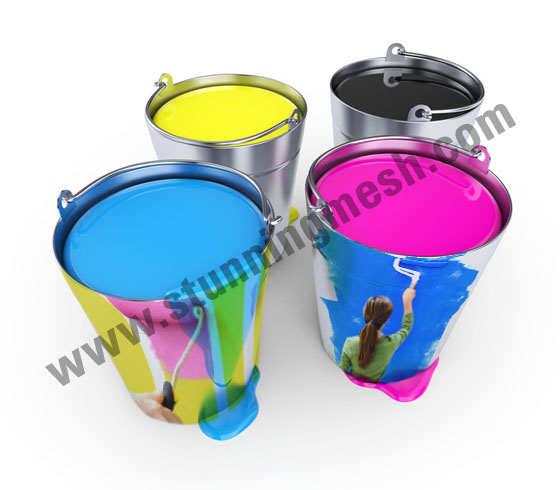
8. Now hide this layer for a while and pick pen tool and select the Second Bucket which is coming over this bucket, like shown below:
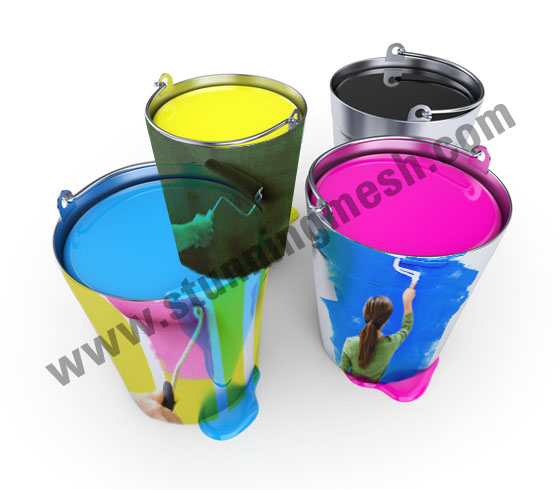
9. Now switch on the Hidden layer and keep selecting that layer, hit Delete key you will get this:

10. Repeat these steps for the fourth bucket and you will get Finally this picture:

Hopefully after following these easy and simple steps you can professionally Wrap Image around any kind of object using Adobe Photoshop. Don’t forget to share this Photoshop Tutorial on different kind of Social Media platform, keep visiting us.


Very Gooooooooood usefull
Thanks for this. I am using Adobe Photoshop 7,0 and I’m hoping I can do it using the “Free Transform”effect. I want to wrap a pattern over a picture of a brick, the effect I would like to be able to obtain, would be like an almost liquid picture of a pattern into every contour and crevice of the picture of the brick as if it was painted on but the perspective is correct, as is the shading.
If anyone knows what I mean and how to do it I would really appreciate any advice.
Terrific work! This is the kind of information that are meant to be shared around the net.
Disgrace on the seek engines for not positioning
this publish higher! Come on over and talk over with my website .
Thank you =)
i am a Photoshop addict..its relay fantastic tutorial..i really learned to this tutorial..Thanks for sharing
Thank you for great blog & tutorials! I have problem with final looks, picture is always transparent. Please advice !!
Instead of selecting Darken from Blending mode, try selecting other options like Overlay etc.
Hi
Nice
Very cool !!~ thank for tutor.
My cousin recommended this blog and she was totally right keep up the fantastic work!
Awesome share! Thank you very much