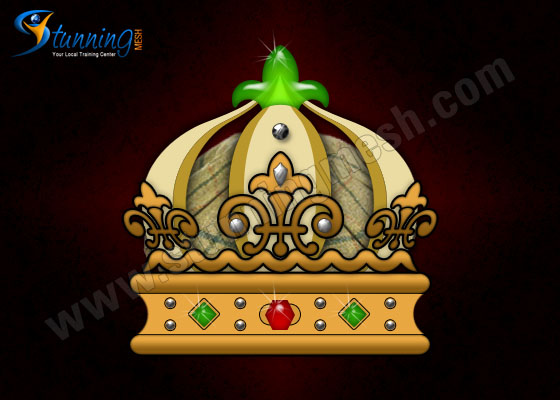
In this tutorial, I’m going to make Royal Crown in Photoshop having some Precious Gems on it (we will be making those too). Some new techniques for you to learn in this tutorial. You will really love to practice it and hopefully you will enjoy it. Lets start working on Crown in Photoshop Tutorial.
Final Result: Royal Crown in Photoshop Tutorial
1. Lets start with a new file of size 560×400 px with 72 DIP Resolution and RGB color scheme. Just paste any background to make Royal Crown prominent. I’m using this picture as background:
2. In Layer Panel click on Create New Group icon:
Double click on the name and write the name, “Bottom-Part“, hit <Enter>. Now we have to make all new objects in this Group.
3. Pick Rounded Rectangle tool , give 100px in Radius from top Property Panel and draw a rectangle of size 300px width x 20px height, having any color:
4. Apply the following layer style on it:
After hitting Ok, you will get this:
5. Press Ctrl+J to duplicate this and then press Shift+Up Arrow key 6 times, so you will get this:
6. Again pick Rounded Rectangle tool and draw a rectangle of size 340px width and 40px height, fill it with #e8a741 color and place it in between these two bars as:
7. Right click on the name of this layer in Layer Panel and select Rasterize Layer. Now pick Eraser tool with Hard Edges and having size 50 px, erase both rounded corners so you should have this:
8. Again pick Rounded Rectangle tool and make a rectangle of size 40px width and 20 px height, give it 2 px outside Stroke and fill it with #d49737 color and place it in the center of these shapes as:
9. Pick Polygon tool (inside Custom Shape Tool
) and make hexagonal of size 30px x 30px, having nay color and place it in the center of the shape as:
10. Run the command Windows >> Styles to open Style panel and select Red Gel from the styles, you will get this:
11. Pick Brush Tool and then pick star brush:
bring white color in Color palette, take new layer and hit once at the following location, it will bring Sparkling effect:
12. Now pick Custom Shape Tool and draw a Diamond shape of size 30px x 30px, with #d49737 color and place it towards the center of left side as shown below, give it 1 px black outside stroke:
13. Again by using Custom Shape tool draw same Diamond shape, but this time having 25x25px size, apply Green Gel
style this time from Style Panel, and give Sparkling effect as:
14. Copy these three shapes towards the right side now as:
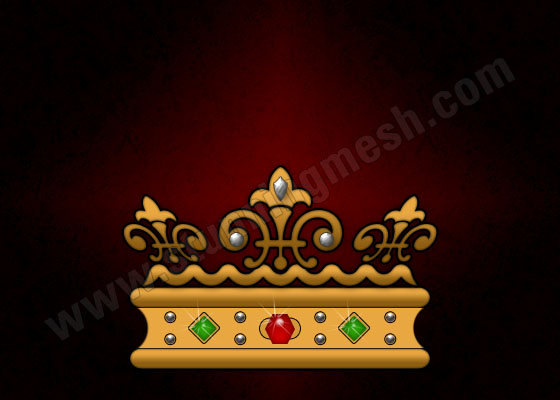
15. By using same technique I’ve made these white gems now (this time I’ve applied Chrome Style for small circle):
16. Again pick Custom Shape Tool and make the following shape of 190 x 190 px size:
17. Right click on the name of its Layer in Layer Panel and select Rasterize Layer. Select the top part by using Rectangular Marquee Selection Tool and delete that part. Likewise delete the right corner and left corner and then duplicate the shape to make the following:
18. Copy the layer style of First thin rounded rectangle and Paste it on this newly created shape:
19. Now draw the following shape in the middle of the design and paste the Layer Styles over it:
20. Copy this shape and reduce the size, skew it a little bit, then copy again this shape and move it towards right, after Flipping Horizontally, so you will get:
21. Now make the following shape by using Custom Shape Tool :
22. From the Style panel, apply the following style:
So you will get this:
23. I’ve also added two small circles by having same Style property:
24. Pick Custom Shape Tool and from the gallery pick this shape:
Draw the following Shape:
25. Press Ctrl+J to duplicate it, press Ctrl+T to transform and reduce the width as shown below:
26. Hit <Enter> key, fill it with any color (I’m using black), then press Ctrl+J to duplicate it again and reduce the width as shown below:
27. Now right click on these three newly created shapes one by one and select Rasterize layer. Now select the first created shape (white) hold down Ctrl key and click on the thumbnail of second black shape in layer panel, it will bring marquee around the second shape:
It will delete white shape which is overlapping the black shape. Now repeat this step for Shape two, select its layer, hold down Ctrl key and click on the thumbnail of the first layer, hit Del key, then press Ctrl+D to un-select everything, then delete the third layer, so you will get this:
28. Now select white shape, goto Layer Panel and click on Lock transparent pixels icon:
Fill it with #ebdca3 color:
Select the black shape and fill it with #b8962b color:
Delete the bottom part of these two shapes:
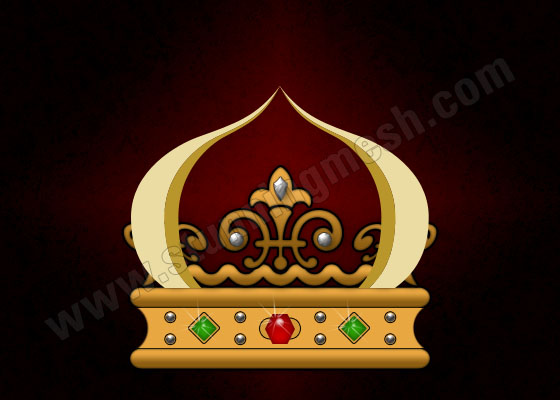
Move these shape behind all other shapes and reduce the width a little bit:
29. Now by following these steps, I’ve created another shape:
30. Now pick Custom Shape tool and select the following shape:
Draw and small shape on the top of the Crown:
Goto Style Panel and apply the Green Gel:
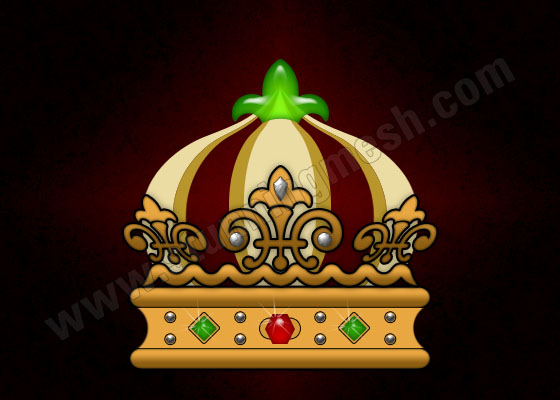
you will get this:
31. I’ve copied the Sparkling star and pasted it on this green shape:
32. Now I’ve pasted a Fiber Cloth behind every layer and done some detailing over it, so that I have this final Royal Crown in Photoshop:


The Investment is a news and opinion website that provides readers with the latest information on the financial markets.
I like the way this looks, but I could never get a solid color to show up after applying a layer style on step 4. It just applies the style to the outline of the rectangle.
Nice result, very useful tut.