
So here is another text effect, this time I tried to make something Sweet effect. I called it Jelly Text Effect while using Adobe Photoshop. Hopefully you will like it while making.
Final Result of Jelly Text Effect using Adobe Photoshop:

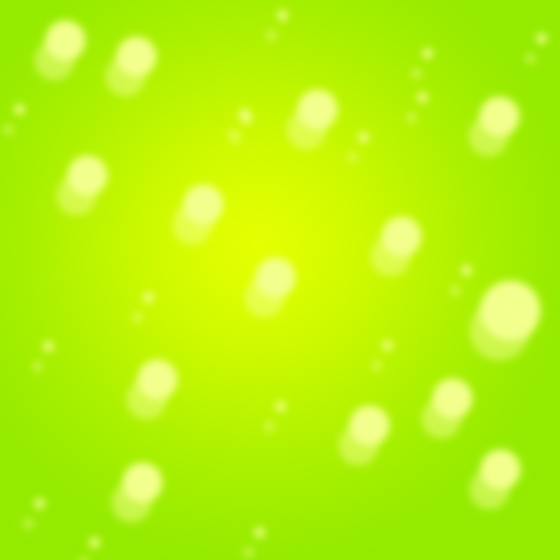
1. Lets start with a new document and give the Radial Gradient (by using Gradient Tool ![]() ) with #e1ff01 color in the middle and #95ec00 color around, like:
) with #e1ff01 color in the middle and #95ec00 color around, like:

2. Create a new layer. Pick Brush Tool ![]() with Hard edges and make some dots having different sizes and #F3FF8D color, like: (to change brush size you can use ‘[‘ and ‘]’)
with Hard edges and make some dots having different sizes and #F3FF8D color, like: (to change brush size you can use ‘[‘ and ‘]’)

3. Now go to Filter >> Blur >> Gaussian Blur and give 4 as radius:

5. Now press Ctrl+J to copy it and reduce the opacity to 20% and move it 20px down by pressing Shift+Down Arrow twice and 20px left by pressing Shift+Left Arrow twice:
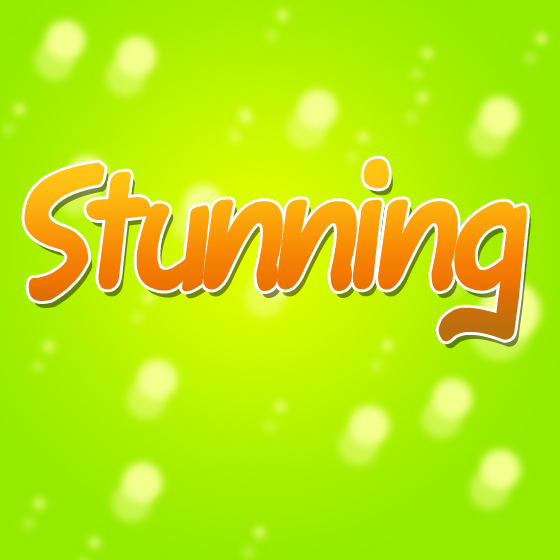
6. Now its time to add your desire text, I’m going to add Stunning first with black color:

7. Run the command Layer >> Layer Style >> Drop Shadow, Gradient Overlay, Stroke and give these settings one by one: (don’t forget to change the Fill Opacity to 0% and Opacity to 100% from Layer panel)


See the result:
8. Now press Ctrl+J to duplicate it and run the command Layer >> Layer Style >> Bevel and Emboss (remove the previous applied layer styles) give these settings:
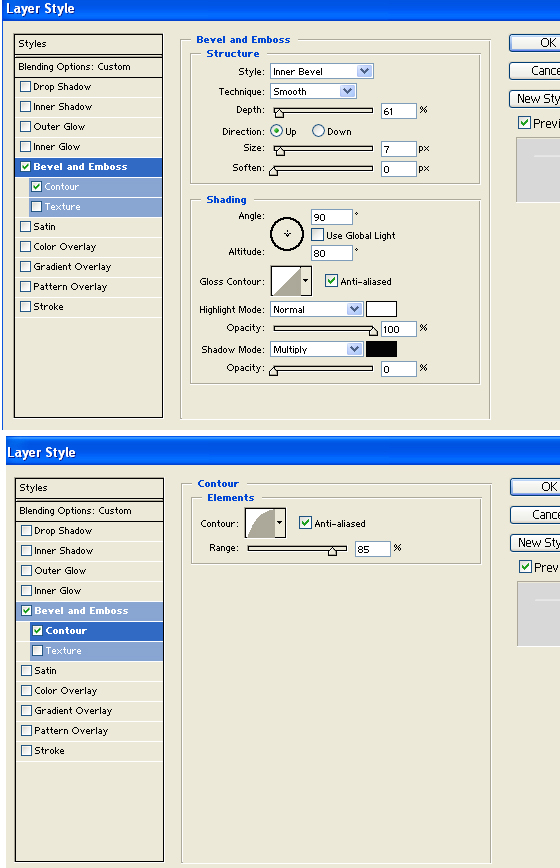
Here is the result:

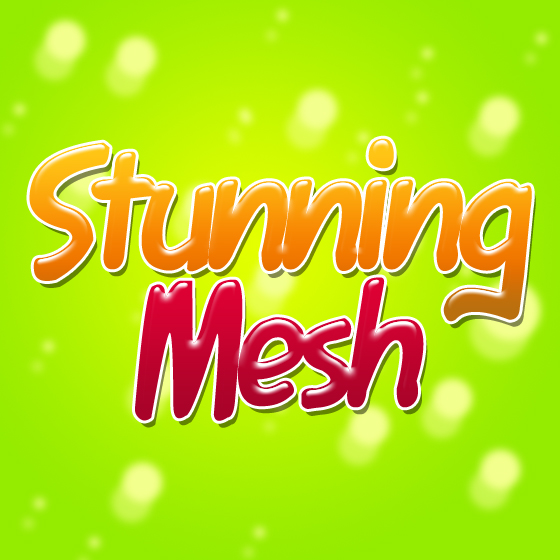
9. Now I’m going to write Mesh and applying same settings on it but this time changing the gradient by using Red color:
10. Goto Layer Panel and Click on the thumbnail of Stunning text by holding Ctrl key, it will bring marquee around the text, now hold Ctrl+Shift key and click on the thumbnail of Mesh layer, so Stunning and Mesh both will be having marquee around, like:

11. By using Pen tool ![]() with Subtract from selection option, remove the selection as shown below:
with Subtract from selection option, remove the selection as shown below:

12. Create new layer and fill it with white color and reduce the opacity of this layer to 20%, you will get this final text of Jelly Text Effect using Adobe Photoshop:


Great site. A lot of useful information here. I’m sending it to some friends!
Hey man,i have no idea how to make new gradients i am a newbie at photoshop i think its boring to read tutorials so how do i make em?
Hello, I love this tutorial! I have Photoshop CS5 and I got stuck on stage 11. I tried to find the Subtract from selection option, and it just didn’t work for me, any suggestions?
After selecting the area with Pen tool, when you right click on it and select Make Selection a dialogue box will appear, there you can select Subtract from Selection option 🙂
nice (: i was wondering if i could know the font?
Font name is Fawn Script and you can download this font by clicking https://www.stunningmesh.com/fawn_script.zip
What’s the font you used on this tutorial man ?
Thanks so much for this tutorial. This text will work beautifully for kids party invitations.