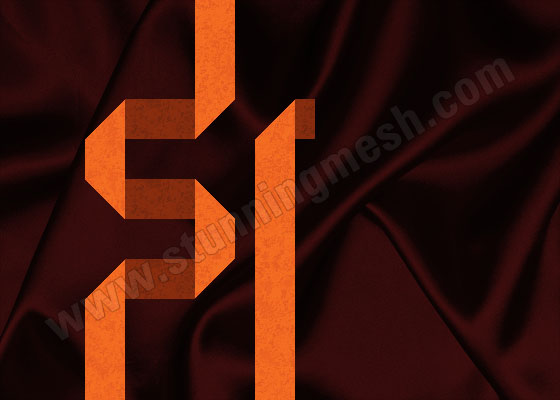
In this tutorial, I’m going to tell you how you can make a text having the Ribbon look in Photoshop. Not a difficult tutorial but maybe a lengthy one, hopefully, you will enjoy making it. I’m going to make ‘SM’ i.e. abbreviation of Stunningmesh. So let us start our Ribbon Text in Photoshop tutorial.
Final Result of Silky Ribbon Text in Photoshop:
1. First of all take a new file of size 560×400 with RGB color mode and 72 DPI resolution. Now paste any silky background in it, like:
2. Take a new layer and pick Rectangular Marquee Selection Tool and draw a marquee of around 40 px wide and 140 px heigh and fill it with any color:
3. Press Ctrl+D to deselect it. Now give the following pattern by running the command Layer >> Layer Style >> Pattern Overlay and give the following settings:
. Right-click on the name of the layer in the Layer Panel and select Copy Layer Style, as we would be using this style later in this tutorial.
4. By using Pen Tool , select the top part of this strip as shown below:
Hit the Del key to delete this part, so you will be using this strip for Vertical Ribbon in the whole tutorial. You will get this ribbon:
5. Take New layer and by using the Rectangular Marquee tool draw a rectangle of size 70px width and 40px height at the following location:
Fill it with any color and in Layer Panel, right-click of this layer and select Paste Layer Style (as we have copied the previous layer style).
6. Take a new layer and hold shift key and select the previous layer in which we made a rectangle of size 70px x 40px. Press Ctrl+E to merge these two layers and run the command, Image >> Adjustment >> Brightness/Contrast and give the following settings:
you may have something like this:
7. Now select the vertical light orange strip (which we made first), press Ctrl+J to duplicate it, move it towards the right side of the dark orange rectangle, press Ctrl+T to transform, right-click on it and select Flip Horizontal, hit <Enter> key. Delete the lower right corner by using Pen Tool , and you should have this strip of size 40px wide and 120 px heigh, as shown below:
8. Select the dark orange rectangle and press Ctrl+J to duplicate it. Press the Ctrl+Up Arrow key eight times so you will get this:
9. Select the right vertical light orange strip, press Ctrl+J to duplicate it, press Ctrl+T and right-click on it and select Flip Horizontally, hit <Enter> key, and move it towards the right side as shown below:
10. Select the second dark orange rectangle, press Ctrl+J to duplicate it, and press Shift + Up Arrow eight time to place it at the following position:
11. Select the first vertical light orange strip, press Ctrl+J, then Ctrl+T, and right-click on it and select Flip Horizontal and then Flip Vertical, hit <Enter> key and move it on top right at the following location:
12. By using the same technique make another strip of size 40px width and 300 height as shown below:
13. Copy the dark orange horizontal rectangle and cut its width so that you should have only 20 px wide and place it at the following position:
14. Now make the following strip of size 40 px width and 100 px height and place it at the following location:
15. To avoid feeling bore, I’m making the remaining part, you just have to copy-paste these and place them at the following location:
16. Now come to Layer Panel and click on Now select all Vertical Stips by holding Shift key and click on it, Create New Group icon:
17. Double click on the name of the newly created group and write Vertical Strips and hit <Enter> key. Now select all light orange vertical strips and put these layers in the Vertical Strips group, as shown below:
18. Now Create another group and put all Horizontal Dark Orange strips in it and be careful, Vertical Strips group must be over the Horizontal Strips group as shown below:
19. Now right-click on each group one by one and select duplicate group, hit <Enter> and then press Ctrl+E to merge all layers in one. Hide the original groups.
Now we are going to give some detailing. Create a new layer and draw a small Rectangle by using the Rectangular Marquee Selection tool :
Now hit ‘D’ to bring Black & White colors in the color palette. Pick Gradient Tool and select Black to Transparent gradient from the top panel:
and draw a gradient from Left to Right as shown below:
20. Now copy/paste this gradient to the following locations:
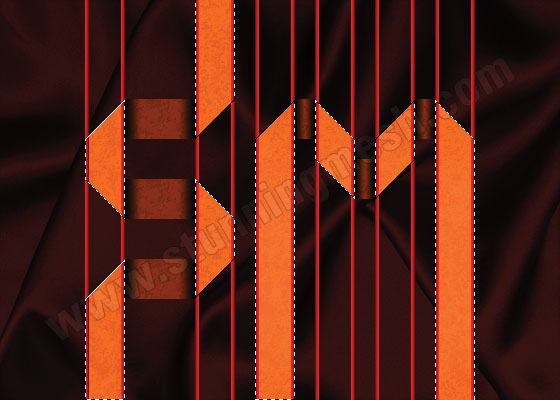
21. Now draw thin vertical Red Gradient strips as shown below (simply draw a single strip and copy this to all the vertical edges of Light Orange strips):
22. Merge all these strips into one layer. Keep selecting this layer, click on the icon of the Light Orange strip layer in Layer Panel, it will bring a marquee around the Light Orange Strips as shown below:
Press Ctrl+Shift+I to inverse selection and hit the Del key to delete strips other than overlapping the Light Orange Stips:
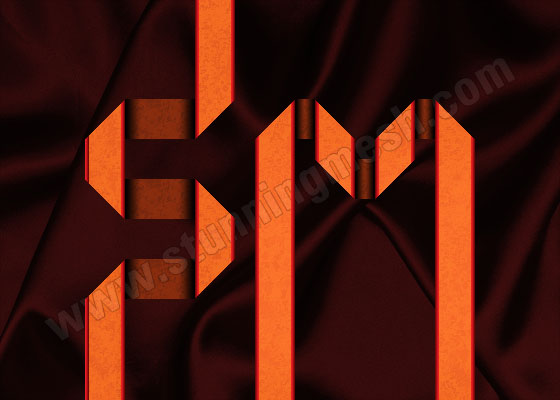
23. Now to finalize it I’ve used the Gradient tool , taken a new layer, and drawn small gradients on the edges where the ribbon is being folded, so got this final image:


i just reach you via google search and got excellent result.
There may be noticeably a bundle to learn about this. I assume you made sure nice factors in features also.
This is a great tutorial. I love the end result.
Good jobe
I always was interested in this subject and stock still am, regards for putting up.
Thanks for this tutorial!