Very useful technique to make Dynamic Backgrounds in Photoshop. We will learn some Basic Photoshop Tools in this tutorial. Here we are going to start.
1. Take a new file of any size, I’m going to take 560x400px size with 72 Resolution and RGB color mode.
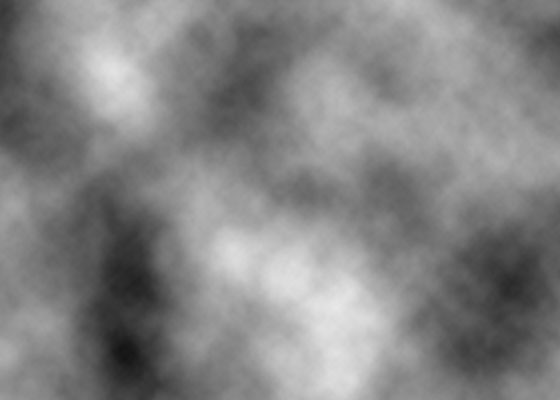
2. Now run the command, Filter >> Render >> Difference Clouds:
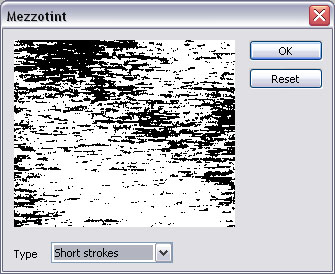
3. Now goto Filter >> Pixelate >> Mezzotint and give the following settings:
you will get the following:
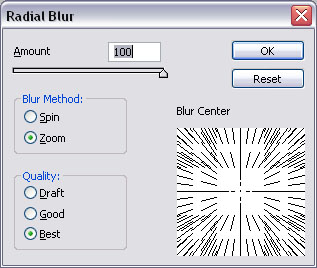
4. Now run the command Filter >> Blur >> Radial Blur and give the following setting:
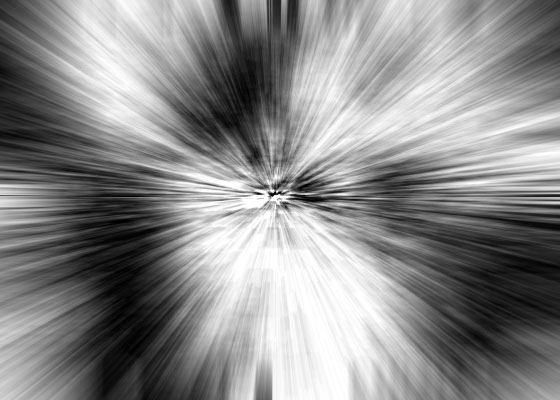
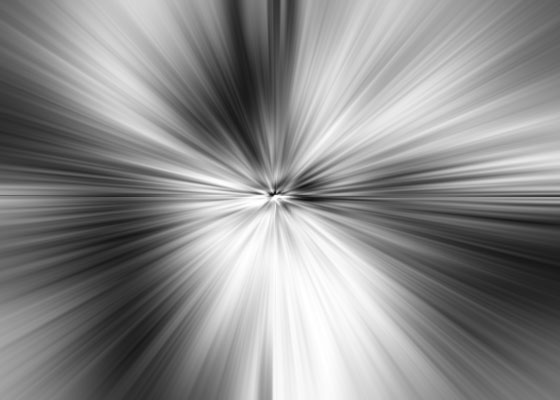
this result will occur:
5. Now press Ctrl+F3 times to repeat this Radial Blur:
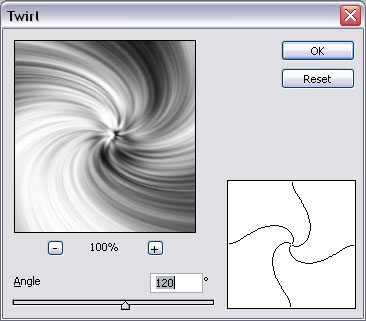
6. Now run the command Filter >> Distort >> Twirl and give the following settings:
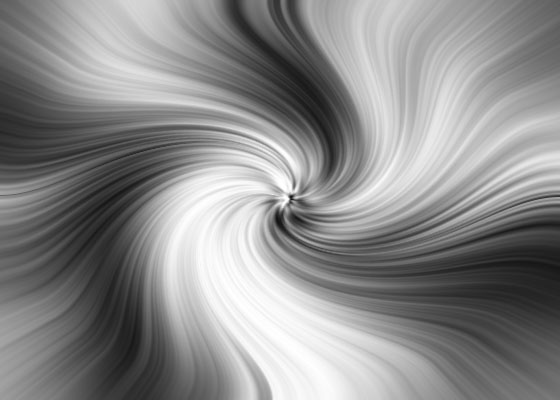
You will get this result:
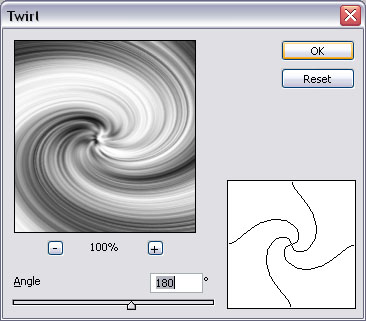
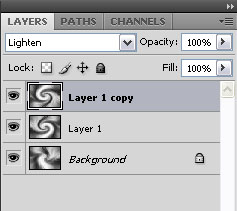
7. Press Ctrl+J to copy it and change the Blending mode (Lighten) and then goto Filter >> Distort>> Twirl and give the following setting:
you will get this result:
8. Now press Ctrl+T (transform) and right click on it and select Flip Horizontal.
9. Press Ctrl+J to copy it and then press Ctrl+T then select Flip Horizontal and Flip Vertical.
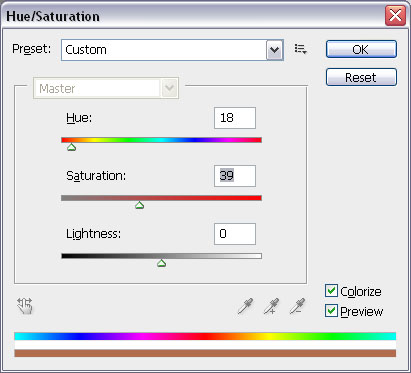
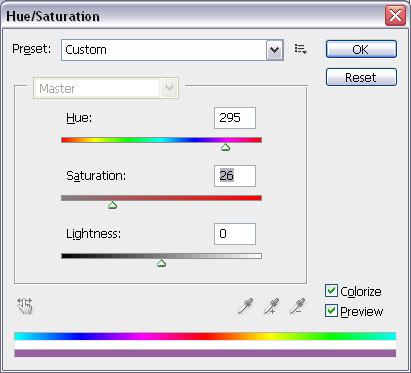
10. Now select upper layer and press Ctrl+U:
Give the following setting and hit OK:
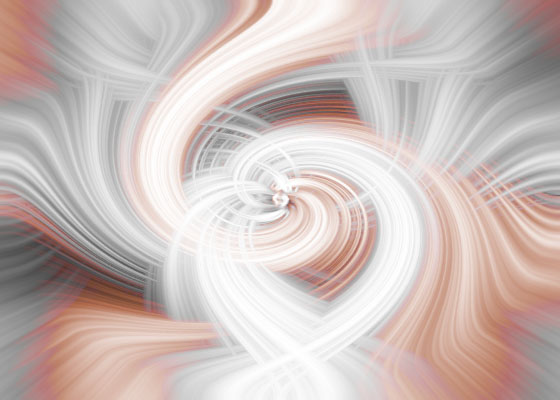
This effect will come:
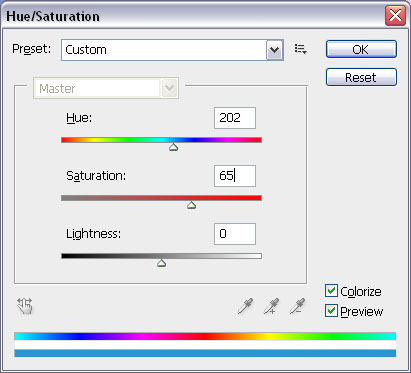
Now select middle layer and press Ctrl+U and give the following setting:
You will ge this:
Now select Background layer and press Ctrl+U and give the following setting:
Here is the final result of Dynamic Backgrounds:


