This tutorial will teach you how to make Real Stone Wall in Photoshop. You will really enjoy this tutorial. It will also teach you use of different Photoshop Tools.
1. Create a new File.
2. Select a dark gray as the foreground color, and a slightly desaturated orange as the background color
![]()
3. Filter>> Render>> Clouds.
4. Filter>> Noise>> Add Noise.

5. In the Channels window, create a new channel ![]() , and select it.
, and select it.
6. Filter>> Render Difference Clouds.

7. Filter > Noise > Add Noise, Keep the same setting as before, and hit OK.

you will get this:

8. Edit > Fade Add Noise. Give the following settings:

you will get this:

9. Filter > Render > Difference Clouds Now, press Ctrl+F to repeat the action, until the channel is balanced with black and white. You will get effect closer to this:

10. You can change the name of this channel as Stone Map,

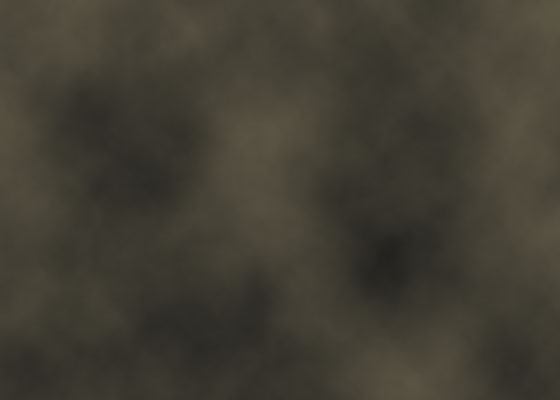
now in Channel panel click on RGB and come back to Layer panel again and run the command Filter >> Render >> Lighting Effects :

you will get this Final Real Stone Wall:

It was very short but interesting Tutorial, the final result will really amazed you, you’ll feel Real stone wall from the final result. You can use it as a Wallpaper or Background for your any upcoming project. Keep exploring our other Tutorials to get Inspiration.