Today’s Tutorial is a bit Long Tutorial, you may have seen this kind of Tutorial on some other blogs, but we have put some changes on it, we are going to create Envelope Icon in Adobe Photoshop, so lets start working on it.
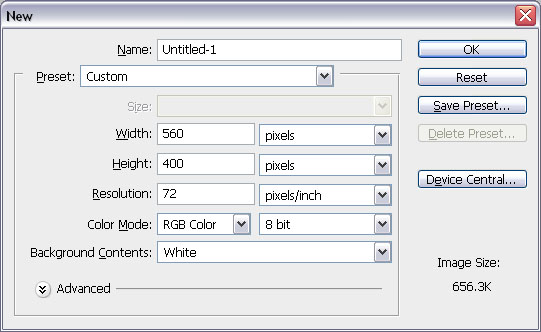
1. Take new file of the following size:
2. Run the command, Layer >> Layer Style >> Gradient Overlay and give the following settings:
you will get this result
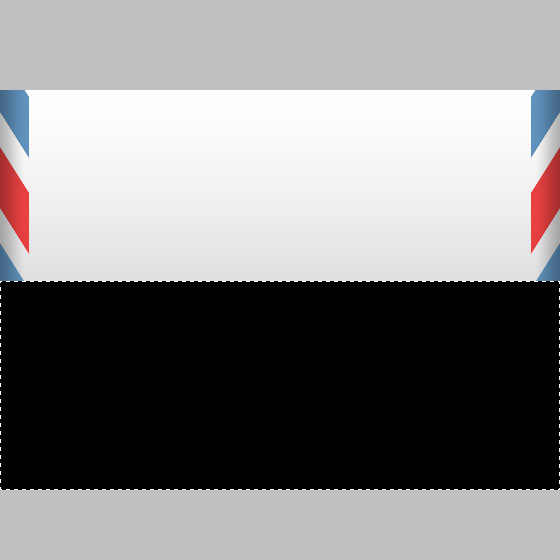
3. Create new layer and by using Rectangle Marquee Selection tool, make boxes like this and fill these boxes with any color, I’ve placed #6192bd and #e74141 colors):
4. Press Ctrl+T and right click anywhere and select Skew. While using right middle node push it down to make the following shape and then press <Enter> key.
5. Create new layer and pick Gradient Tool and make the following gradient:
6. Press Ctrl+A and fill the layer like below:
7. Select previous layer on which you made color strip and press Ctrl+J to copy it. Press Ctrl+T and then right click on it and select Flip Horizontal. Then select Move Tool and press Ctrl+A then select Right Aligned from the top property panel.
8. Now create new layer and then pick Rectangular Marquee tool and draw the rectangle like the following and fill it with any color:
9. Press Ctrl+T and then right click on it then select Perspective and move top right corner towards the center point to make shape like this:
10. Now run the command Layer >> Layer Style >> Inner shadow and give the following settings:
Don’t hit ok, just select Gradient Overlay and make the following gradient:
Again don’t hit Ok, click on Drop Shadow and give the following settings:
After hitting OK, you will get this:
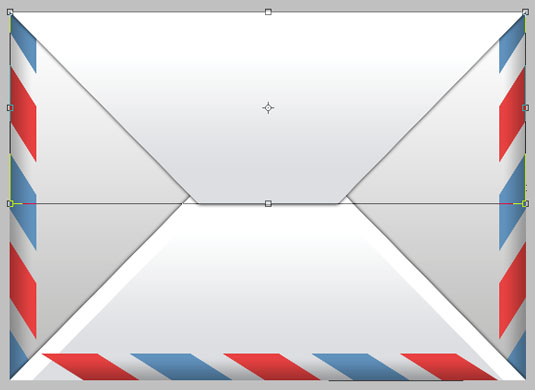
11. Select Right strip and press Ctrl+J to copy it, then press Ctrl+T and rotate it 90 degree and move it towards the bottom center:
12. Select Bottom folded, which you just make press Ctrl+J to copy it and then press Ctrl+T and right click on it and select Flip Vertical. and move it on top:
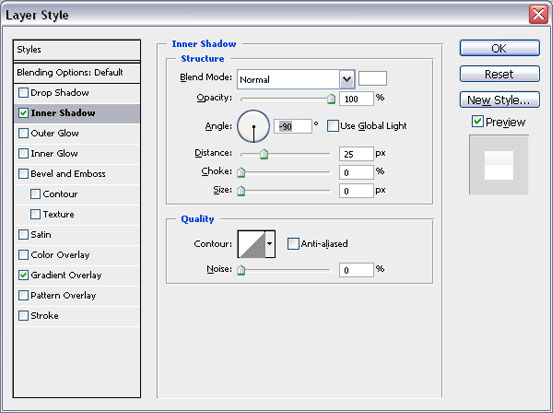
13. Run the command Layer >> Layer Style >> Inner Shadow and change the setting like this:
This result will come:
14. Run the command Layer >> Layer Style >> Stroke and give the following settings:
15. Repeat this style for bottom Folder too.
16. Select top Folder and then run the command Layer >> Layer Style >> Drop shadow and give the following settings:
you will get this result:
here is the final result of Envelope Icon in Photoshop:


