You must have seen Magnifying Glass pictures, today we are going to make it by our self. A bit long tutorial, but interesting one. We will be using some Filters, Blending options and tools for making Magnifying Glass. So come and lets start making Magnifying Glass in Photoshop.
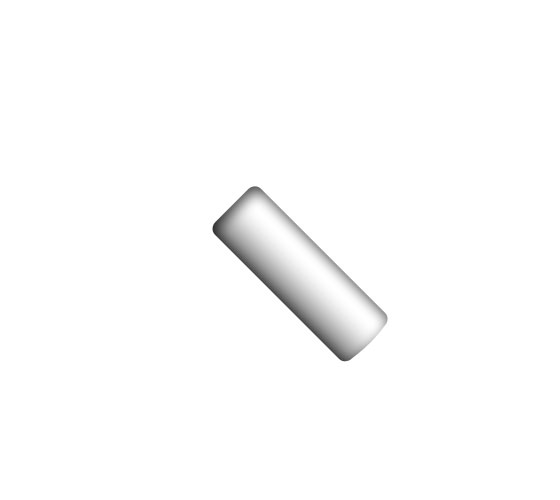
1. Take a new file of any size and pick Rounded Rectangle tool and draw the shape as shown below:
2. Press Ctrl+T (Transform) and rotate it as shown below:
3. Run the command Layer >> Layer Styles >> Gradient overlay and then Inner Shadow & apply these settings:
This result will come:
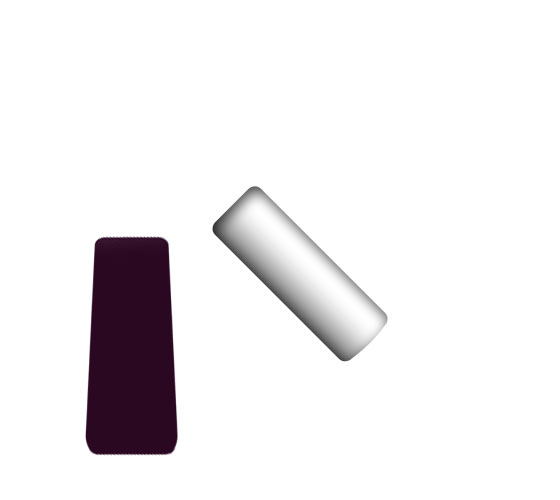
4. Right click on this layer and select Copy Layer Styles. Again pick Rounded Rectangle tool and draw a rectangle. Press Ctrl+T (transform) and then right click on it and select Perspective, hold bottom any corner and move it away from the shape (not too far just some area) and hit Enter, you will get this shape:
5. Run the command Layer >> Layer Style >> Gradient Overlay and select Black to Gray. The rotate it and move it to place it with previous shape like shown below:
6. Now by using any selection tool, (like Lasso tool or Pen tool ), select following areas:
7. Create new layer and fill it with white color and change the opacity to 30% and see the result:
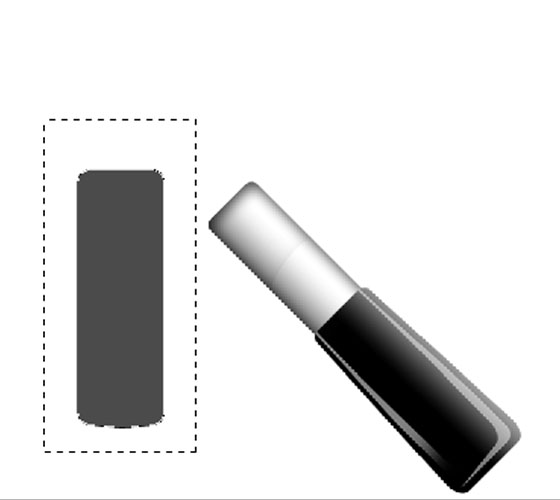
8. Again by using Rounded Rectangle tool , draw Vertical Rectangle and Create following shape.
9. Now we are going to paste the Layer Style which we copied in Step 4. Right click on this newly created shape and select Paste layer Style. Then rotate it and fit on the First layer, as shown below:
10. Now pick Ellipse Tool and draw a big Ellipse like shown below:
11. Run the command Layer >> Layer Style >> Stroke, then Gradient Overlay and give the following settings relatively:
Hit OK and see the result:
12. Again by using Ellipse Tool , draw smaller Ellipse as shown below:
13. Again give the following styles: (by using the command Layer >> Layer Style >> Inner Shadow, Gradient Overlay and Stroke)
Here is the result which you will see after hitting OK:
14. By using Pen Tool, select the following Areas:
15. Create New Layer and Fill it with White and reduce the opacity of Layer to 50%:
16. Pick Move tool , click on the thumbnail of the Smaller Circle, it will give Marquee around Circle, now pick Brush Tool and bring White color in Foreground color, take new layer and reduce the opacity to 25%. Then use Brush on different spots to bring Glossy look, like shown below:
18. Press Ctrl+D to un select and then see the following final look of Magnifying Glass in Photoshop:


Hi, okay. But why let that be nice ?
Wow! That’s amazing and well explained!
Can you tell us how to put a picture under the glass? I’m trying, but I cannot make the lens transparent… I created the magnifying glass, selected, and then I put it on the picture. I used the paths. I selected the centre with the pen tool, but I could not delete it!!! 🙁
Thanks for helping!
Wow, this is awesome. Up until now I had no idea how one could create such a picture.
Unfortunately I’m Photoshop illiterate but seeing such tutorials fascinates me. Some day maybe I’ll be able to create such art 😉