
Here is another way to make box, but this time, Popcorn Box in Photoshop. Not a very difficult way to make it. It is an interesting technique. You will use some tools by making this, so it will teach you to use these tools too.
1. Create a new document of any size and take new layer. Pick Pen tool ![]() and draw the shape shown below and fill it with any color:
and draw the shape shown below and fill it with any color:

2. After creating this shape, draw few more. I’ve copied this shape and flipped it horizontally and then made another shape in between these:

3. Select these three shapes layers and press Ctrl+E to merge these, now run the command Layer >> Layer Styles >> Gradient Overlay and give the following settings:

After hitting OK, this result should come:

4. Press Ctrl+J to duplicate it (fill it with Black color), press Ctr+[ to bring it back and after picking Move Tool ![]() , move this shape 3px left:
, move this shape 3px left:

5. Again press Ctrl+J to copy it and then Ctrl+[ to move it behind and then move it towards right and top side:

6. Take new layer above on all these shapes, Pick Rectangular Marquee selection tool ![]() and draw small rectangle at the bottom of these shapes, then fill it with Gradient by using Gradient Tool
and draw small rectangle at the bottom of these shapes, then fill it with Gradient by using Gradient Tool ![]() (Black to Transparent, from bottom to top):
(Black to Transparent, from bottom to top):

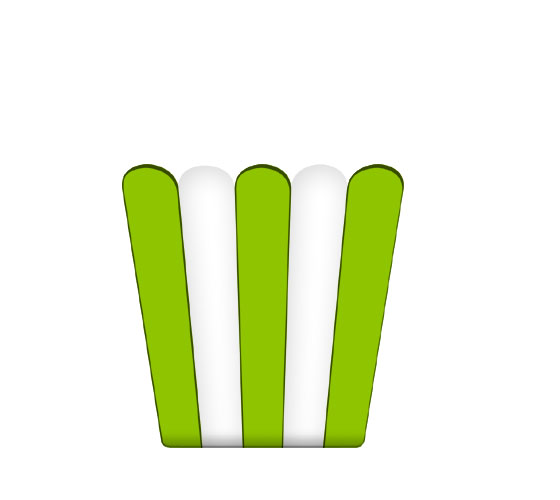
7. Press Ctrl+D to deselect and see the result:

8. Again by using Pen Tool ![]() and taking new layer, draw the shapes in between these three shapes, fill with any color:
and taking new layer, draw the shapes in between these three shapes, fill with any color:

9. Run the command, Layer >> Layer Style >> Inner Shadow and give the following settings:

see the result
10. Pick Ellipse Tool ![]() and draw the shape like shown below and give it Darker Color strong Stroke:
and draw the shape like shown below and give it Darker Color strong Stroke:

11. Pick Horizontal Type tool ![]() and write your text (by using any font style):
and write your text (by using any font style):

12. Now pick Brush tool ![]() and pick this color #ECE4D7 and fill the above area with Hard brush:
and pick this color #ECE4D7 and fill the above area with Hard brush:
13. Its time to put some Popcorn in it. You can take any popcorn shapes and place it behind all layers.

14. You can give some detailing by giving the Transparent shadow of the box and by putting some popcorn outside the box, so here is the Final Result of our Popcorn Box in Photoshop:
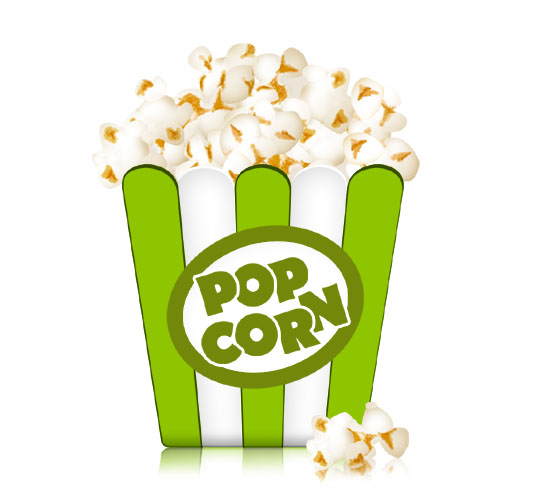


What is the font you used for the word Popcorn?