Here is a cartoon style Funky text effect in Adobe Illustrator for you. The purpose is only to tell you some commands, tools and techniques in Illustrator, so you will get some basic knowledge about Illustrator. Must try it to learn Illustrator too.
1. Lets start with a new Document of any size. Now draw a rectangle by using Rectangle Tool and fill it with #97d8ea color.
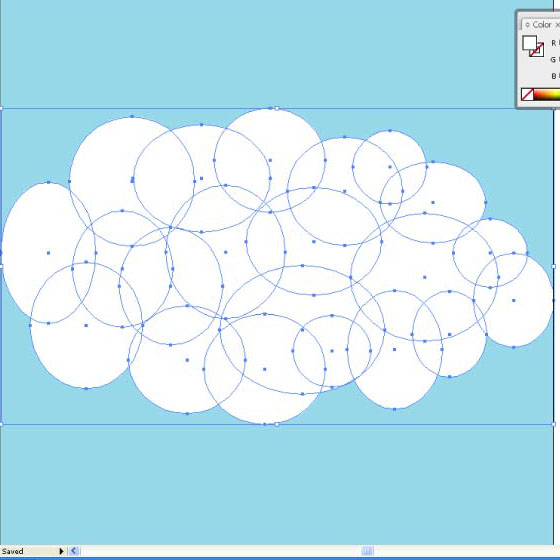
2. Now I’m going to create some clouds, for this make an Ellipse by using Ellipse Tool and fill it with White color, like:
3. Now go to Effect >> Blur >> Gaussian Blur and give 4 % blur:
4. Now draw some different sizes and shapes Ellipses, like shown below and select them all (by pressing Ctrl+A):
5. Again go to Effect >> Blur >> Gaussian Blur give the 4 % blur:
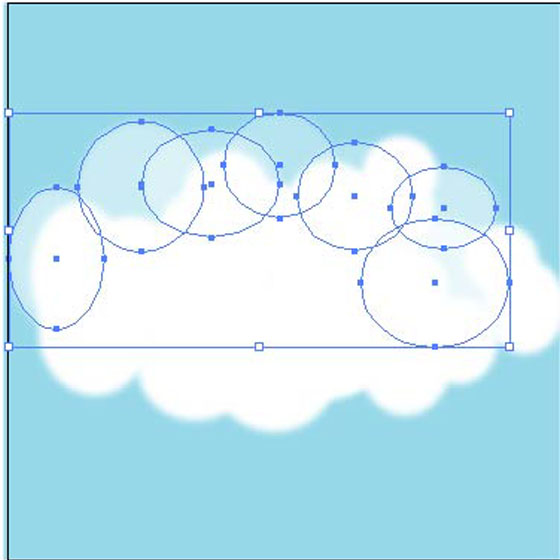
6. Select some Ellipses which are behind and on the edges (by picking Selection Tool ), select them all and reduce the opacity to 50%:
7. Pick Pen Tool and draw a rectangle as shown below:
8. Reduce the opacity to 30%:
9. Now select it and press Ctrl+C to copy and Ctrl+V to paste it. Adjust it towards one side and then repeate this step to make the following Ray shape:
10. Now type any text, I typed STUNNING in black color and in front of all layers:
11. Now I’m going to apply Gradient, but before that I’m going to separate each character, because it is essential that your text should be in Ungroup form. So first select your text and then goto Type >> Create Outline, then go to Object >> Ungroup. All characters would be separated now.
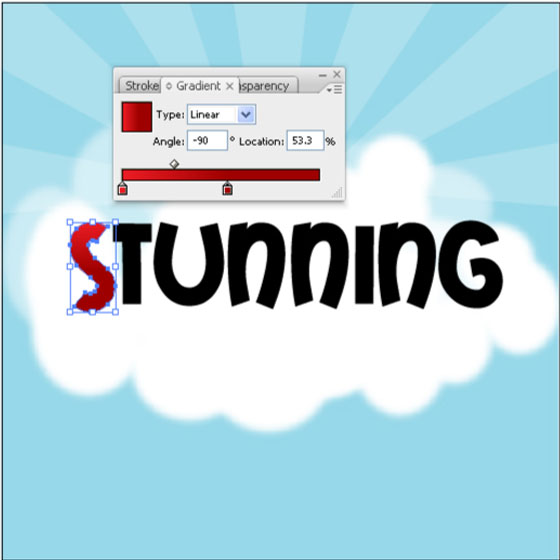
12. Select first character S and then select Gradient tool and then bring Gradient Panel by pressing Ctrl+F9 or by running the command Window >> Gradient. Make a gradient from light Red #ef181d to Dark Red #a00700 like shown below: Then apply this gradient to all characters one by one.
13. Now select all letters again and then go to Object >> Group. Select your group text and press CRTL+C and CTRL+B to copy and paste (Ctrl+B will paste behind the original):
14. Now select Duplicated text one by one and rotate it like shown below and give it Light Red color:
15. After changing the position of each letter, you will get this kind of text:
16. Now again duplicate the original text and this time change the color to black:
17. Move it behind the other two text layer (by pressing Ctrl+[ key):
18. Now select last black text and give it stroke, by pressing Ctrl+F10 or running the command Window >> Stroke, give the stroke 4pt and with #91ddf5 color:
19. After completing it, I’ve written MESH by using these steps by changing the color scheme:


Boa, fiz, ficou bacana, valeu mesmo.