Another 3D Studio Max tutorial is on your way. In this tutorial you will learn how to make objects Smooth and Tighten their edges Technique in 3D Studio Max. It is very useful technique so I tried to explain it. As usual Source .MAX file is also uploaded for your convenience.
Note:
Smooth and Tighten Edges Technique usually used in polygon modeling, specially in organic shapes and car modeling.
1. Start working in a new File and draw a rectangle by having the following parameters:
you will get this:
2. Now we are going to convert it into Editable Poly by using the following command:
3. Turn on Edged Faces or simply press (F4) key:
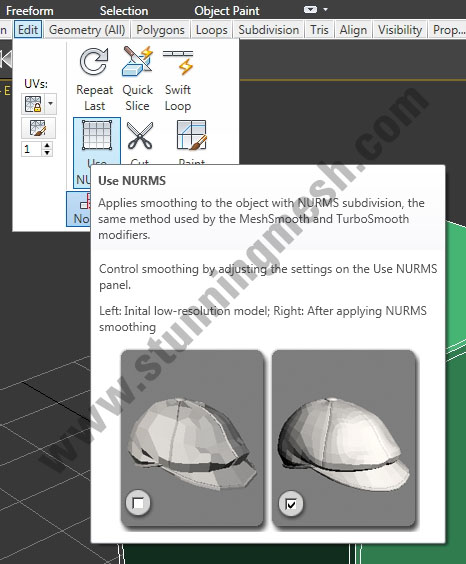
4. Now goto Edit and turn on Nurms:
This will apply smoothness to object:
5. To increase the Nurms or Smoothness, set the value of Iterations as:
6. Turn off the Nurms and Click on the Swiftloop button:
Now add Segments as:
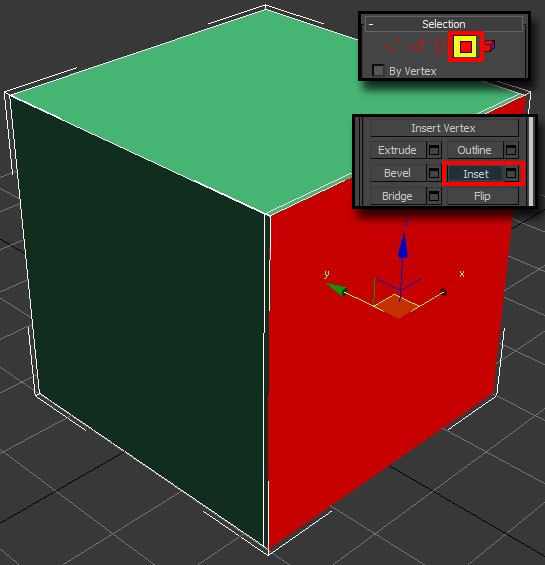
7. Turn on Polygon and select the face, apply inset:
Box segments should look like this one as shown in the following image:
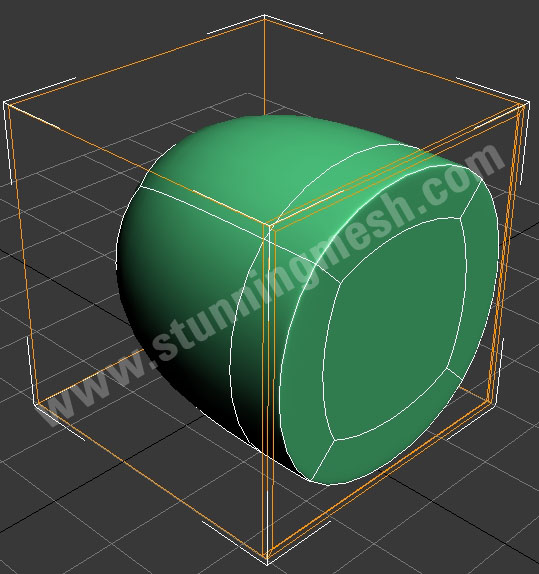
8. Turn on Nurms again:
Adding segments on edge will Create sharpe egde:
9. Inset the face again:
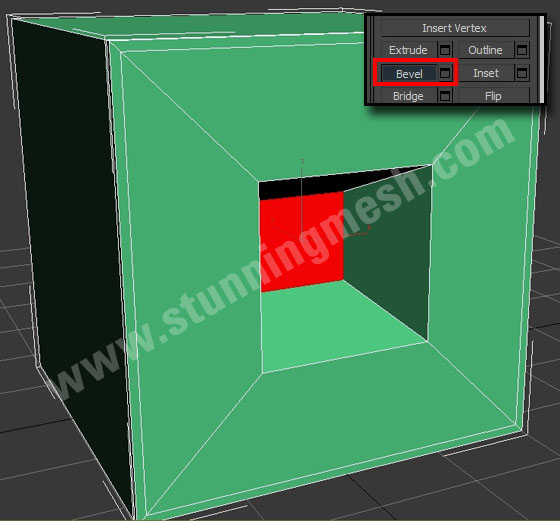
10. Select the face and apply Bevel:
11. Click on swift loop again:
12. Create segments with swift loop:
13. Turn on Nurms again. Here you can see some smooth and sharp edges:
14. Now its time to separating egdes, select the following edges:
15. Apply Chamfer:
16. Click on open chamfer edges, this will separate the segments of the object:
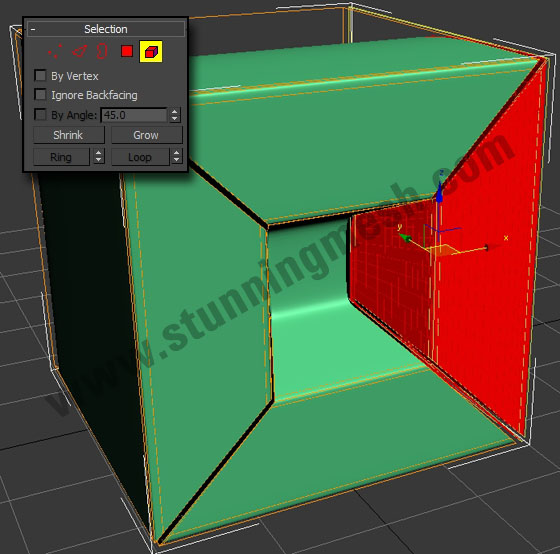
17. Click on the element and select one of the Element of the object:
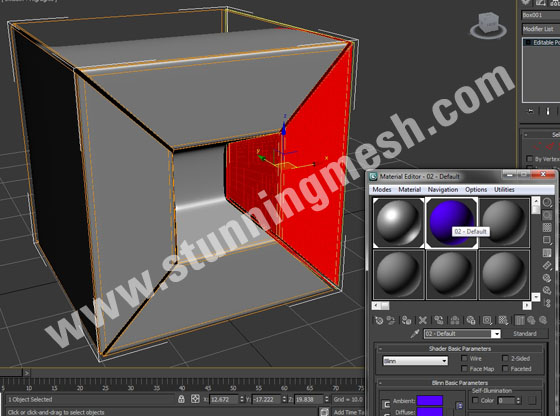
18. Open material editor by Pressing (M) key, apply Base Material:
19. Select the object and go to the modify Panel for polygon modeling:
20. Select the following element and Apply second material:
21. This is how you can create Smooth and sharp egdes by using polygon, nurms and Swift loop:









soo helpful..
=)