Twitter is very common social bookmarking site. Almost every person is having an account on this site. People are sharing their knowledge with each other through this site. Twitter is the sound of bird and that is why Twitter is having a lot of Bird Icons. Today we are going to make a one Twitter Bird icon in Photoshop. The purpose is to tell you some designing techniques and skills.
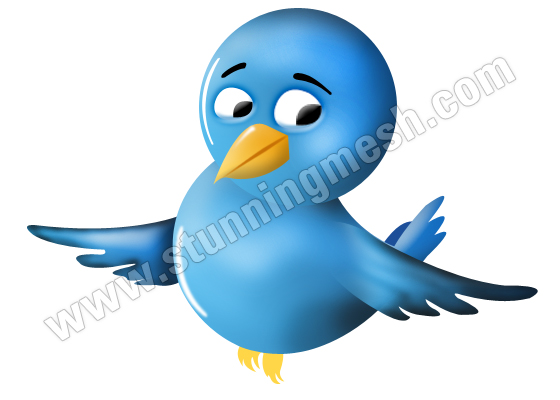
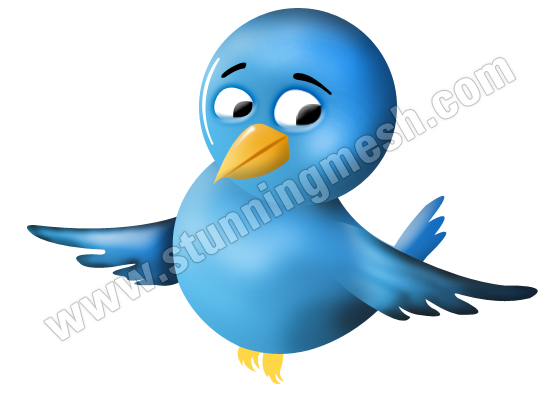
Final Result of Twitter Bird Icon in Photoshop:
1. Lets start with a new file of any size, I’m going to take 560×400 px size with 72 DPI resolution and RGB color mode.
2. Pick Ellipse tool and draw a circle (no worries about color).
3. Now run the command Layer >> Layer Style >> Gradient Overlay and then Bevel and Emboss and give the following settings:
Hit Ok and you will get this:
4. As it will be the Head part of the Bird, so now we are going to give some detailing. First of all right click on the name of this ellipse layer and select Copy Layer Style (it will copy both blending options, so later you can use it again). Take new layer above this layer. Select newly created layer and this ellipse layer (by clicking on the ellipse layer while holding shift key in Layer Panel). Press Ctrl+E, it will merge both layers so Layer Styles would also be merged. Now pick Dodge tool and then Burn Tool
, highlight and darken some parts of the head to make Cheek like I’ve done in the following:
5. Now we are going to make Beak of the bird, take new layer, then pick Pen Tool and draw the following shape:
Right click over it and select Make Selection and give 0 in feather and hit ok, now fill it with any color and then give it the following layer styles:
Hit ok and you will get this:
6. Now bring #c77105 color in color palette, take new layer, pick Brush tool and set 4px size with feathered edges, now pick Pen Tool
and draw a line a bit longer as show below:
Right click anywhere and select Stroke Path, a box will come select Brush from list and check Simulate Pressure:
Hit ok and then again right click and now select Delete Path option, erase the part which is outside from the Beak, you will get this:
7. Take new layer and pick Pen Tool and draw the following shape:
Right click over it, select Make Selection, give 0 in feather, fill it with white color and then run the command, Filter >> Blur >> Gaussian Blur, give 1 in feather and hit ok, you will get this:
8. Now we are going to make Eye, again take new layer, pick Pen Tool and draw the following shape:
Convert it into Selection, fill it with white and give the following Layer Styles:
Hit ok and you will get this:
9. Duplicate this layer (by pressing Ctrl+J), move it towards right and increase the size a little bit:
10. Take new layer, pick Pen Tool and draw the black part of the eye and fill it with black:
give it the following layer Styles:
11. Duplicate it by pressing Ctrl+J, increase the size a little bit, move it towards right, so you may get this:
12. Take new layer and by using Pen Tool , make the Eyebrows as shown below, Fill them with black color:
13. Now again take new layer, pick Pen Tool and make the following shape and fill it with White color:
14. Now as the Head part is ready, select big circle layer, by using Dodge tool and Burn Tools
highlight and darken some areas accordingly as:
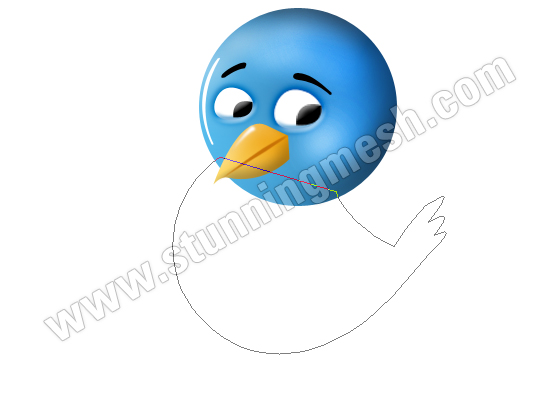
15. Now we are going to make body part of the bird, take new layer below every layers, pick Pen tool and draw the following shape:
16. Convert it into Selection, fill it with any color:
17. Right click its layer name in Layer Panel, select Paste Layer Style to paste the layer style which we copied from the head circle, you will get this:
18. Like we have done for Head Part, take new layer, merge it with the body part layer to merge the layer styles, by using Dodge Tool and then Burn tool
highlight and darken some parts of the body as:
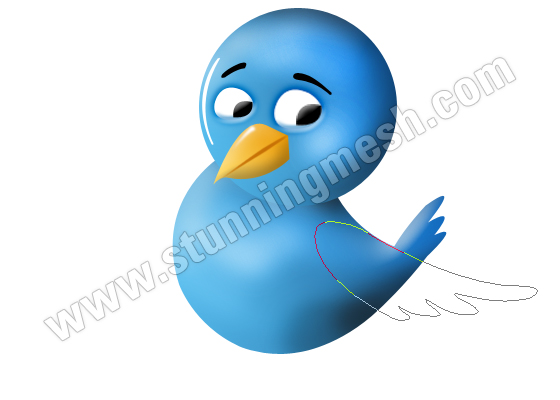
19. Take new layer, pick Pen Tool and draw the left wing as:
Convert it into selection, fill it with any color:
20. Right click over the name of Layer in Layer Panel and select Paste Layer Style, you will get this:
21. Create new layer, select newly created layer with Wing’s layer and press Ctrl+E to merge both layers. Again by using Doge tool , Burn Tool
and Eraser tool
with feathered edges, give the highlight and darken the areas as:
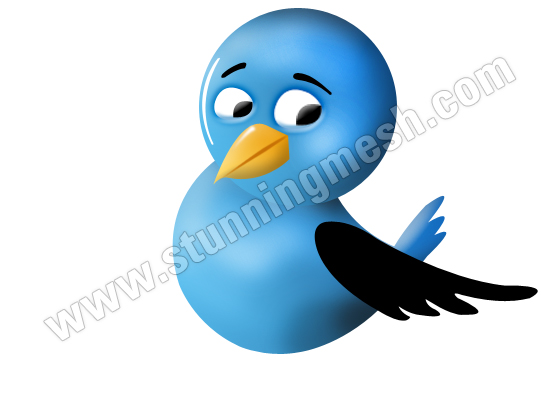
22. By using same techniques and steps, I’ve made the right wing as:
23. Again take new layer and by using the Pen tool make the foot and fill it with #ffd647 color:
24. Again take new layer, pick Pen Tool and make the following shape on the belly of the bird:
Convert it into Selection, fill it with white color, then run the command Filter >> Blur >> Gaussian Blur and give 1 in radius and hit ok, you will get this:
25. By using Pen Tool and taking new layer below every layers, make the missing part of tale and fill it with #1c4f99 color, so finally you will get Twitter Bird:










Nice tutorial. But you could have given credits for using the twitter icon from http://www.productivedreams.com/free-twitter-bird-icon-set/
Very nice tuto.Thank u for sharing.
What an awesome tutorial. Can’t wait to use this for my twitter account. Thank you VERY much!!!
excellent work in this tutorial.