Some kind of long Tutorial to make Ice Cubes in Adobe Photoshop, so get ready to be Chilled. Without wasting much time let us start working on this Awesome Photoshop Tutorial.
1. Take a new file of size 560×400 px with 72 resolution and RGB color mode
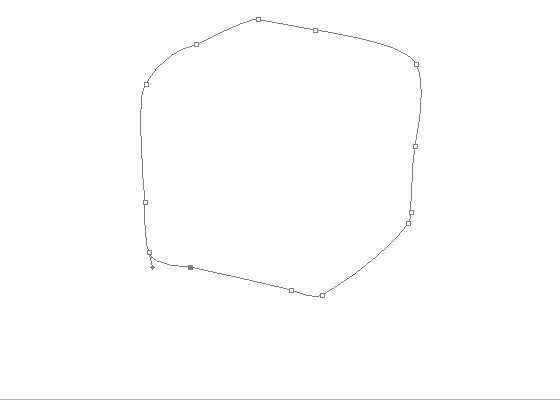
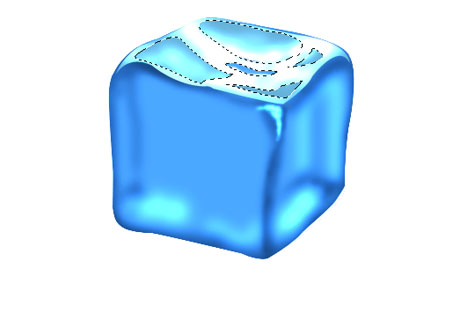
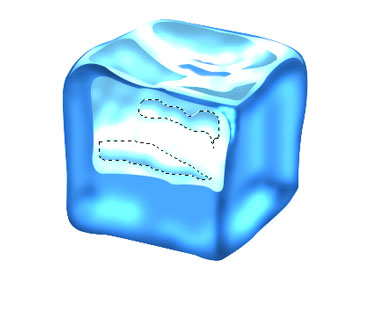
2. Pick Pen tool and draw the shape like shown below:
3. Right-click anywhere and select Make a selection, give 0 px in feather and hit OK,
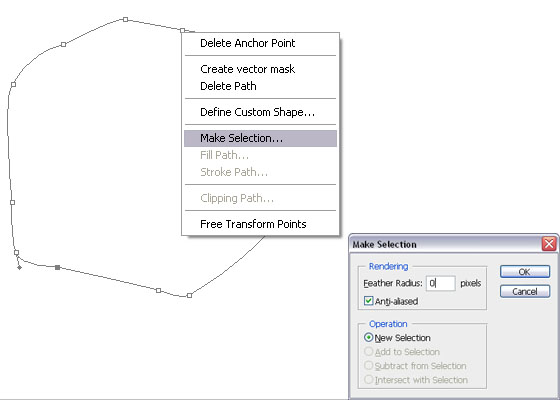
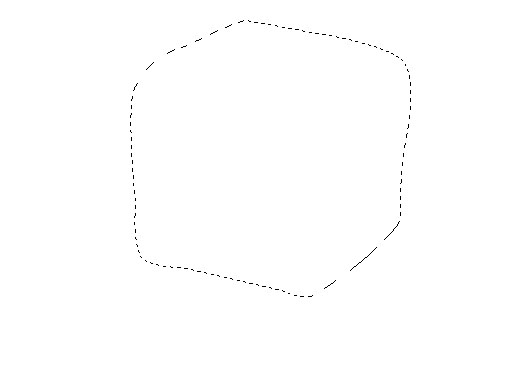
you will get this:
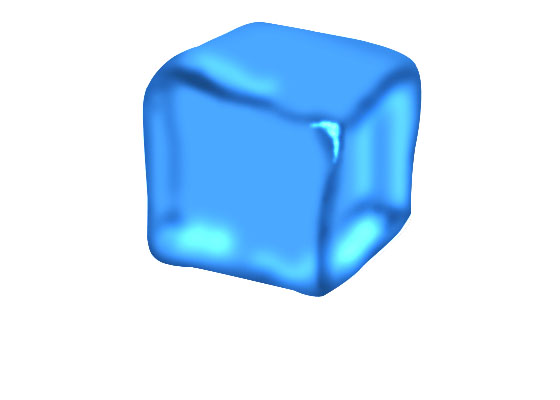
4. Create a new layer and fill with #3f8cdc color, select Burn Tool and take a smaller brush (10 px) and brush on the edges like shown below, also brush inside the box to make it as Cube:
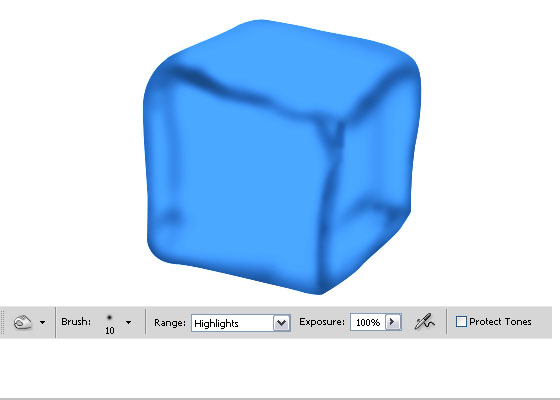
5. Now pick the Dodge tool and highlight some parts like shown below:
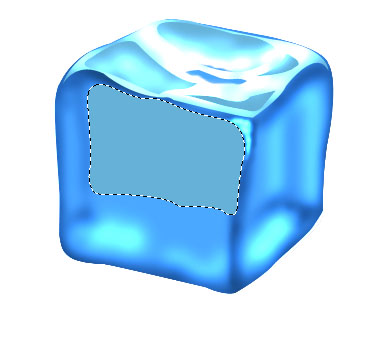
6. Take a new layer and pick Pen tool and draw the following shape and fill it with #65b1d8 color:
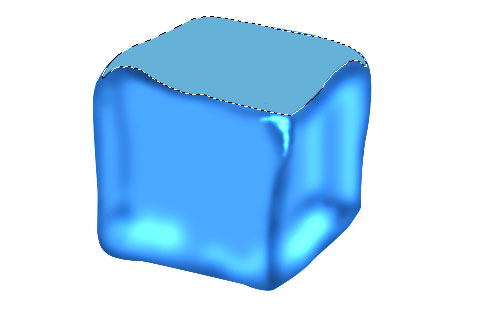
7. Again create the following shape with the help of the Pen tool or Lasso Tool:
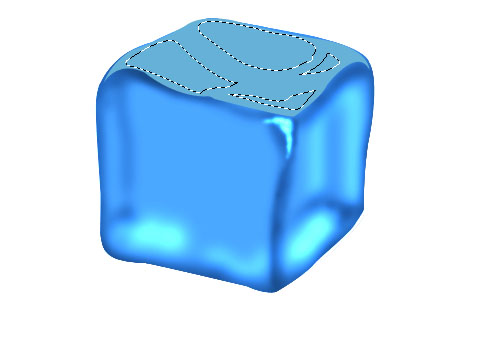
8. Pick Dodge tool and press Ctrl+Shift+I to inverse the selection and then Highlight some parts like shown below:
9. Again press Ctrl+Shift+I to inverse the selection and then by using Dodge tool Highlight some parts like shown below:
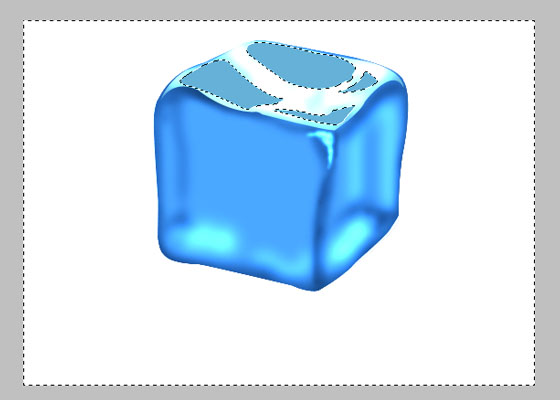
10. Again pick Pen Tool and create a new layer and make the shape as shown below and then fill it by #65b1d8 color.
11. Make the selection as shown below by using Pen Tool:
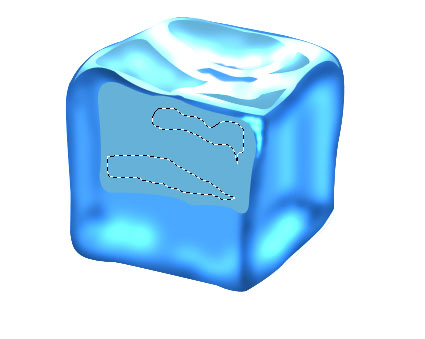
12. Pick Dodge tool and press Ctrl+Shift+I to inverse the selection, Highlight some parts like shown below:
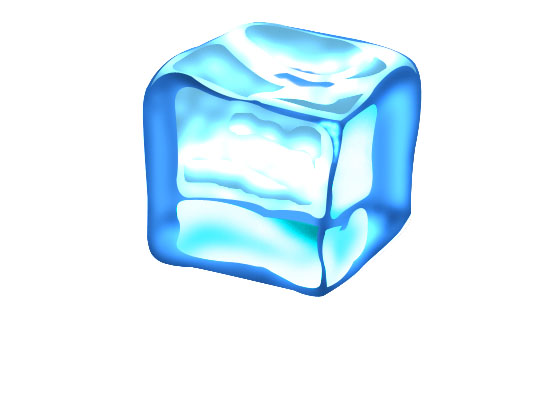
13. Press Ctrl+Shift+I to bring selection back and highlight some parts like shown below by using Dodge Tool:
14. Now Repeat these steps for the Right Side as shown below:
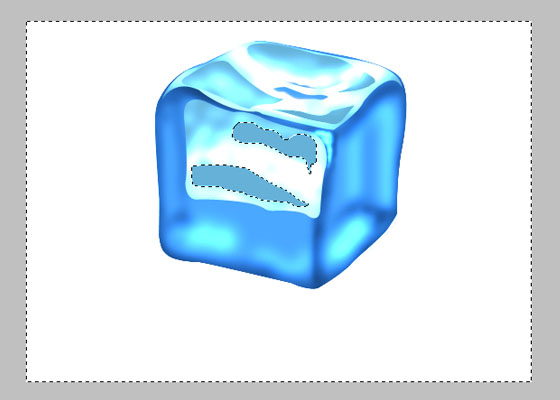
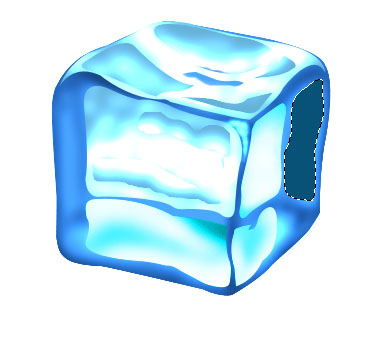
15. Create a new layer and make the following selection and fill it with #085278 color:
16. Create some dark shading by using Burn Tool, then make the selection like shown below and highlight some parts by using Dodge tool:
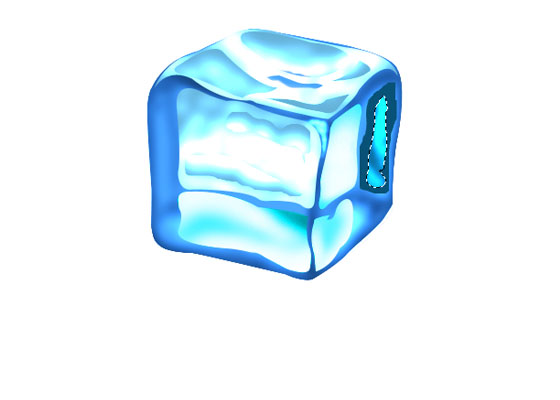
17. Now make the following selection and Create a new layer:
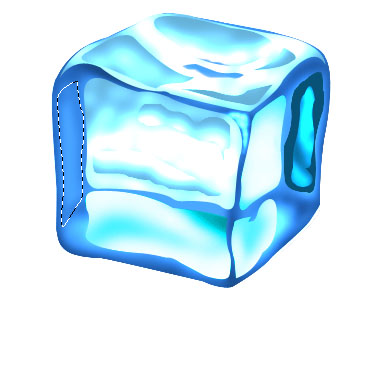
18. Again by using Burn Tool and Dodge Tool create some dark and bright shading. Now pick the Elliptical Marquee Selection tool and draw an ellipse like shown below:
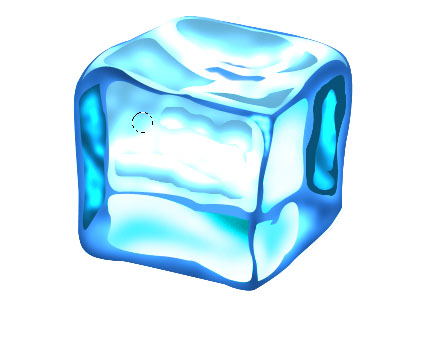
19. Create a new layer and fill it with the same color and then by using Burn Tool and Dodge tool create the dark and bright shades like shown below:
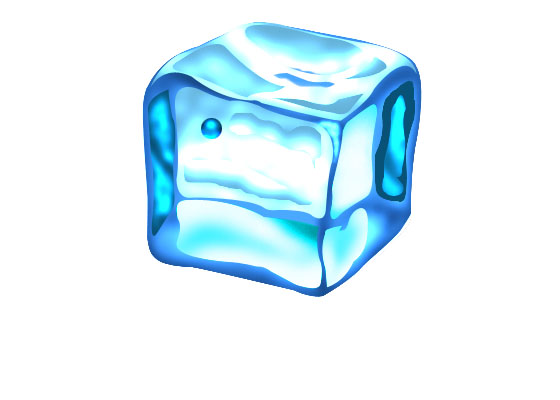
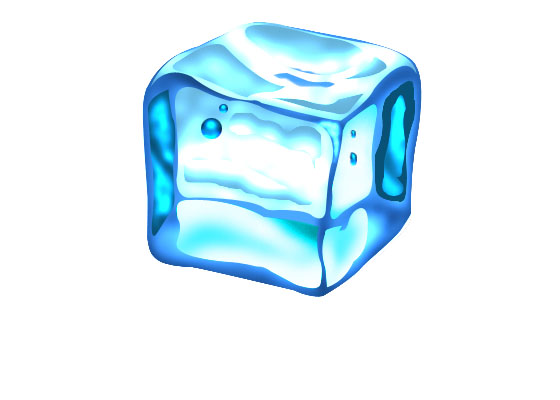
20. Copy this Drop and reduce the sizes and width and paste it on different locations like shown below:
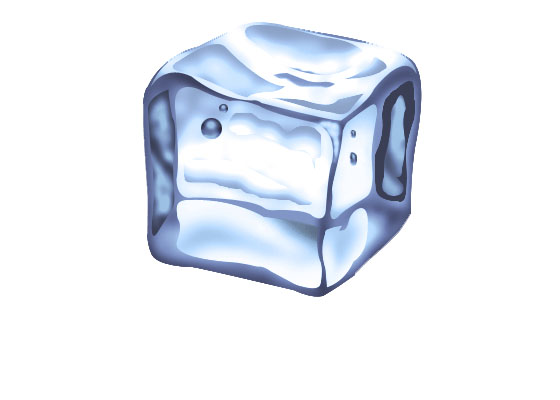
21. Now select all layers except the Background layer and press Ctrl+E to merge all layers, then go to Image >> Adjustment >> Photo Filter, give the following settings:
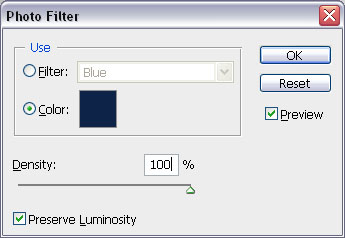
You will get something like this result:
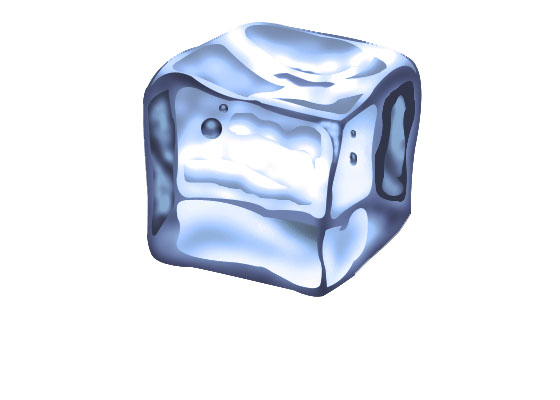
22. Now run the command Image >> Adjustment >> Brightness/Contrast, give the following settings:
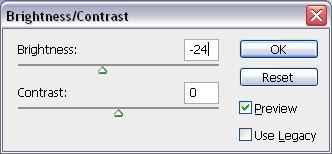
The result should be something like shown below:
23. Now press Ctrl+J to copy it, press Ctrl+[ to bring it behind the original one, reduce the opacity to 11%, you will get this final result of How to Make Ice Cubes in Photoshop:


Dude, great post. I wasn’t looking to make any ice cubes but you sure made it interesting to see how it is done. Great share, it’s appreciated.
Thanks Baccuss Keep Visiting And Suggest us for more Changes in out Site, we want Our Visiters to feel easy while surfing our web 🙂
awsome…..
amazing tutorial with tips and tricks.